
The E39 M5 has a fuel pump that tends to fail at the most inopportune moments, usually with no warning. This fuel pump issue is something that requires particularly closer attention, especially now that the cars are getting older. Realizing our 140,000+ mile Project M5 is most certainly not immune to this issue, and not knowing the history of the current fuel pump, we decided to replace the old pump before it left us stranded. On a side note, we must point out that our decision was further influenced by the fact our M5 started to display a P0313 CEL light – which is “Misfire Detected with Low Fuel”. Coincidence? Maybe, but we weren’t going to continue to push our luck.
Since our car was still running we had a little time to think about our options. We remembered recently seeing DeatschWerks come out with a number of new BMW plug-and-play kits, but then realized none were for the BMW E39 M5. We’ve had good luck with DeatschWerks’ products in the past and really wanted to try one of their performance pumps out on our M5. So we decided to order a universal fit DeatschWerks DW300 kit (part# 9-301-1000) to see if we could make it work in our application.

The DW300 universal fit kit comes with the pump, filter screen, fuel hose with clamps and the necessary plug/wires to power the pump.
The addition of this pump and universal kit will be beneficial for not only E39 M5 owners, but also anyone looking for an alternative fuel pump solution for a car that may not have a plug-and-play option. With a few simple modifications and some readily available parts you can fit these small DeatschWerks pumps into almost anything.
The DW300 is a very compact pump that can flow an amazing 340 lph, which is more than enough to feed our M5’s V8 and stock 257cc injectors. The DW300’s high torque motor maintains flow well at higher pressures, while its low amperage draw reduces fuel heating and stress on the OEM wiring. The DW300 has a turbine type impeller and carbon commentators with a fully encapsulated armature. This makes it very resistant to alcohol fuels, which is a good deal nowadays with the popularity of E85 as a performance fuel.

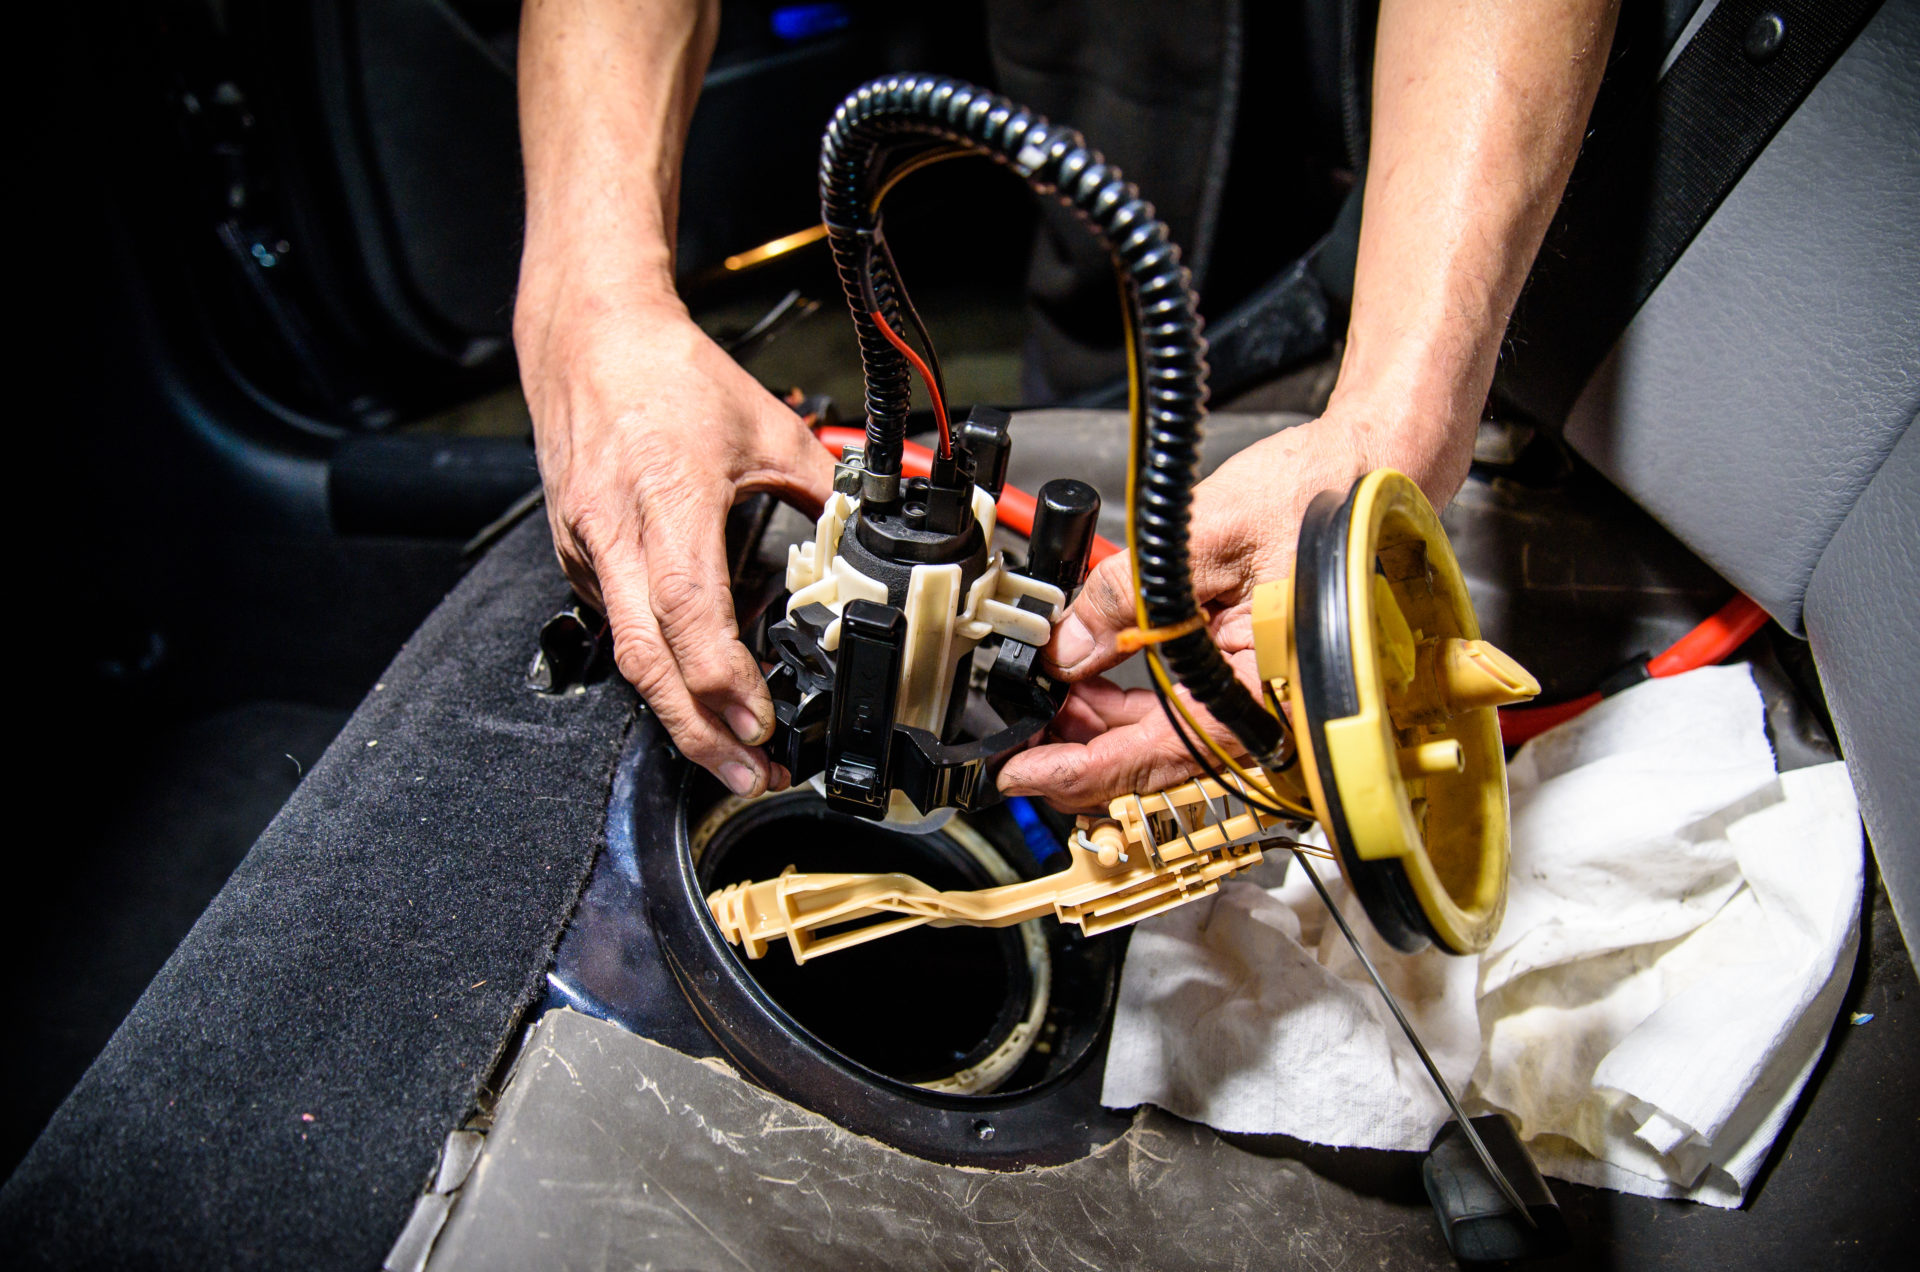
To start the installation, the bottom cushion of the rear seat is removed. To access the fuel pump hanger you have to cut out and remove the sound deadening under the seat to get at it. In the case of our car someone had already cut out the sound deadening as shown above. A sure sign that the original pump had been replaced at some point.

Next, the fuel line and the electrical connector are removed.

The silver metal ring around the edges of the hanger locks it into the tank and screws in. You can use a screwdriver and a mallet to carefully unscrew it. Put the screwdriver on one of the raised bumps on the ring and tap it in a counterclockwise direction. You can see the ring sitting off to the right in this picture.

2 comments
Never saw a fuel filter that big.
Hi, I have tried to email a couple years ago about this but the filter sock shown in page 4 is not from kit 9-401-1052. I have had a couple customers ask about this filter and this is not the correct one. Notice in the links below. The 400 utilizes an entirely different filter sock than most standard pumps. PLEASE change the part number to kit 9-1034. That kit has the correct filter for what you are trying to accomplish.
TLDR:
9-401-1052 incorrect, 9-1034 correct.
Sincerely, Your friendly neighborhood DW Employee