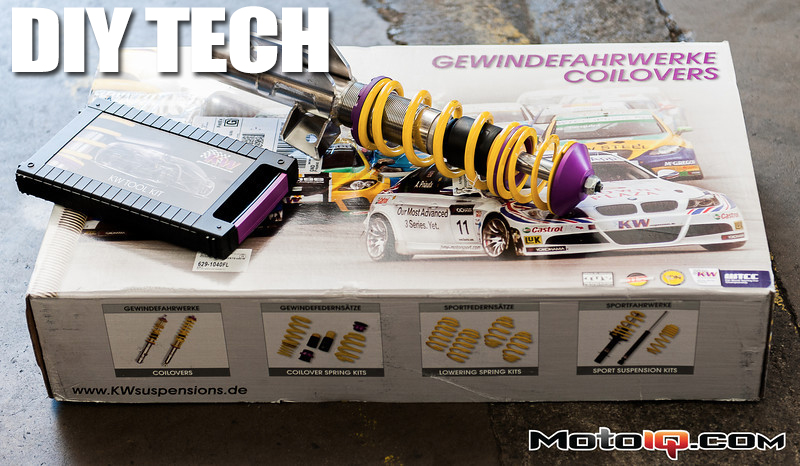
DIY Tech: A Guide For The Rest Of Us: KW Variant 3 Installation
By Tatsu Tsuchida
When Mike Kojima extols the virtues of a particular coil-over kit, or discusses what spring rates it has, how the valving works in the shock body, or what sort of proprietary hydraulic oil makes the shock respond well to undulations in the road, I sometimes feel these concepts require an engineering degree. Much of it is over my head, but I know well enough that when a smart guy raves about some product I'm better off following suit than trying to understand it. We all know Mike and Daijiro's relationship with KW is a strong one, and Mike has put these KW V3s on the MotoIQ FR-S, so that's endorsement enough for me.
Rather than trying to duplicate what Mike has already told you about the KW coil-overs, we thought we'd do a more nuts and bolts installation guide to the K-Dubs. However, I will say one thing about the KWs, we've ridden in quite a few cars with the V3s, and in our opinion they ride better than stock. Minor imperfections on the road, even large pot-holes, are largely un-felt, but when put into a situation of hard cornering they stiffen up remarkably. We'll confirm these impressions with a road test after our install.
 |
| Tools needed: 1. KW Suspension tool kit: Spanner wrench 2. 14mm combo wrench 3. 17mm combo wrench 4. 19mm combo wrench 5. 6mm Allen 6. ¼” Ratchet 7. 2mm Allen (shown with short ¼” extension) 8. 90 degree pick 9. 9mm ¼” socket 10. 8mm ¼” socket 11. 12/14mm boxed combo 12. 17/19mm boxed combo 13. 19mm ½” socket. 14. 12mm 3/8″ socket 15. 14mm 3/8″ socket 16. 17mm 3/8″ socket 17. Specialty Tools: P/N85450 19mm O2 Socket. 18. 3/8″ ratchet with medium-short extension. 19. Spring compressor (not pictured) 20. Tranny or floor jack (not pictured) 21. 5mm Allen (not pictured) |
 |
| Step 1: Removing the FR-S stock struts. Here Allen (he's a lefty) removes the ABS line with a pick. There are two, the top is a bit of a bitch, but with some dexterity and finesse it should come out. |
 |
| With the ABS line removed, we next take off the the brake hose. Caution: do both the brake hose and ABS line prior to letting the hub bolts loose. If the hub flops forward and stretches the ABS wires/brake hose you might find yourself replacing them. |
 |
| The sway bar end link requires a 17mm socket. In a home garage setting you will need a 17mm boxed end wrench with a 6mm allen to keep it from spinning. |


