,
 |
| With the car lowered onto the weight of the front tires we now return to the front to zip up the 3 12mm head nuts. |
 |
| Again, I like to do the tops with the weight loaded. Here I have the SP tools 19mm deep socket and a 1/4″ drive 9mm socket to hold the center shaft. |
 |
| We now raise the vehicle up to secure the bottom bolts. To re-cap it's 14mm for the sway bar links, and 17mm for the strut and hub bottoms. |
 |
|
With the shock bodies being shorter with the KWs we use a tranny jack to lift up the LCA to meet the attaching point. Home garage people will likely use a floor jack.
|
 |
| For the final step: 3 blasts from the air gun to get the 17mm nuts tight. |
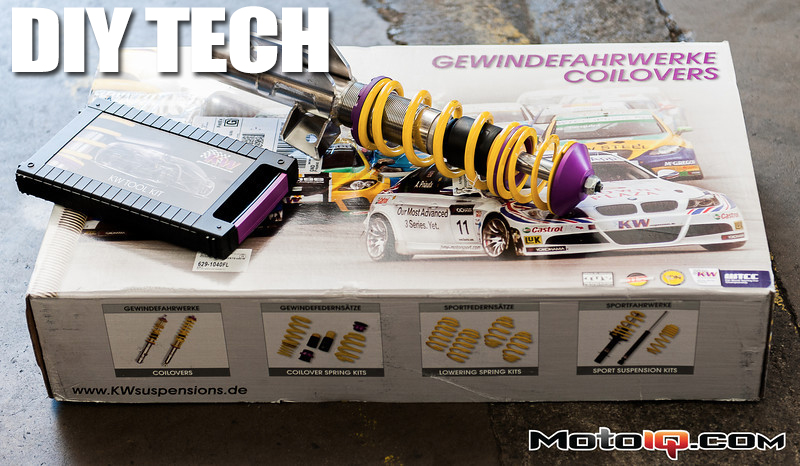
We've had the KW Variant 3s on our (unofficial) project FRS for a few weeks now. We can verify what people have been saying. The best analogy I can come up with is like high quality progressive rate springs. They're soft when you need them to be and stiff when you dive into a corner.
I hope this installation guide proves helpful. Happy wrenching!
Sources


