,
 Thanks to the previously mentioned disconnectable radiator and AC condenser, I was able to swap out the single pass radiator for the triple pass radiator without having to remove the AC condensor that originally came with the single pass unit that was installed a year ago. Not having to discharge and recharge the AC system gave me one less thing I had to worry about during the installation. If you want to see the install step by step, refer to the original CSF radiator install article. Keen eyed MotoIQ readers will notice my home made oil cooler shroud, more on that in future articles to come.
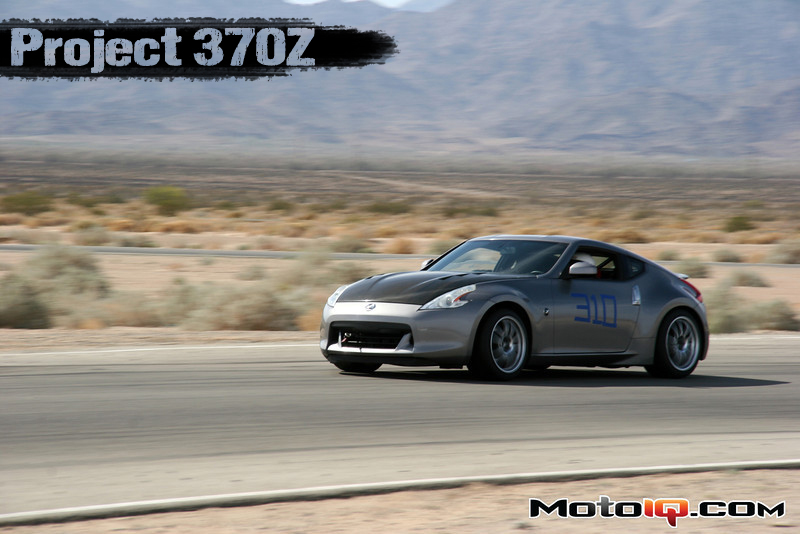
Chuckwalla valley raceway is where the triple pass radiator test took place. Located in the desert just past Palm Springs, I knew the track and weather conditions would put the car's cooling through the proper paces. Ambient temps were representative of a normal SoCal track day, 65-70 the first couple morning sessions, 85-95 the rest of the day. Project 370 runs in the 2:05 min lap time range at this track. Also because of the nature of the corners and the 370's gearing, I was in the high rpms at full throttle often making for an extensive track test. Same Seibon vented carbon fiber hood was on the car, as well as the higher pressure Nismo radiator cap.
 Pre on track preparation before my first session of the day. Checking oil/water levels and verifying there were no leaks of any kind. We also set the Maxxis RC1 tires at proper pressure for track use, stiffened up some damper settings on the KW V3 coilovers and made sure the lugs were tight. Another useful tip that tends to get over looked often at track events, many people are tracking their street cars and forget to take out all the random stuff in center consoles and glove boxes. Which sometimes unexpectedly open under track conditions (either from apex curb tagging or going two wheels off). Don't make this mistake and find yourself trying to control your car at the limit while distracted by flying business cards/packs of gum/phone chargers or whatever else you keep in your car during daily driving.
My first session (which was the 2nd session of the day, I skipped the first session to cook myself breakfast) ambient temps were about 70 and sunny. I did a warm up lap and a full 7 hot laps in a row with the water never getting over 213 and staying between 208 and 213 most of the session even while oil temps had reached 235 to 240. Off to a great start, but I was eager to see how the car would hold up as the event went on and the day got hotter.
 Heading out of the hot pits onto the track I was expecting an improvement in performance, but was not expecting how much of an improvement it would be. Felt great to get so many at pace laps in a row since I had not been to Chuckwalla in years.
Come my second session, ambient temps were at about 75 to 80. Even though the first session went great, the heat was increasing fast and my pace was getting quicker, two things that would lead to more stress on the cooling system. To my pleasant surprise, I was still able to get 1 warm up lap plus 6 hot laps in a row with a 215 water temp peak and staying between 210 and 215 most of the session with oil temp peaking at 240. One cool down would get me 5-10 degrees out of the oil, but water was knocking out a solid 10-15 degrees, allowing me another 2-3 hot laps. I had to run cool down laps for oil temps and possibly diff temps but not for water.
 Full tilt and trying my best to keep up with a friend in his well setup Evo X, the CSF triple pass radiator had no issues keeping the water in the green and allowing me to push the limit.
The last two sessions of the day were well into the 90 to 95 degrees ambient temp range. Despite it being peak heat of the day I was feeling confident in the car's performance with the new radiator. Again it did not let me down, 1 warm up lap plus 5 hot laps in a row saw water temps peaking at 222 while being between 218 and 222 most of those hot laps, oil sat at 245 to 250. One cool down lap would get oil back down to 240, while water would shed heat all the way down to 208-210. I would take another 2-3 hot laps and the water still would not get over 222. Like before though, I had to stop because of oil being on the upper end of the acceptable level and keeping the diff temps in the safe zone.
 Awesome time at the track with an ample amount of hot laps. the CSF triple pass radiator helped keep things together while I hammered on the throttle.
During past events I've done with the stock and single pass CSF radiator I've never had the the water temps so cool for so many laps and been able to shed so much temp from a single cool down lap. Also, even with oil temp 30-40 degrees higher, the water was not stressing about controlling its temperature despite the large delta. This triple pass is a big improvement over the single pass and I feel it will really benefit both the track day guys and the forced induction cars with multiple heat exchangers stacked on top of each other.

But with the great performance of the triple pass radiator, it got the car to the point that it can get its engine oil on the warm side and after the event I noticed the differential fluid got hot and over flowed out of the vent tube. So now that the coolant is under control, I have to revisit the oil cooling and come up with a differential cooling solution. I'm not upset about this though since I like to work on cars and improve them nearly as much as driving them. The constant challenge is always welcomed.
Sources