
 While removing the front inner fender liner on the passenger side, a half cup of gravel came out. Weight reduction!
 Fortunately my wife just went to the dry cleaners, so I used one of the hangers to pull on these locking clip things.
 On the driver’s side is the headlight washer fluid lines. The lower white plastic part slides and locks into the slotted hole in the metal panel. What you need to do to pull off the front bumper is separate the upper black EPDM hose from the lower section hose with white plastic fitting. Sorry for the picture being out of focus, but you need to remove this U-shaped locking clip from the upper black fitting attached to the EPDM hose to separate the two halves.
 You need to disconnect this big brown/orange color connector on both sides. That little steel wire is the emergency manual latch release for the front hood.
 On the passenger side radiator duct is this sensor which I believe is the ambient air temperature sensor. Remember to plug it back in when you put everything back together. The car has two horns, one at each front corner hidden behind the radiator ducts.
 The kit came with four of these flanged nuts for mounting the support bracket to the chassis. These are really nice fasteners, but the flange diameter is much too big to fit on the lower two stud locations. The kit from Suncoast came with two short bulb seal strips which I guessed went on the bottom of the support bracket in order to seal against the bumper. There was another long plastic piece with matching length bulb seal that I couldn’t figure out where it went, so I left it off as weight reduction.

11 comments
What a cool mod!
That’s not punny. You’re going to get punished by being sent to the punintentary.
Cool and rad. Nice article. I think I’ve accepted the fact that I will never be cool enough to understand Porsche life.
Just modding for more cooling for better track reliability like my other cars. Just happens Porsche has more factory parts to use!
Nice! I’m surprised you didn’t just buy the replica or OEM GT4 front bumper! You get the top vent, larger lower vent openings, and a more aggressive front splitter for maybe more front downforce. Plus you wouldn’t have had to hack up the stock front bumper. AFAIK, a GT4 front bump is pretty much a plug and play solution. Can’t wait to see even more progress on this build!
Maybe it’s just me but I would not want to put an aftermarket fiberglass bumper on a Porsche daily driven street car. An OEM GT4 bumper is pretty spendy. This is a nice compromise.
The reason for not doing a GT4 front end is that it would get destroyed around where I live. Lots of steep driveway entries in shopping plazas, gas stations, parking lots, etc. As it is, I scrape the air strake in front of the front tire every time I leave my complex. A couple people have done the full GT4 frontend conversion.
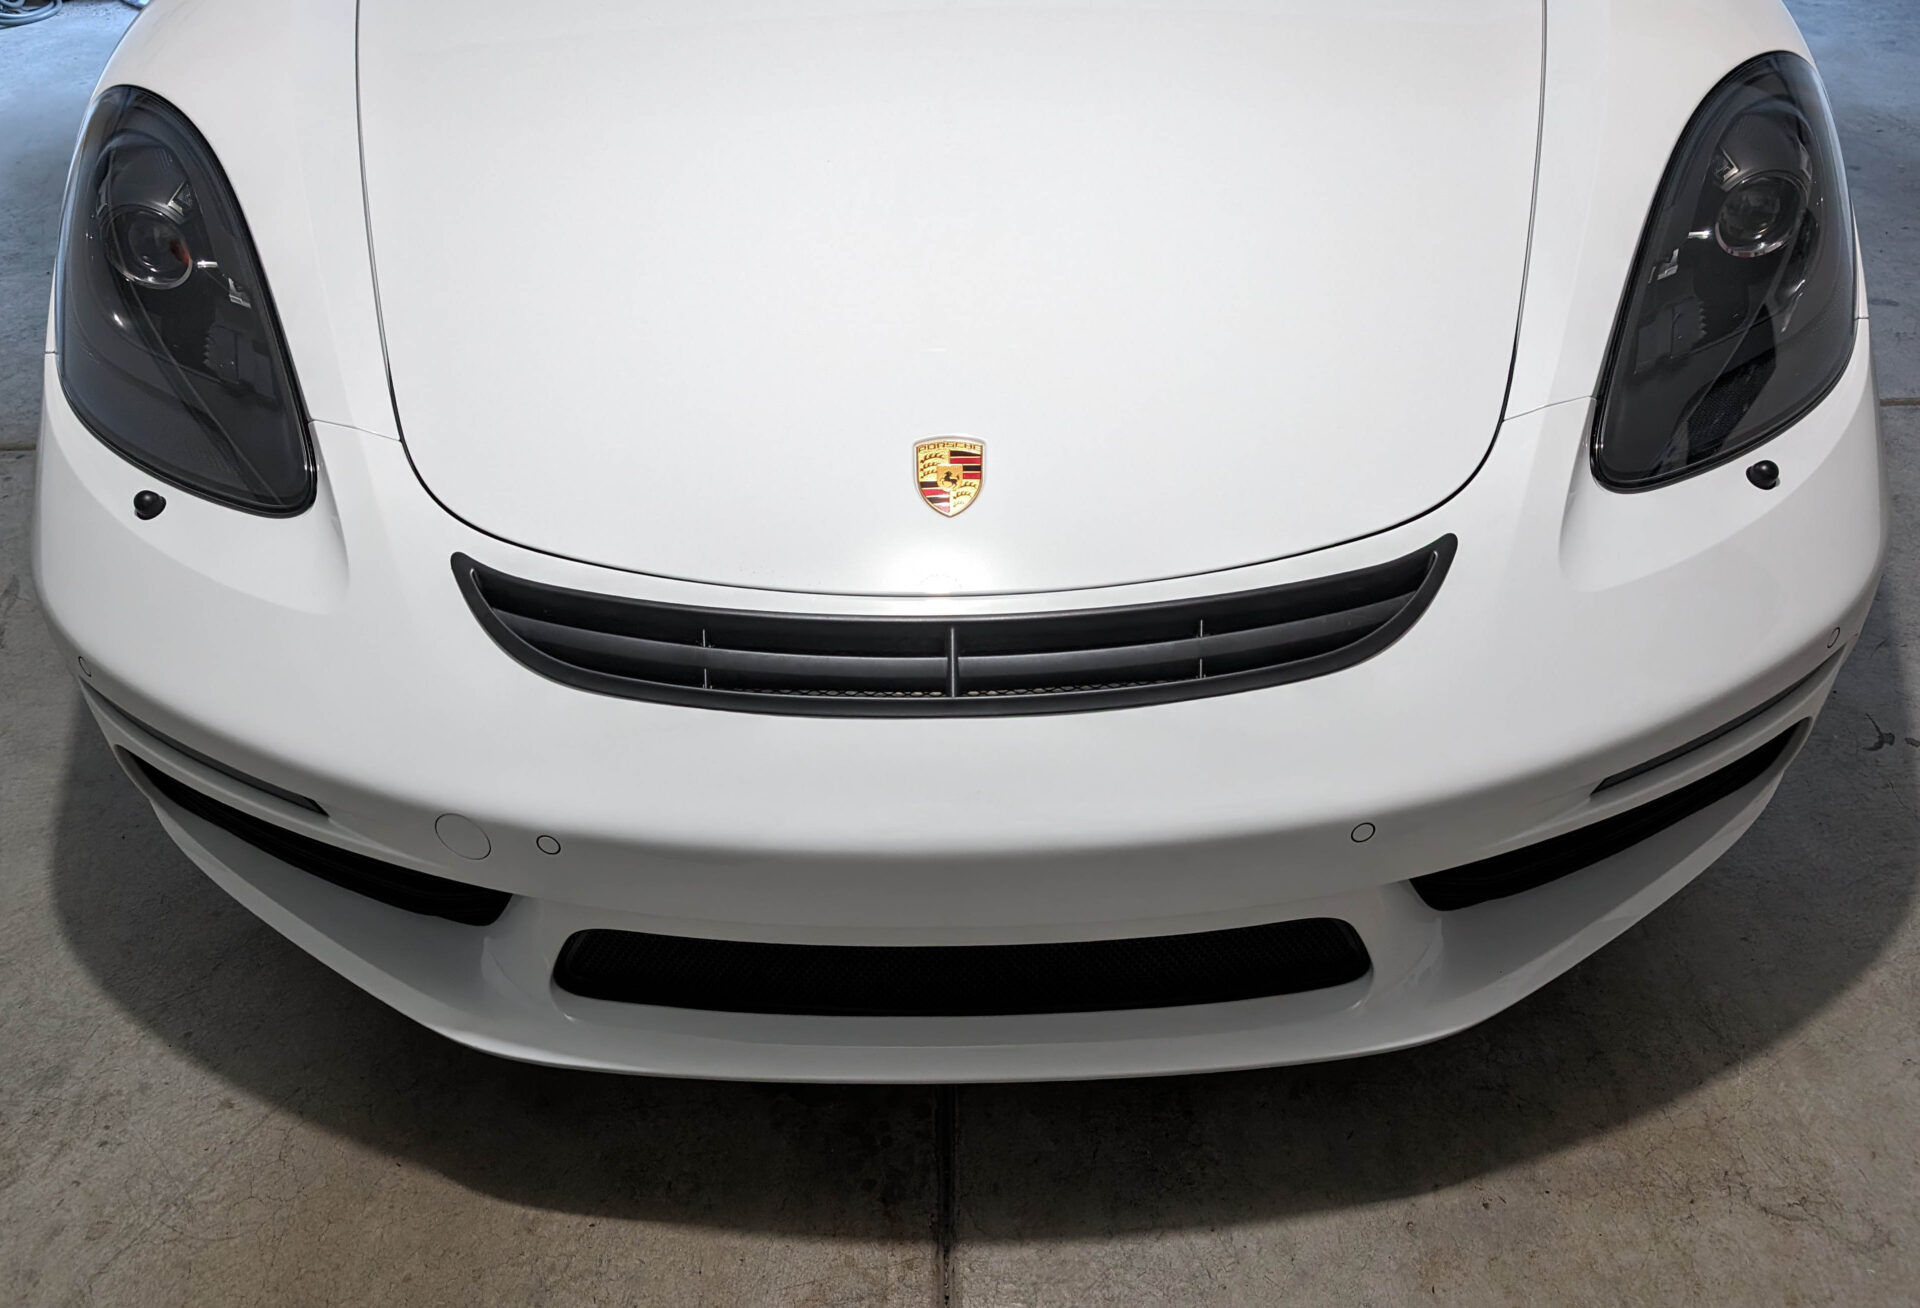
The center vent really looks factory – great job!
Great job and beautifully documented!
Fantastic final result.
It’ll be interesting to compare temperatures with a stock car with common “control” ambients and driving, at a track day.
I 100% agree with the perfect compromise of repurposing the stock bumper, on the grounds of cost and ground clearance. I have a 981 GT4 and conscious of the limited approach angle.
I live in the UK where local town councils instal traffic speed calming with “sleeping policemen”, which I negotiated at an angle and crab over.
Hotels in Europe tend to have underground car parks and on road trips I check if they are ok for low sports cars!
The 997 GT3 vent looks pretty good on the 718. But, why not just use the actual GT4 radiator kit instead of the GTS?
To do the GT4 center radiator right, either have to do the full GT4 front end conversion or make a custom center section to go from the base bumper opening geometry to the GT4 radiator. Neither are easy or low cost options.