
,
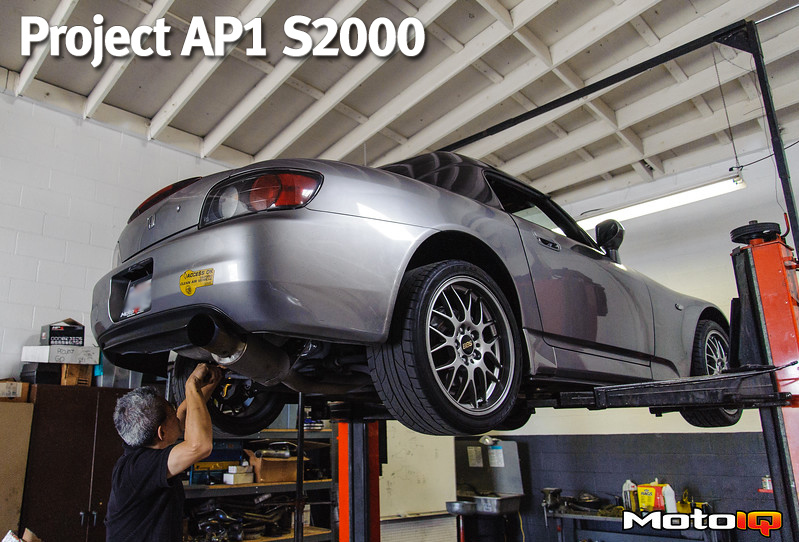
 Howard installs both mounts using the hardware provided by Hasport. The Hasport mounts bolt right in easily.
 Howard tightens down the bolts to finish up the rear mounts. Now we move on to the front of the diff.
 Howard starts by removing the rear lower tie bar and then removes the cover on the evap emissions canister. He then removes the two bolts holding the mount in place. Lastly, he removes the nut that holds the mount to the differential.
  Just like the rear, the front mount is also torn, but it is to be expected on a 17-year-old car. The front mounts have many molded in holes and allow a lot of moment. Look at the large crack in the OEM mount.
  Looking at the bushings in the mount, you can see that the Hasport one is really solid compared to the OEM one. The solid urethane of the Hasport mount is much firmer than the windowed out, fluid filled OEM rubber part. The Hasport part will allow a lot less moment. The mount itself is CNC machined from 6061-T6 aluminum and is many times stronger and stiffer than the OEM sheet metal mount.
1 comment
Hasport are now not providing the bolts with these mounts. Are they the same size as original bolts?