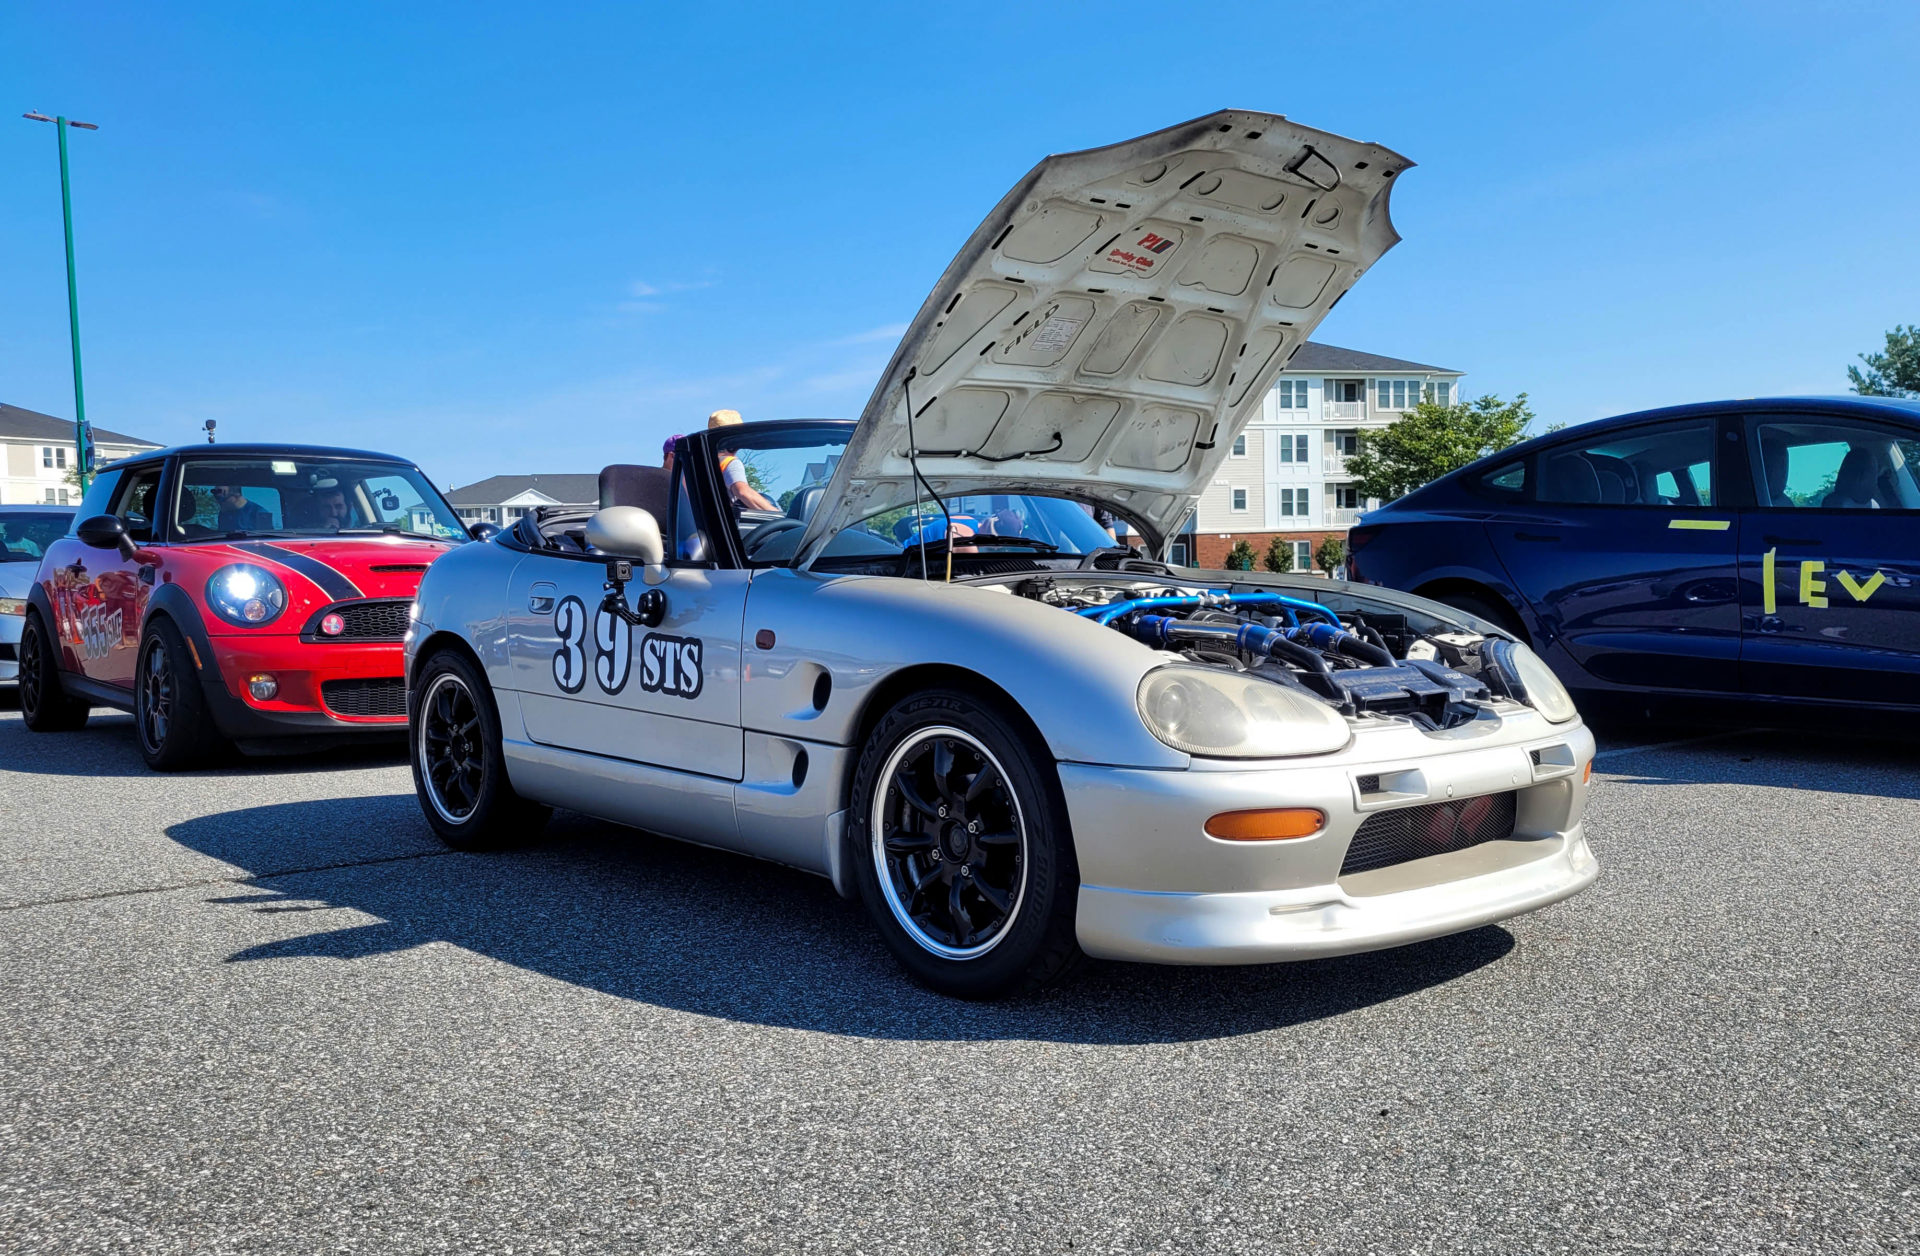
One of my favorite things about the Cappuccino is just how comically small EVERY SINGLE part is on this car. To give you a sense of how small the Cappuccino’s gearbox is, here it is next to a 240SX gearbox.Next, we removed the old clutch and flywheel and put them on the bench for inspection.Most cars have a dedicated tool to lock the flywheel in place so the bolts can be loosened and tightened. The Suzuki tool is long out of production and very difficult to find. We found this adjustable flywheel tool and it was able to do the job. It has a ton of adjustability for everything from tiny Cappuccinos to normal-sized cars. What is really nice about this tool is it has adjustability in width, flywheel diameter, and depth from the teeth to the engine case. This makes for a very versatile tool.We found the clutch to be in good shape. There was very little wear on the disc and no major scoring or burnishing on either the pressure plate or flywheel. It would seem the clutch was not the source of our high pedal.So what made the clutch release high? The flywheel. The Cappuccino uses a dual-surface flywheel. On many clutches, the pressure plate and clutch disc contact the same surface of the flywheel (see the SR20 flywheel on Page 1). However, on the Cappuccino, the disc engages with the lower surface and the pressure plate mounts to the upper surface. When facing the flywheel, the distance between the surfaces must be maintained or the clutch will not seat properly. An inexperienced machinist may only machine the lower surface, leaving the disc a fraction of an inch too far from the pressure plate, and leaving the driver with a clutch that engages very high on the pedal. Machining the flywheel to the proper dimensions should fix our odd clutch engagement.
Since we have gone this far, we’re going to replace the rear main seal and also re-seal the oil pan. Back in 2020 we had a pan leak, broke the RTV seal, and then found out the oil pan was trapped between the gearbox and the subframe. This means a proper re-seal requires removing the transmission. Since Suzuki only used RTV to seal the oil pan, it’s a good idea to reseal it when the transmission is off to avoid the hassle of doing it down the road.
There were two different layers of silicone when I went in there 2 years ago and I reeeeeeeeallly didn’t want to be removing the entire transmission a third time! It may be small but it’s a PITA!
I purchased the adjustable fly wheel tool you used. How did you get it to line up? None of the holes line up with the tool unless I am missing something incredibly simple.
I put one stud in one of the upper transmission bolt holes (I want to say passenger side top but it’s been almost 2 years since I did this so I’m not 100% sure). Other one went into one of the casting recesses. There’s only one it really fits into. Pretty sure I had the tool set at its shortest length or close to it


5 comments
I love how tiny everything is.
FYI the oversize gasket is meant to be cut off after installation, just before applying sealant.
Christ on sale, are you sure you used enough silicone on that oil pan?! 🤣
There were two different layers of silicone when I went in there 2 years ago and I reeeeeeeeallly didn’t want to be removing the entire transmission a third time! It may be small but it’s a PITA!
I purchased the adjustable fly wheel tool you used. How did you get it to line up? None of the holes line up with the tool unless I am missing something incredibly simple.
I put one stud in one of the upper transmission bolt holes (I want to say passenger side top but it’s been almost 2 years since I did this so I’m not 100% sure). Other one went into one of the casting recesses. There’s only one it really fits into. Pretty sure I had the tool set at its shortest length or close to it