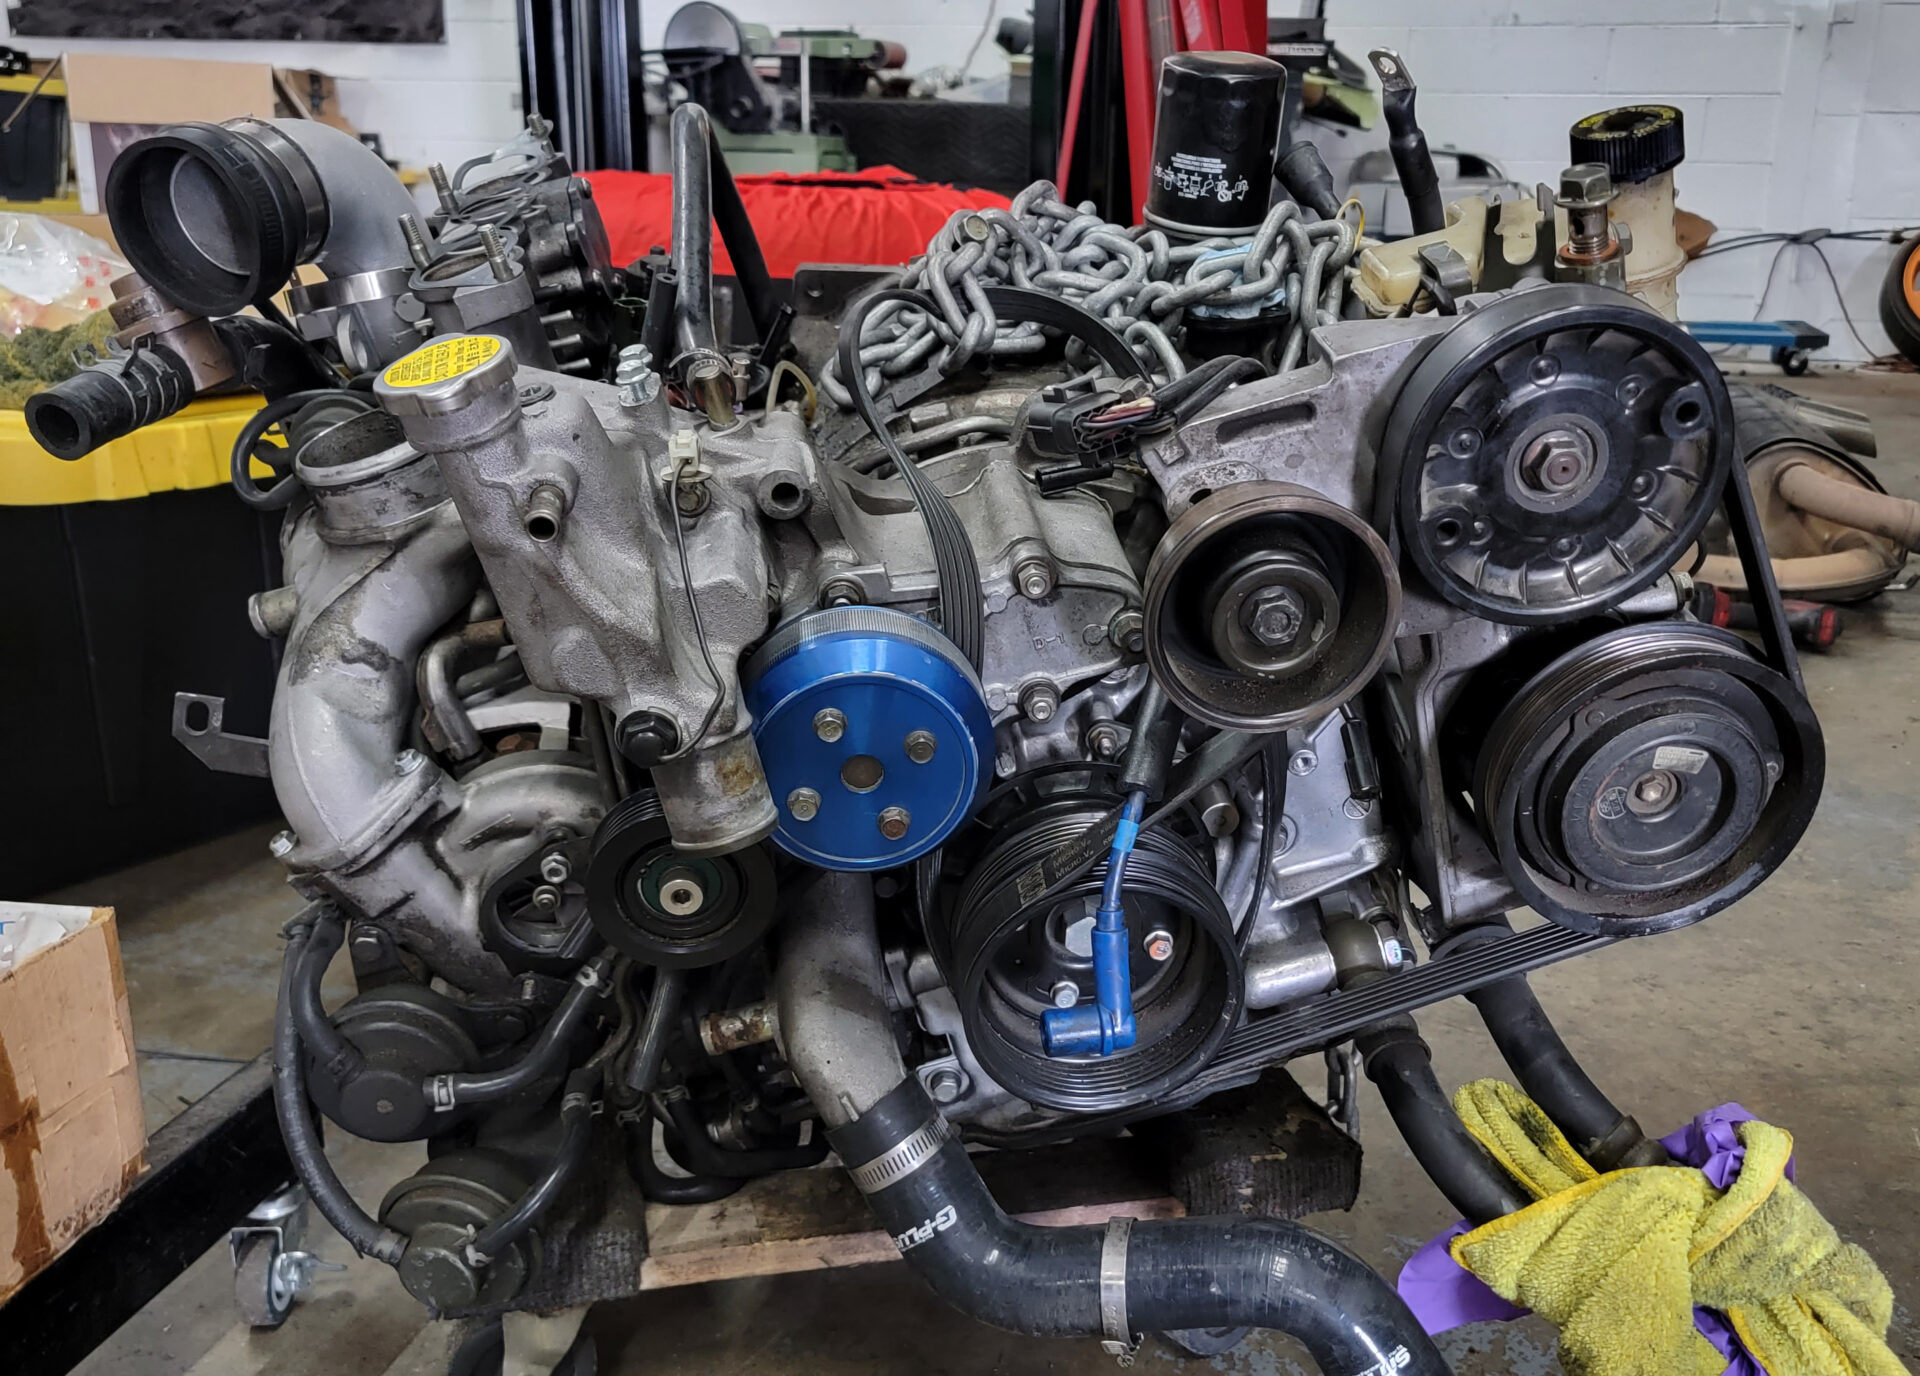
 After removing the counter weight, we were done with the front of the engine and ready to flip it over to disassemble it.
 Rotary engines are disassembled and assembled with the rear of the engine facing up. There are 16 bolts that hold the entire rotary sandwich together. We loosened all of these bolts and removed the rear iron.
 With the rear iron removed, we can now see the internals of the rotary engine. These are truly incredible engines to function the way they do with so few moving parts.
 After removing the aluminum housing, we can see the rear rotor quite clearly.
 This rotor has roughly 2,000 miles on it. The carbon deposits on the rotor are caused by the engine oil being injected to lubricate the apex seals, and burned in the combustion chamber. This is why eliminating the Oil Metering Pump and using 2-cycle oil is important for performance in a rotary engine.


4 comments
Good luck! so sorry about the fire mishap.
Looking good 😊
I love how this project went from “OEM+ Restomod” to “make our rotary engine one of the most highly-modified 13B REW engines on the planet.”
Yeah, fires, pulling the engine, downtime, boredom, and beers have the effect of changing the strategy. lol.
We originally planned on retaining the stock motor for a while, do a lot of baseline testing and comparisons and then slowly upgrade the fuel system, turbo, and other bolt-on parts. Since the engine was out, we decided to tear it down entirely and go for an extreme build instead.