,
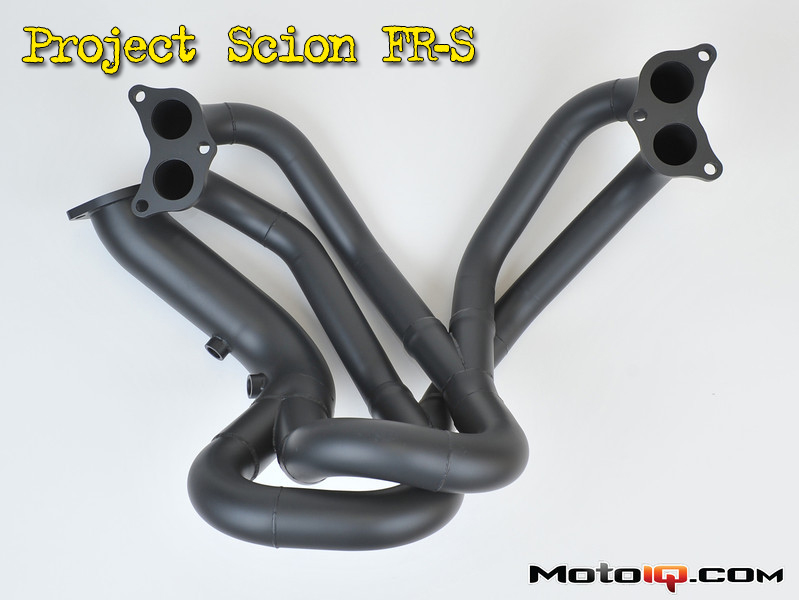
 When compared to our old header, the new header's longer and larger diameter runners are very obvious. You can also see the radical configuration needed to package the header within the confines of the FR-S/BRZ engine bay.
 Since the long primary tube comes very close to the fan assembly, we had to relocate the wire harness to the fan behind the core support to protect it from heat and to make room for the primary tube. This is mentioned in the instructions. In stock condition the harness goes on the engine side of the core support and is anchored at the now empty hole to the left of the harness.
 For added protection we wrapped the connector and the part of the harness closest to the runner with heat wrap as an extra precaution. This was not in the instructions. Since we plan on running the car on the track we felt it wise to take the extra precautionary step.
 It took a bunch of wiggling and we had to remove the dipstick and loosen a few things to make room for the header's long upward looping primaries. We managed to scratch the coating a little bit in the process. It probably would have been better to loosen the motor mounts and move the engine upward but we installed the header without having to do that. The new header was definitely harder to install than the first one that only took about 10 minutes. You can see the tight fit at the front of the engine bay in this photo.