,
 The bandsaw is used to get the general shape cut out.
Several straight cuts can be used to get pretty close in areas where the piece cannot be turned tightly enough against the bandsaw blade. Then a file and other tools are used to clean up and finalize the shape. Don’t forget the de-burrer!
 First the AiM Strada is installed onto the panel.
 Then the dashboard is installed in place. This is really starting to look like a race car, now!
 I’m seated in more or less my driving position and making sure that, with my back firmly against the seat, I can reach the important controls.
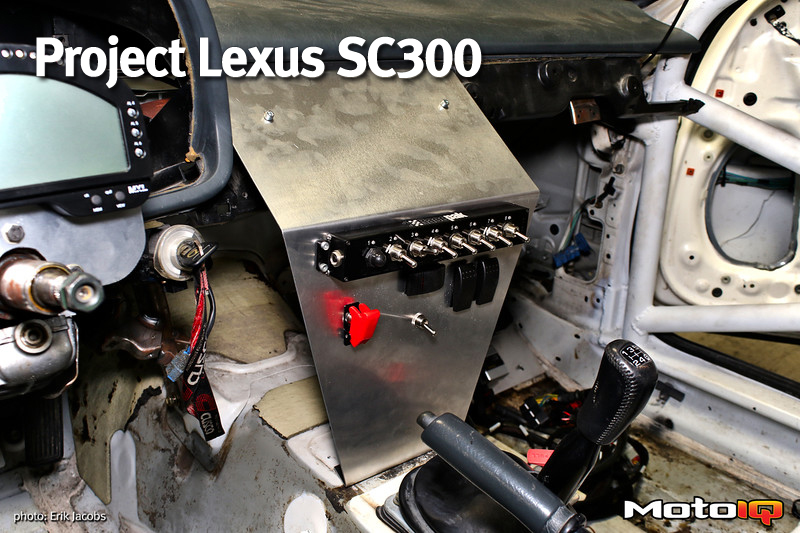
In our parts selection article we talked about one of the benefits of the Racepak Smartwire system – the Smartwire SwitchPanel. And we also have a few extra switches in play for things like the blinkers and the factory Lexus powered steering column. That means it’s time for another panel. In this case we opted to create something that goes where the radio and HVAC controls went in the original car layout. Being properly seated when mocking up the panel ensures that I do not need to loosen my harness while driving in order to flip switches. Things that are non-critical or that will likely be infrequently used are located furthest away. Things that are important, like the main kill switch and the starter button, are located closer and are reachable from the driving position.
 The panel represented a unique challenge because the factory mounting locations were mostly gone and the front edge of the dashboard is curved. Coming up with something that is functional as well as good looking took some creative thought.
 This panel required quite a bit of test fitting and adjusting to get right.