,
 In the end we ended up narrowing the panel towards the bottom so that it more or less matched the shape of the transmission tunnel.
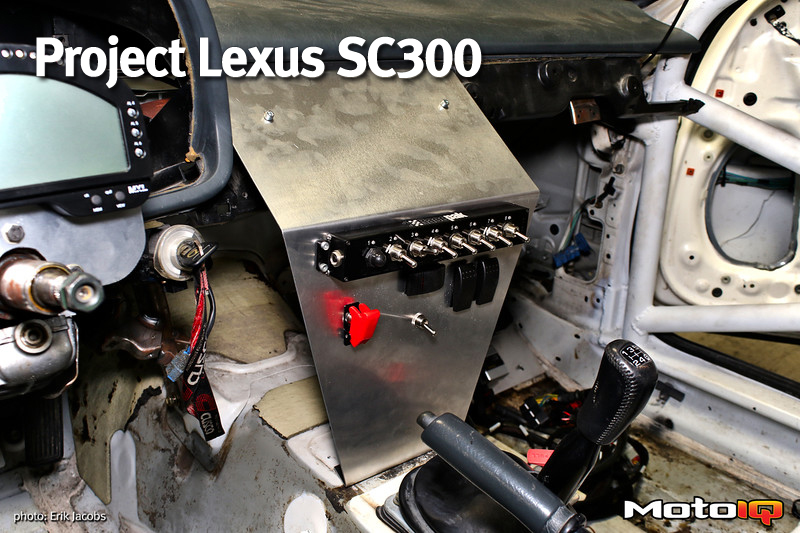
We also started to lay up the switch locations. Two different types of switches are used on this panel (in addition to the Smartwire SwitchPanel). Standard toggle-style switches as well as some Carling sealed switches (like you see on big trucks or RVs) are both used, although I probably should have used all Carlings in hindsight.
 Plotting the locations of the various components being attached to the panel is pretty important. They all should mount cleanly and not interfere with one another.
 The Carling switches provide their own challenge as they are designed to be press fit into a “perfectly” sized opening.
The actuators (the thing you push) attach to the switch body and have their own clearance needs. Blinkers are Left-Right controls, so this switch is mounted horizontally. The other two switches control the In/Out and Up/Down movement of the Lexus powered steering column.
 Cutting squares out of metal isn’t terribly hard. But what can be hard is doing it very precisely.
If the openings aren’t machined correctly, the switches will not properly seat into the holes and will potentially fall out. A mill is used to precisely shave out the material for the openings, and a file will clean them up, ensuring a good and snug fit.
 Once all of the openings and holes are put into the panel, it’s back to the mockup to determine the angles for the various bends. The bevel is again used to “copy” the angle onto the brake.
 The shape of the panel is now just about right. Test fitting, bending, test fitting, bending, lather, rinse, repeat.