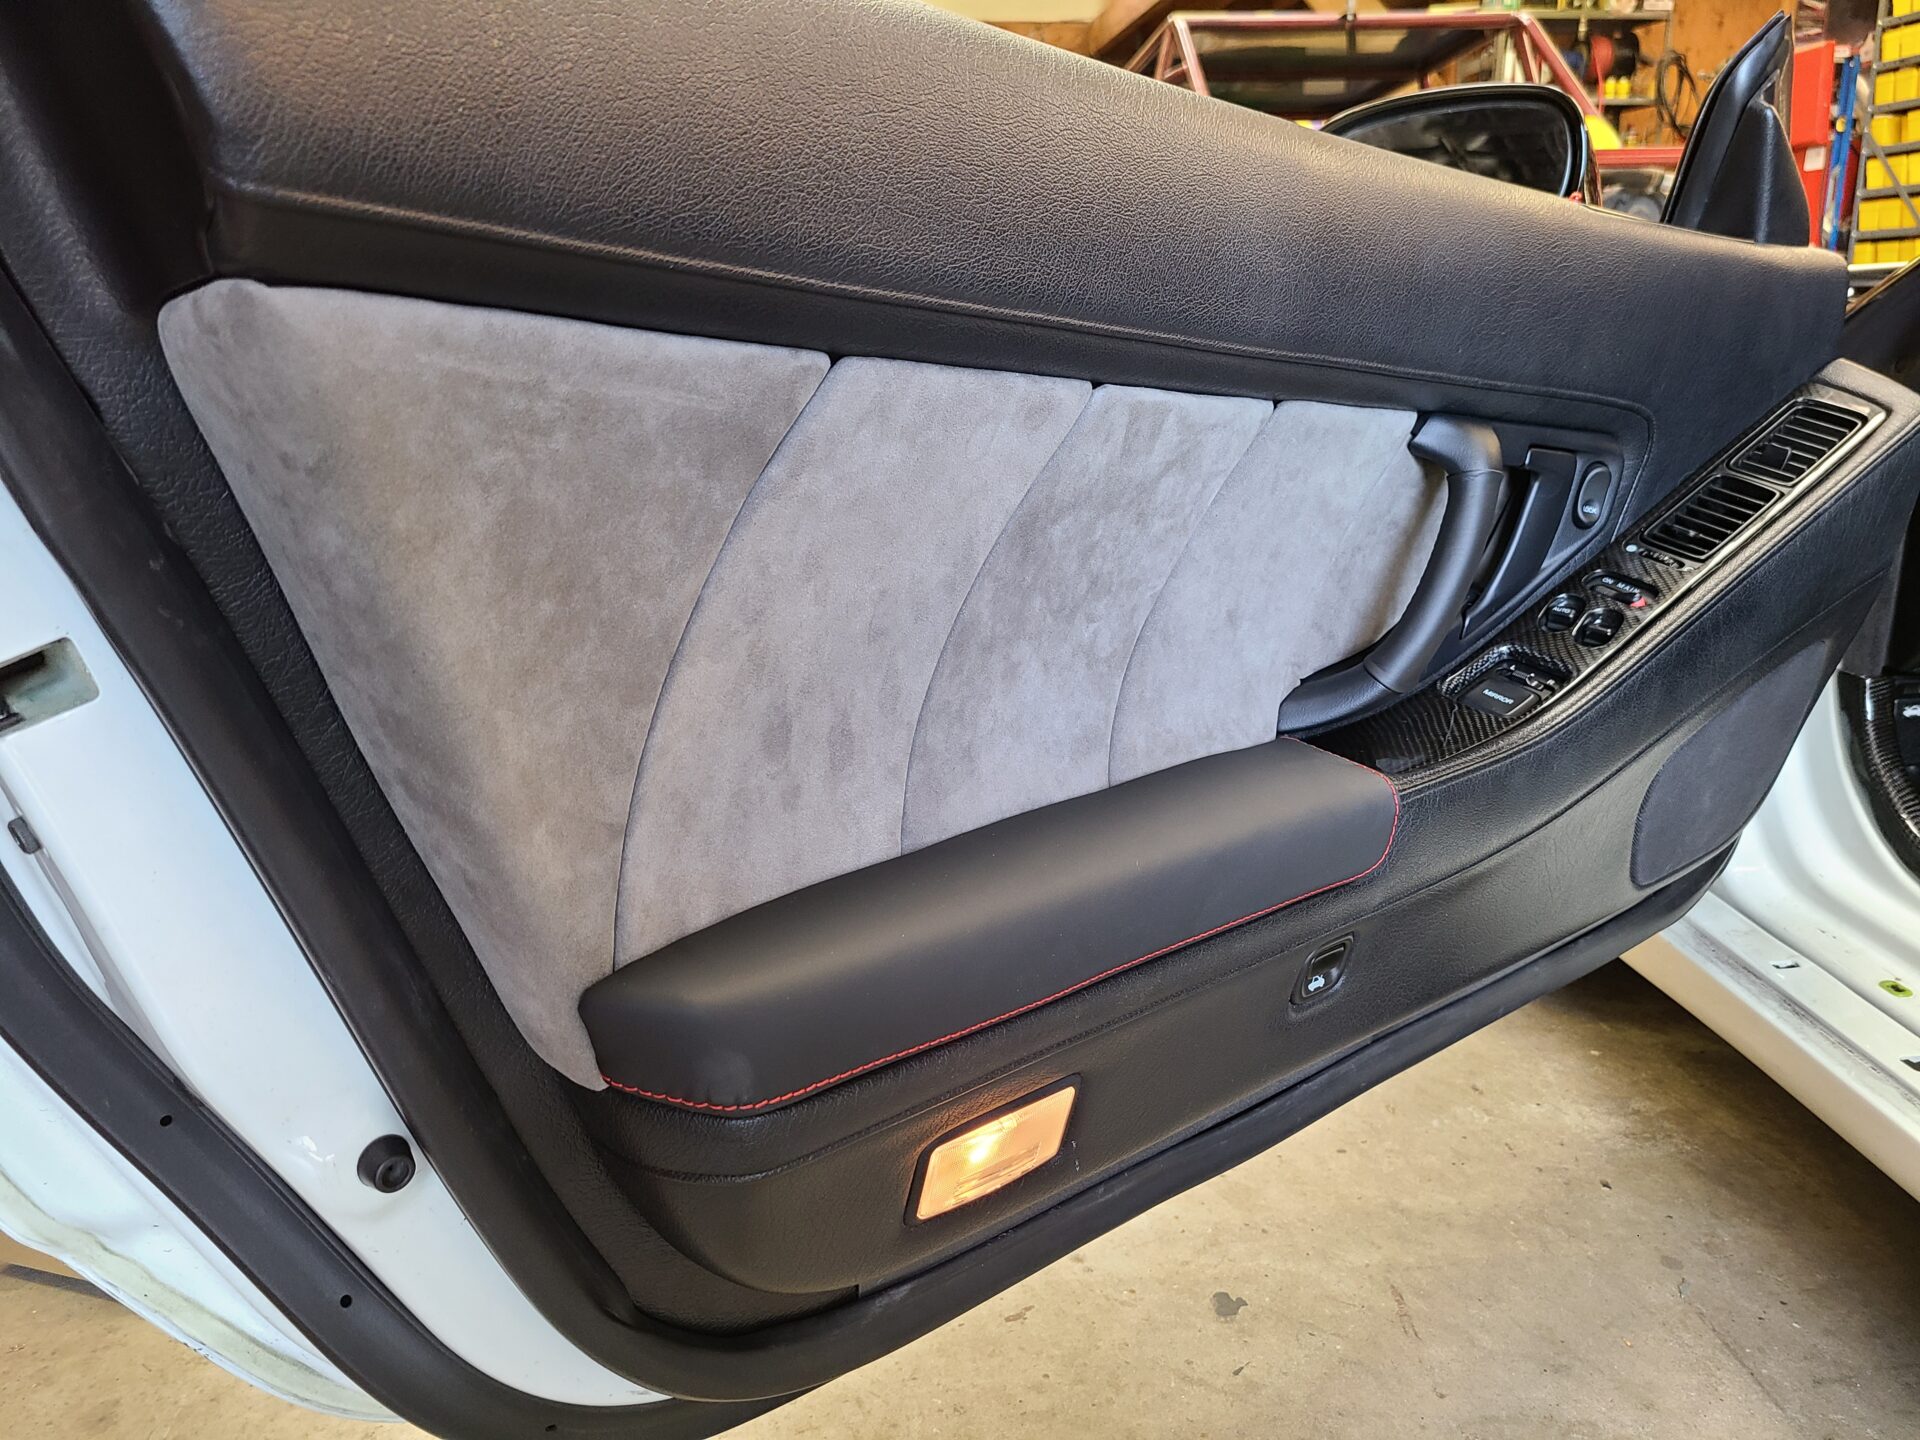
 The speaker and subwoofer wires are now tucked under the factory wiring harness out of the way.
 We decided on this small but mighty NVX VADM4 4-Channel 400W RMS amplifier. This amp puts out 100W per channel to each speaker, and the remaining 2 channels are bridged to provide the subwoofer 200W.
 Our low profile 10” SWS subwoofer sits inside the Zeetoolman subwoofer box that’s custom molded to the footwell of the NSX.
 To mount our amplifier, I turned to my newly-acquired 3D printing and CAD skills that I talked about in Part-9 “Designing, Fitting & Testing 3D Printed Door Card Frames”.
 After printing and refining the geometry of a few OEM mounting points in the chassis, I was ready to design the mount itself.


1 comment
That looks great and really provides subtle updates yet retains much of the look and feel of the original.
Be careful with that headunit though, or the android based ones like that. They usually run older builds of android, on older processors, with no way to *easily* upgrade the OS without rooting it and going down a rabbit hole there… It’s like buying a 5yr old android phone today, and using it, assuming it’ll work like today’s phones. Still a huge improvement from where you’re coming from. 🙂
You can still find some period correct headunits from pioneer or my favorite a Nakamichi CD45Z from that era. excellent quality, and has a line input, which you can adapt a BT adapter to. Sony also makes modern double-DIN headunits with knobs. KNOBS! God I miss knobs on aftermarket headunits.