
 A few revisions later and I had my final amplifier bracket design finished.
 I printed the amplifier bracket out of PETG, which should hold up to the stresses of the weight of this amp slamming back and forth at 1.5-Gs as well as the heat it should produce.
 I then bolted the amp to the bracket and then the bracket into the car for a nice, clean fit.
 I also quickly drew up and printed a rear camera mount that uses the factory screw holes in the bumper.
 The camera mounting position and angle worked out great.
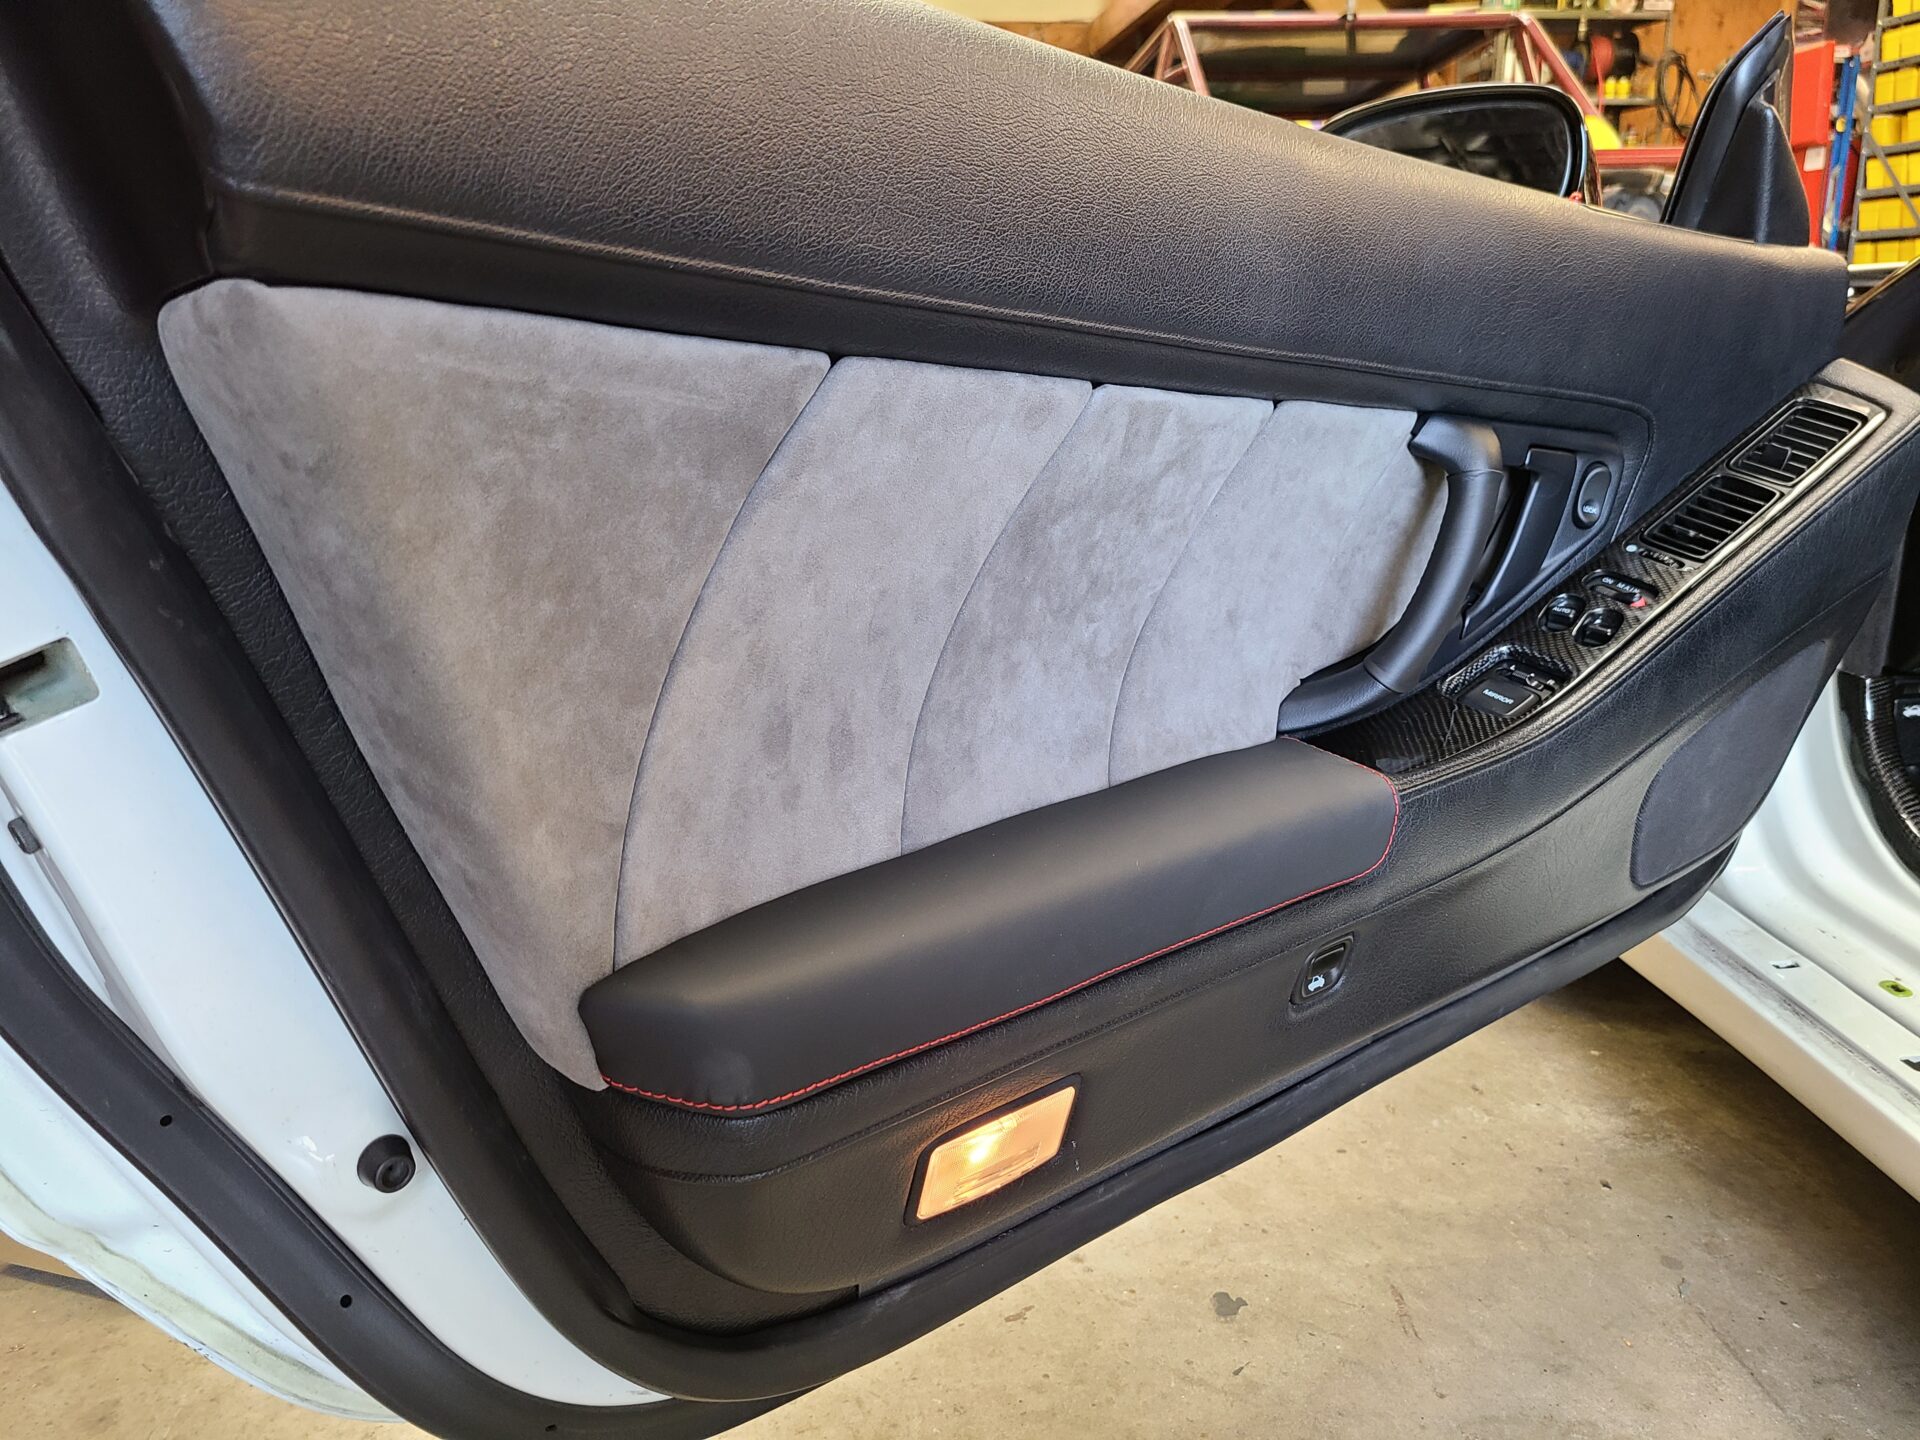
With the stereo and interior panels installed, we were done with the update.


1 comment
That looks great and really provides subtle updates yet retains much of the look and feel of the original.
Be careful with that headunit though, or the android based ones like that. They usually run older builds of android, on older processors, with no way to *easily* upgrade the OS without rooting it and going down a rabbit hole there… It’s like buying a 5yr old android phone today, and using it, assuming it’ll work like today’s phones. Still a huge improvement from where you’re coming from. 🙂
You can still find some period correct headunits from pioneer or my favorite a Nakamichi CD45Z from that era. excellent quality, and has a line input, which you can adapt a BT adapter to. Sony also makes modern double-DIN headunits with knobs. KNOBS! God I miss knobs on aftermarket headunits.