,
 To get some video action of the front suspension and brake duct, I mounted the Replay XD Prime X camera to the lower front subframe using the bicycle handlebar mount. Because I essentially hard mounted the camera, it picked up all the engine noise transmitted through the Hasport engine mounts into the subframe. So yeah, this setup created a ton of noise in the video. Next time, I would use a rubber sleeve under the handle bar mount.
In the video, you can see the plastic brake duct bouncing a bit. Check out how smoothly the suspension moves. That’s due to the Blacktrax Performance/Kingpin spherical bearing setup in the suspension.
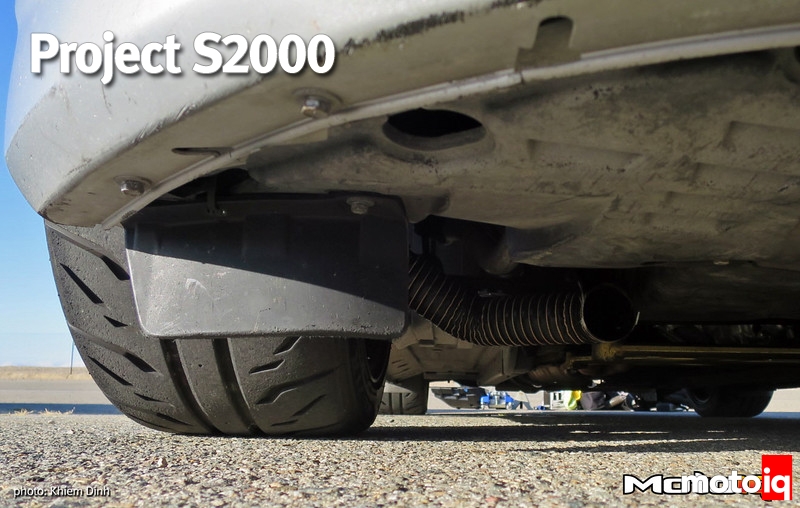
 You can see how I used one of the two mounting bolts for the rear chassis brace to hold the rear brake ducts.
 Were they going to do anything? I still have the dust shields on the rear brakes, so there’s no direct path for the cooling air to get to the brakes. I figured worst case, at least it would blow some cooling air at the rear spindle keeping that a little cooler.
 It took a bit of pushing to get the aluminum strip to bend and put the duct at an angle.
You can see the duct vibrating quite a bit, but it stays pointed in the right general direction.
 Man, those rear brakes get toasty! Yeah, so the result of the rear brake ducts was worst case showing no significant change in rear rotor or caliper temperatures. However, this did not come as a surprise due to the rear dust shield still being in place. Ian was riding shotgun and helped with the data gathering when we pulled into the pits.