,
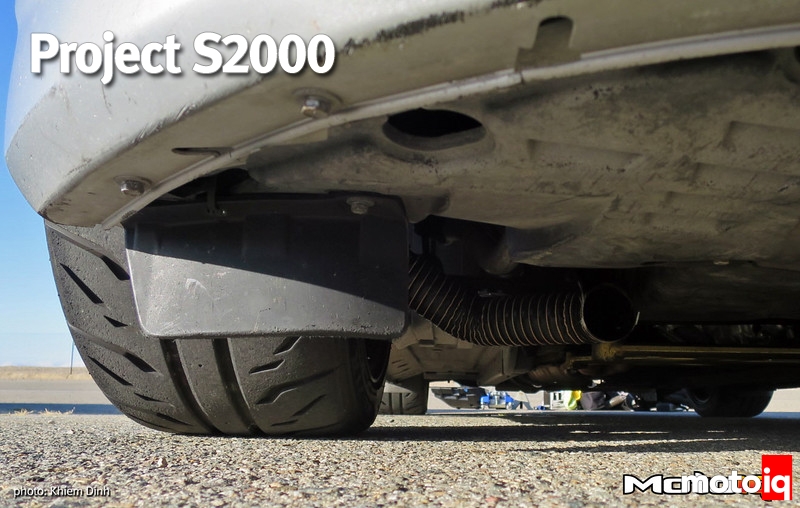
I checked the brake temperatures twice. Streets of Willow in CCW configuration can be a bit tough on brakes as your top speed is not very high relative to other tracks to provide tons of cooling air. The braking zone on the front straight is also pretty tough with me hitting around 103mph and dropping the anchor down to 40mph for the skid pad. Anyway, the first test point was coming off the track hot. The second included most of a cool-down lap. Long story short, the ghetto DIY front ducts performed essentially as well as my prototype design. I bet the ghetto ones could be made better by simply using 2.5” hose instead of 2” and maybe pulling the opening down more into the airstream.
Coming off the track hot, the left front rotor with my old plastic duct measured around 420F and the caliper measured about 172F. The right front rotor with the new ghetto duct came in around 450F and the caliper 190F. The left rear rotor with my duct measured 630F and the caliper measured 250F. The right rear rotor measured 600F with the caliper measuring 220F. So, on the front, the ghetto duct performed basically the same as my other duct. On the rear, the duct did basically nothing for brake temps which was not unexpected due to the dust shield still being in place and preventing direct airflow to the rotor. In fact, the rear brake with the duct measured hotter which just goes to show the level of variance in testing on the road course where loading can be different due to the corners.
The temps after doing a moderate cool-down lap (a different session) were: LF rotor = 230F, caliper = 155F; RF rotor = 225F, caliper = 150F; LR rotor = 440F, caliper = 270F; RR rotor = 440F, caliper = 225F. So after a cool-down, the ghetto duct seems to have performed the same as my plastic duct. If you remember way back when I first did my brake duct testing, the plastic duct had a rotor temp of 280F while the unducted rotor was 400F; i.e. not even close. So while my data isn’t super accurate, it’s fair to say the new ghetto duct performed similarly to my plastic duct and the rear duct had no significant effect on brake temps. I did continue running the rear ducts because I figured they were blowing some cooling air on the spindle hopefully keeping the bearing a little cooler.
 Man, I love these tires. I started off the day with 31psi in the front and 31.5psi in the rear cold and never touched them (mostly because I’m lazy).
 I did not do a thorough tire temperature test, but they ran pretty even temps across the fronts.
 The rears also seemed to run more even compared to the auto-x results. When the RE-71Rs are warm, they are like bubble gum picking up all the clag around the track.
 Here’s one more piece of data as I had my track hood on with the ram air duct. You can see the general trend of manifold air pressure increasing with vehicle speed. With Streets of Willow being a relatively low speed track, I was only hitting about 103 mph maximum speeds, but you can see my MAP pressure increased roughly 0.3kPa from 60km/h to 160km/h which translates into roughly 0.75hp gain.
So there you have it, DIY brake ducts for less than the cost of a nice dinner date. It is common sense, but I think I proved the rear brake dust shields need to be removed if using this brake duct method to get cooling air to the rotor surface. Or you can cut a hole in the shield and connect the hose to it. Eventually, I’ll ditch the stock rear brakes to a larger setup that will run much cooler and preserve the rear hub and wheel bearings. But for now, I’ll just keep on romping on Project S2000.


