

Similar to the RaceCapture, you will configure scalars that will modify values from the CAN bus in order to get the final result you want.
For example, there are scalars for converting between metric (SI) and imperial units. There are scalars for simple math (x10). And you will probably need to add a few scalars yourself.

Lastly, you configure the outputs that you intend to use on your pages. Think of this like another game of connect the dots.
Your outputs are what you are going to use on the different dash pages. And, if you’ve been paying attention, you have a CAN “input” (received values) and a bunch of scalars. So, an output is basically applying a scalar to an “input”.
If you look at the middle of this picture, there is CoolantTemp, which has the CoolantTemp_scalar applied to CoolantTemp_raw. If you remember from earlier, the Haltech sends temperature values as 0.1 Kelvins. What is CoolantTemp_scalar? It’s the input (raw, in our case) value times 0.1 and then minus 273.15. In other words, CoolantTemp is going to be the Celsius (SI) temperature.
You’ll then notice CoolantTempF, which is CoolantTemp with “Convert Deg C to Deg F” scalar applied. You won’t be surprised, then, to realize that CoolantTempF is going to be the Fahrenheit temperature.
Some of these scalars and values are already included. Some are not. Get comfy, and configure them all up. Then, connect more dots on the dash pages.

This is how you configure standard numeric values to display in DashDesign.
We won’t go into how to configure all the different types of gauges and displays in DashDesign. AEM provides a very thorough user manual that gives you everything you need to know. A couple of things we want to point out here:
- You pick which output you want to use as the input of the value display
- You pick the font and font size
- You can drag items around on the page or you can enter the X/Y position directly
- Value displays can be set to change color when warning levels are hit
A special note about the warning modes. You can simply set a warning level for the value display, but you can also tie it directly into an alarm. In this case, we had configured a high coolant temperature alarm, so it made sense for the coolant temperature value display on this page to change color when the high temperature alarm was triggered.
Since we were already going to set up a bunch of alarms to make the alarm page and alarm LEDs work, why not use them for these value displays?

Alarms are just special outputs.
You configure them much like all of the other outputs, except that they use simple logic on the inputs. In this case, we activate the coolant temperature high output alarm when the CoolantTempF level is above 225.

Configuring the LEDs is not difficult, but it is time consuming.
To make the warning (left/amber) or alarm (right/red) LEDs on the CD-7 dash itself light up, you configure an output (LED Right Red) as an alarm, and then use a bunch of OR conditions to decide when it should be active. For example: coolant temperature high OR oil pressure low OR …
The shift lights are configured much the same way. You configure a number of alarm outputs against engine speed for the various LEDs, and then set the LEDs to use the outputs as the inputs. (RPM > 5500, RPM > 5900, and so forth).
5 comments
CD006!
Love the build, check out my similar build at https://www.facebook.com/pg/Danger-Racing-Group-1997107470615292/about/
John
I think my buddy Jay took a photo of your car and sent it to me! I was supposed to reach out to you but never got around to it. Small world!
Small world indeed. I have been keeping up with your build for a while. Very envious of the wiring job. The CD-7 is a great product but it is so new that there isn’t much guidance on how to customize. We may be swapping to an AIM product.
If you need any help with your CD-7 just let me know. Happy to dig into it. AEM tech support is also super helpful. Let me know next time you come through Atlanta!
Erik,
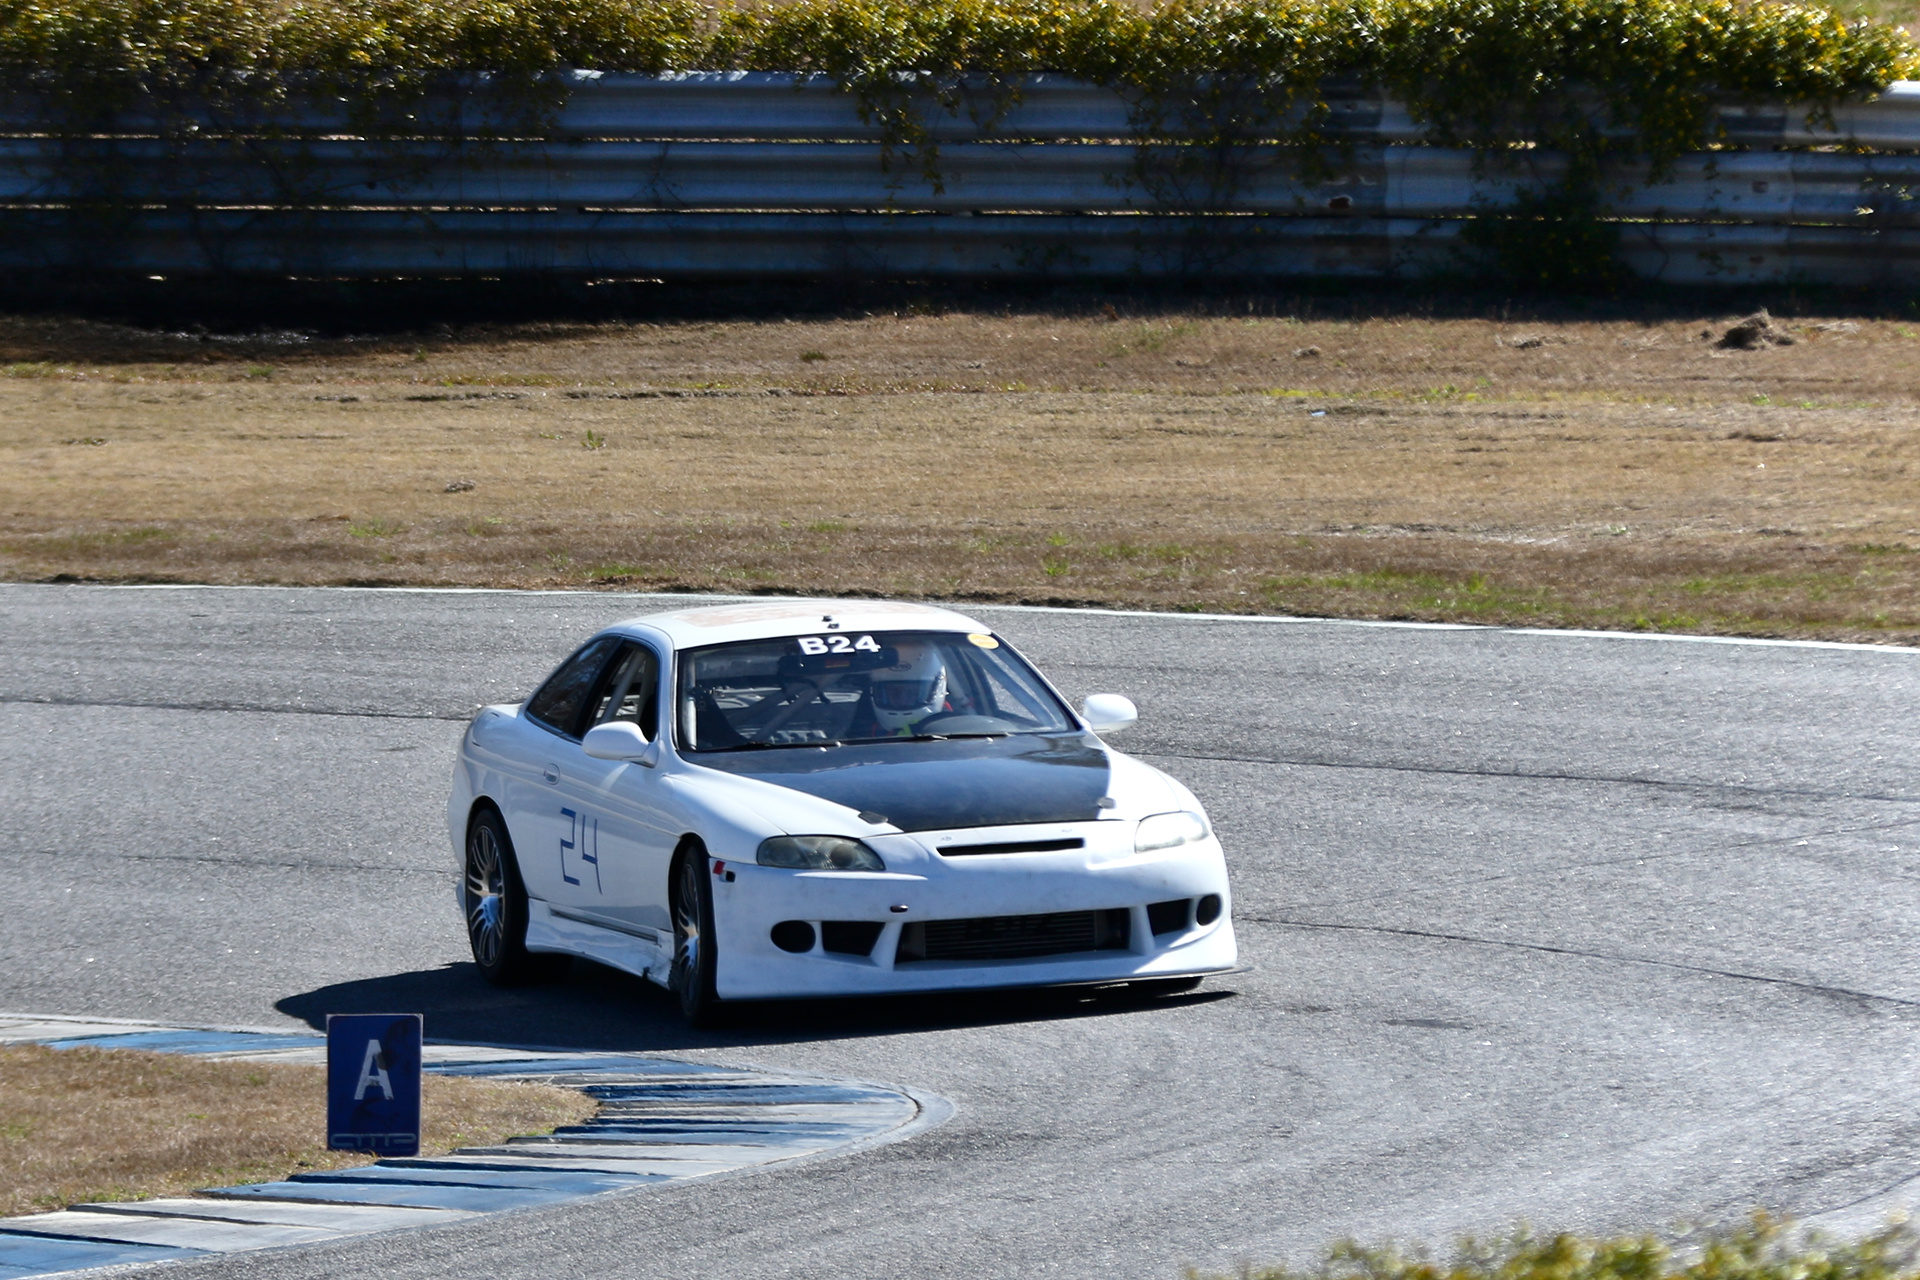
Double Win at AMP.
https://m.facebook.com/story.php?story_fbid=10156740661797346&id=102985012345
Hope you are doing well with your build. Think we are dropping the CD7 in favor of AIM product.