

If you are wrapping around the cage, pay careful attention to the instructions. There are very specific ways to run the belts through the bracket to ensure they hold fast in a crash. Once you have everything at the optimal length you can wrap the excess belt length and zip tie it in a neat little roll.
The instructions here, too, indicate what acceptable angles are for the shoulder harnesses in relation to the seat, your body, and the mounting. Do it right, or potentially be horribly or fatally injured in an accident.

When you want to loosen the belt, you can simply pull on these strips. Another nice touch.

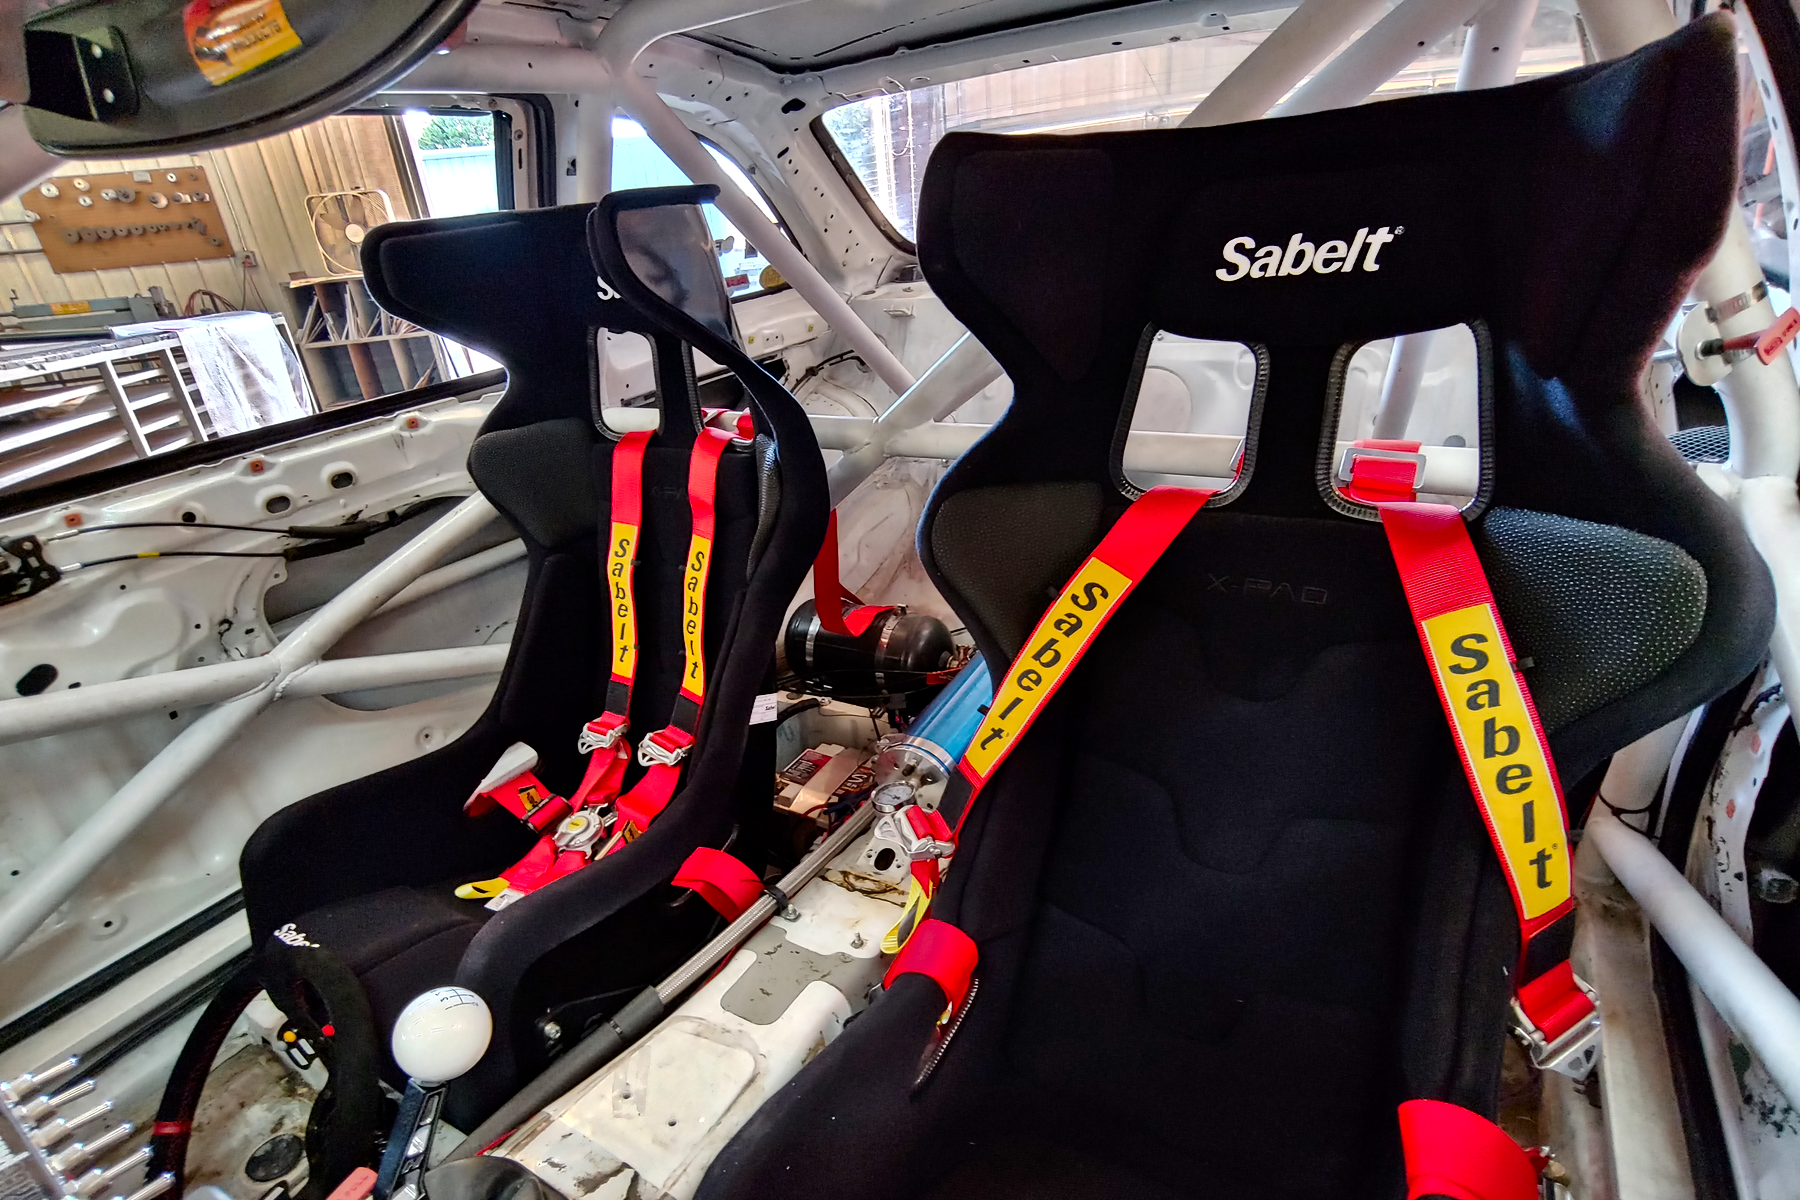
You can see here there are two little loops to the right of the Sabelt logo. With the name “Enduro”, it’s not a surprise that these belts are designed with endurance racing in mind. These loops make it easy to attach things like radio wires and drink tubes to the shoulder belt. During a driver change this helps both keep the tubes/wires out of the way, but also keeps them close once the driver is in.
Speaking of keeping things out of the way, the large black square below the Sabelt logo is not a hook-and-loop patch to place your gamertag. It’s there so that you can flop the shoulder harness over the back of the seat and stick it in place to keep it out of the way during a driver change.
Lastly, while not visible, the entire back of the shoulder harness is coated in anti-slip material (also featuring the Sabelt logo). Since the shoulder harness comes down and across the material of the head and neck restraint, this anti-slip patch helps keep the shoulder belt in place and located on the restraint.
Really, there’s a ton of attention to detail here, and for $520 US MSRP you really can’t beat it. There really is not another option at this price point that gives you everything the Sabelt Enduro Silver does.

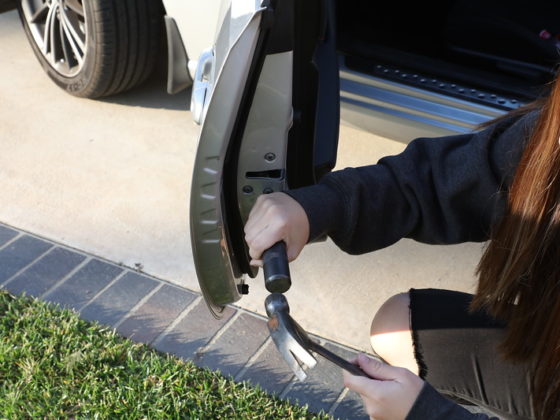
But, first, some updates to our towing situation. As you may have noticed, with a car that’s actively being developed, things don’t always go as planned, and getting stuck out on track is a frequent occasion. Fortunately, Sabelt makes it easy to get saved.

They’re explicitly designed for towing your car. They come in a few different lengths and colors.
3 comments
As usual, a very well written article. Thanks, Erik! There is a lot of good information here and I hope that your next update IS about that well-deserved track time. I do have a question, though. At the bottom of page 2, you mention that “The factory seat brackets had been cut and channeled to accommodate flat bar which then had threaded holes installed onto which the seat mount was attached.” So, was the newly installed seat and bracket attached to the old flat bar setup? If so, why didn’t you have Robinson remove the flat bar and do a full install by not using any previously fabricated components? Not to detract from the work done (which is awesome), just a curiosity. Thanks.
@BANSFTC
Yes, if you look at the last picture on page 2, those are the “original” mounts that were fabricated by the cage builder (different shop). It’s basically flat bar fabbed into the OEM seat mounts. On the middle of page 6 you can see that Barry ground the paint away to expose bare metal, and then welded his new square frame directly to the flat bar that was already there. So, the OEM seat mounts have flat bar welded to them, and then a square frame welded to that.
Barry felt that the existing flat pieces were welded well enough into the chassis that they would be a suitable mounting point for the new frame. It would’ve been extra hours to chop all that stuff out.
The other thing is that the OEM mounts are usually (!) safe enough for rollover and serious crashes in terms of being welded into the car. So, using them as a starting point can sometimes be easier because they are often flat in relation to a floor that is far from flat.
If I was starting over from a bare tub today, Barry probably would’ve opted to make two bars going from the side rail to the tunnel all nice and welded in and then build the seat frame on top of that, but that’s quite a bit of extra work. You can see from the picture on the middle of page 6 that the floor of the driver side is not flat. So to make it work you end up having to start cutting things out of the floor pan and that gets ugly quick.
I hope that clears it up!
Fat-fingered my own name. I miss the previous motoiq.com format where we would log in.
Yes, your reply does clear it up. I was thinking about the cross bars that you mentioned (side rail to tunnel), but your explanation makes it clear why it was done with the existing flat stock. Thanks for clarifying. Keep these articles coming! They’re great.