

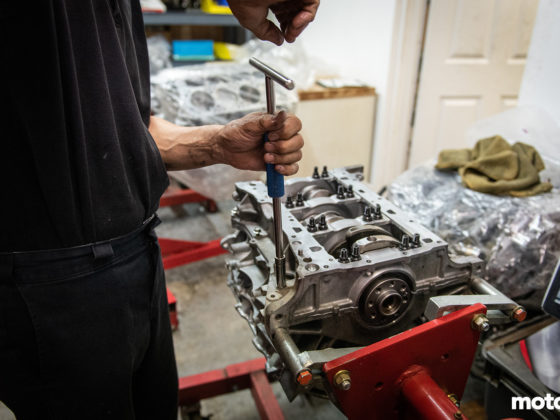
These are pretty sizeable metric socket caps, so you might need to run to the tool store to find some impact drivers.
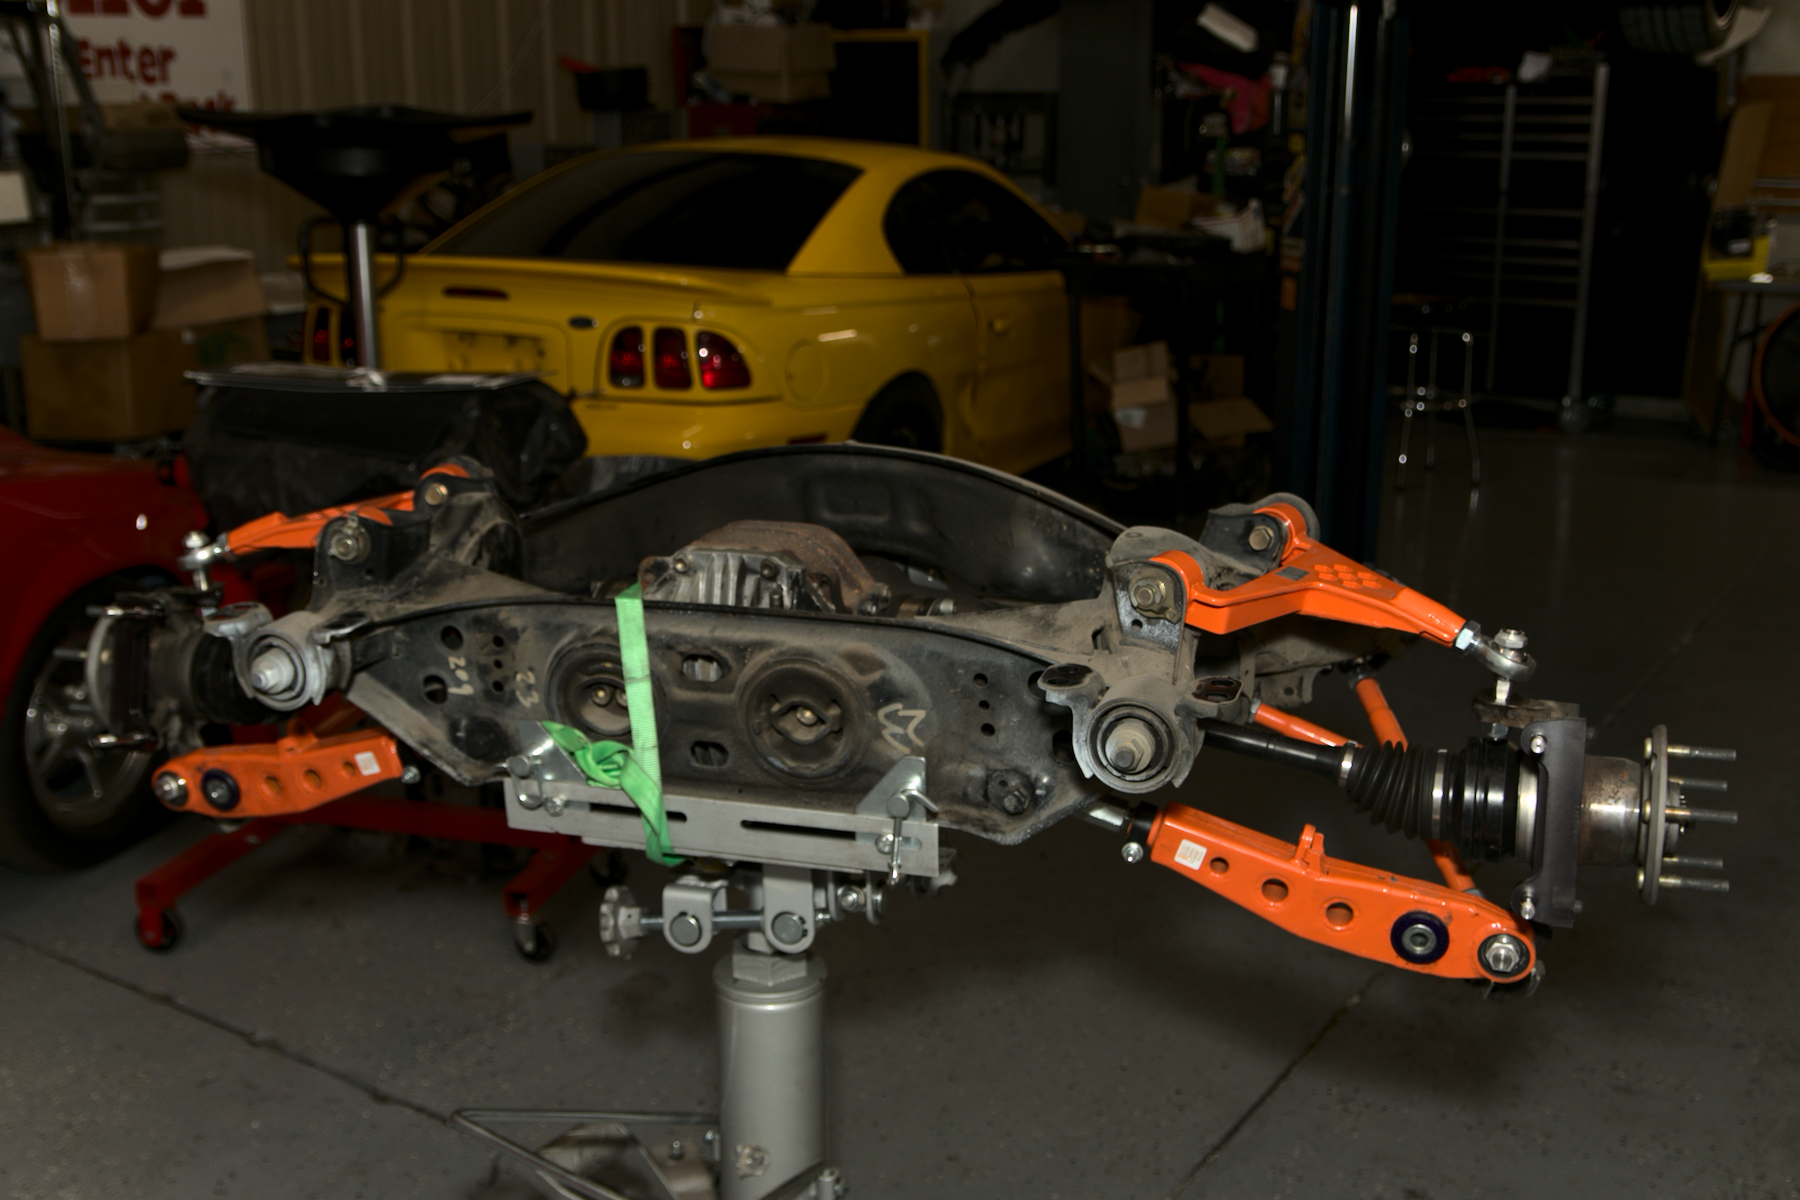
In the front of the differential are just two large bolts that attach the wings of the differential housing to the subframe.

These are actually a FIGS bushing design that Superpro manufactures. The FIGS label clearly shows the order of the hardware components. There are longer socket cap bolts and some spacers that go on either side of the bushing. The spacers locate the bushing at the correct depth in the subframe. While the attachment to the differential itself is all metal, the metal is interfacing the subframe through the polyurethane bushing material.
Take note of the bushing grease again. Make sure you are always greasing the bushings before installing them. It also doesn’t hurt to grease the surface into which the bushing is being inserted. This will prevent noise later (do you care?) but is also just generally good practice. It may even extend the life of the bushing.

Here you can see the front differential bushings. They have a bizarre top cap and some specialized hardware that you will need to reuse. The instructions are pretty clear about what to do. Pay attention.

Again, Bart’s wisdom was invaluable. The bushing has a metal housing, and using the small air saw to make a slit in the metal housing allows the housing to deform enough to get the bushing out.
Be careful not to cut so deep that you cut into the subframe itself. This is another reason why the little nibbling air saw is useful.
Once you get that slit cut, the air hammer can again be used to get the bushing out by prying under the lip.

2 comments
At this point, I’m more interested in hearing about you getting your money’s worth out of this thing than more upgrades. That’s not to say the work recently posted isn’t first class, but if it can’t run the times it’s for naught. I’m genuinely curious how fast this thing is as is.
You and me both — curious how it’ll do. I got some lap times at Grid Life Road Atlanta last season and they were alright. Off the pace for NASA ST2 times but respectable considering I still didn’t even have a baseline for the car. Heck, I’m still figuring out starting tire pressure.