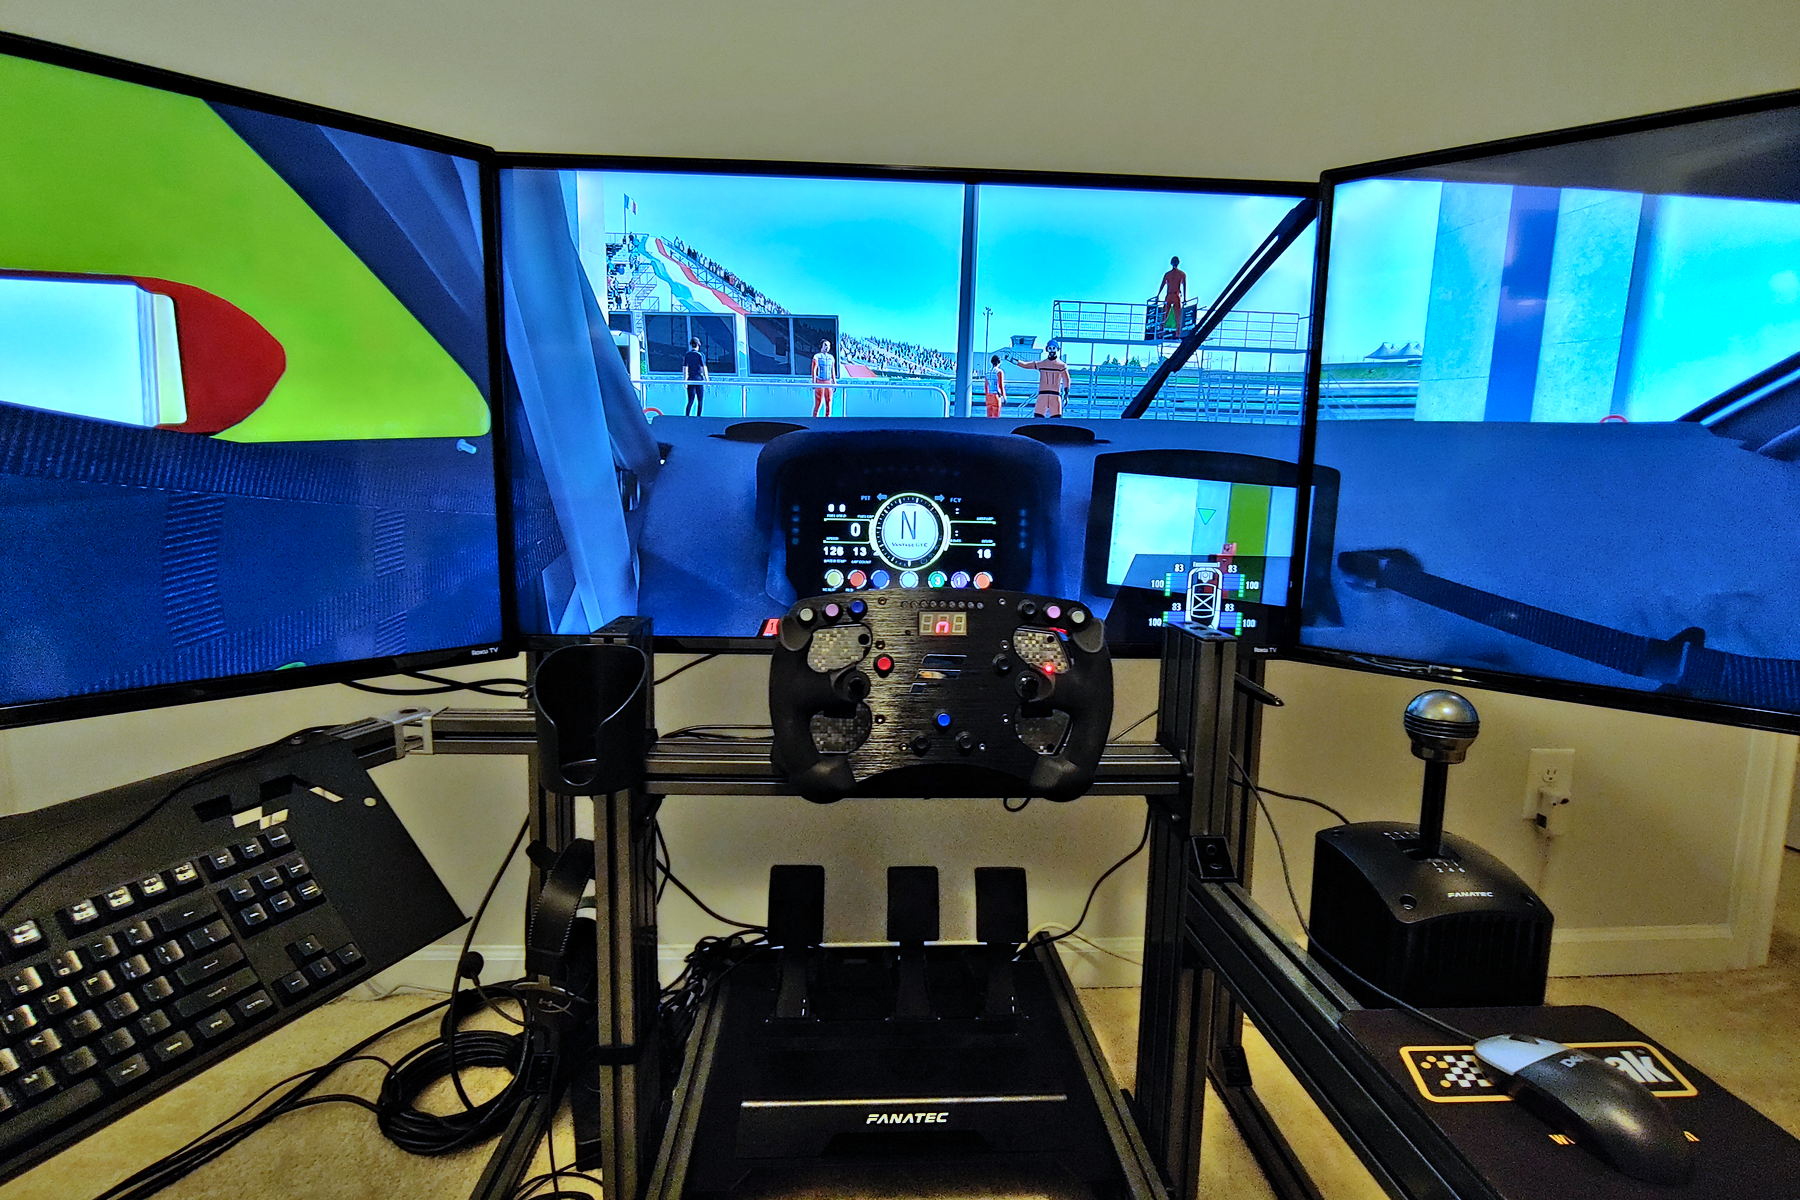
You may want to make sure to keep the little bags of screws and parts together with the assemblies they go with. In other words, when you’re opening all the well-labeled boxes, separate the fasteners for the monitor stand from the fasteners for the cockpit. I did not do this, jumbled them all up, and it caused grief later.
Also note that the steel plates are HEAVY, especially the pedal tray. When you get to that step, you may want an extra pair of hands to help.
ASR provides a few color options, but could probably be persuaded to do a completely custom color set if you pay them an obscene amount of money. I opted for gray.

Each of the different Advanced SimRacing rigs has slightly different seat mounting and other nuances.


Here Advanced SimRacing uses another set of custom-machined plates. Countersunk holes allow the plate to attach to the vertical stand, and then the assembly bolts to the outside of the bottom frame.


