,

Bolt the tank to the radiator shroud using the stock bolts, then connect the steam line using the Push-lock fitting. (Technically, that clamp isn't needed.)

Connect the 1/4″ vent line to the fill neck port, and route it near the washer fluid tank and onto the ground. (Yes, I know this is a bad place to vent excess coolant, but that’s what the stock bottle does, as well. Furthermore, if your system isn’t over filled, it won’t be puking coolant onto the ground.) Using a funnel, fill the Coolant expansion tank about 1/3 full.

Here’s the radiator cap. Make sure you check what pressure your system is before ordering! Our Grey Project Mustang 5.0 uses a 1.1-Bar (16 PSI) cap, but ‘15+ S550 Mustangs use a 1.6-Bar (21 PSI) cap.

After filling the tank 1/3 full, tighten the radiator cap on.

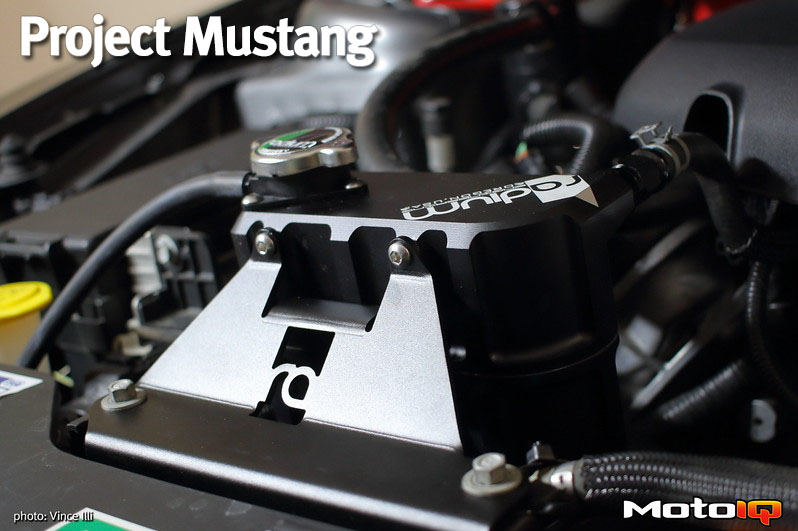
That completes the installation. Now sit back and admire how much prettier the Radium tank is than that ugly OEM one!
Advantages:
- Billet 6061 Aluminum is more durable than OEM plastic tank
- Allows use of standard “A-Type” radiator caps (and different pressures)
- Smaller size increases available space in engine bay and allows easy remote mounting
- Internal design better deaerates coolant
- Better aesthetics than OEM tank
- Easily allows conversion to AN hardware
Disadvantages:
- Capacity of tank is reduced by approximately 50% in this application, requiring more diligent fluid level checks.

All buttoned up- a better look at the aesthetically pleasing attributes of the Radium tank.
In summary, Radium Engineering’s Coolant Expansion Tank is a must-have upgrade for any car driven hard, especially if more engine bay space is needed or a V- or remote-mounted radiator is use. It also dresses up the engine bay!