
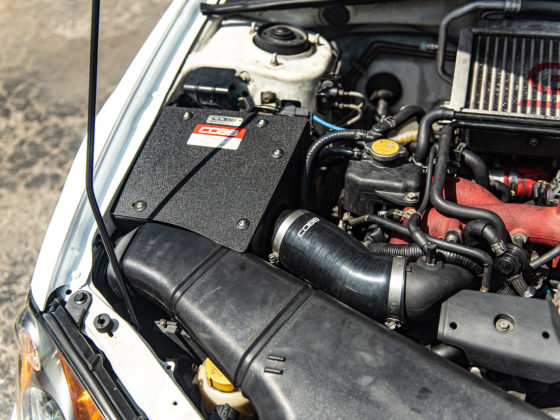
When the parts arrived, build quality appeared top-notch. The radiator is from their X-Line series, which has a significantly thicker core than the OEM unit. Interestingly, there is less fin density on the Mishimoto compared with stock. This could be to allow for the cooler to have similar airflow restrictions as OEM (thicker and fewer fins vs. thinner and more fins). Unfortunately, without running air pressure taps, I can’t validate this theory).
The Mishimoto has 41 tube rows vs 44 tube rows on the OEM radiator. Tube heights themselves seem thinner on the Mishimoto, leading credibility to their statement that “16% thinner-than-stock tubes allow for more surface contact, increasing cooling efficiency.” The thicker core size should allow for similar, if not reduced, pressure drop within the cooling circuit. This can reduce cavitation and improve overall coolant flow within the cooling system, which is always a good thing. The best method to test this hypothesis is running pressure sensors before and after the radiator and testing at various temperatures and RPM, but I will admit to not going that far in my testing.
Regarding the install, it went as smooth as can be and fit with no issues and Mishimoto has created a comprehensive video for those needing help with the install. +1 for Mishimoto.
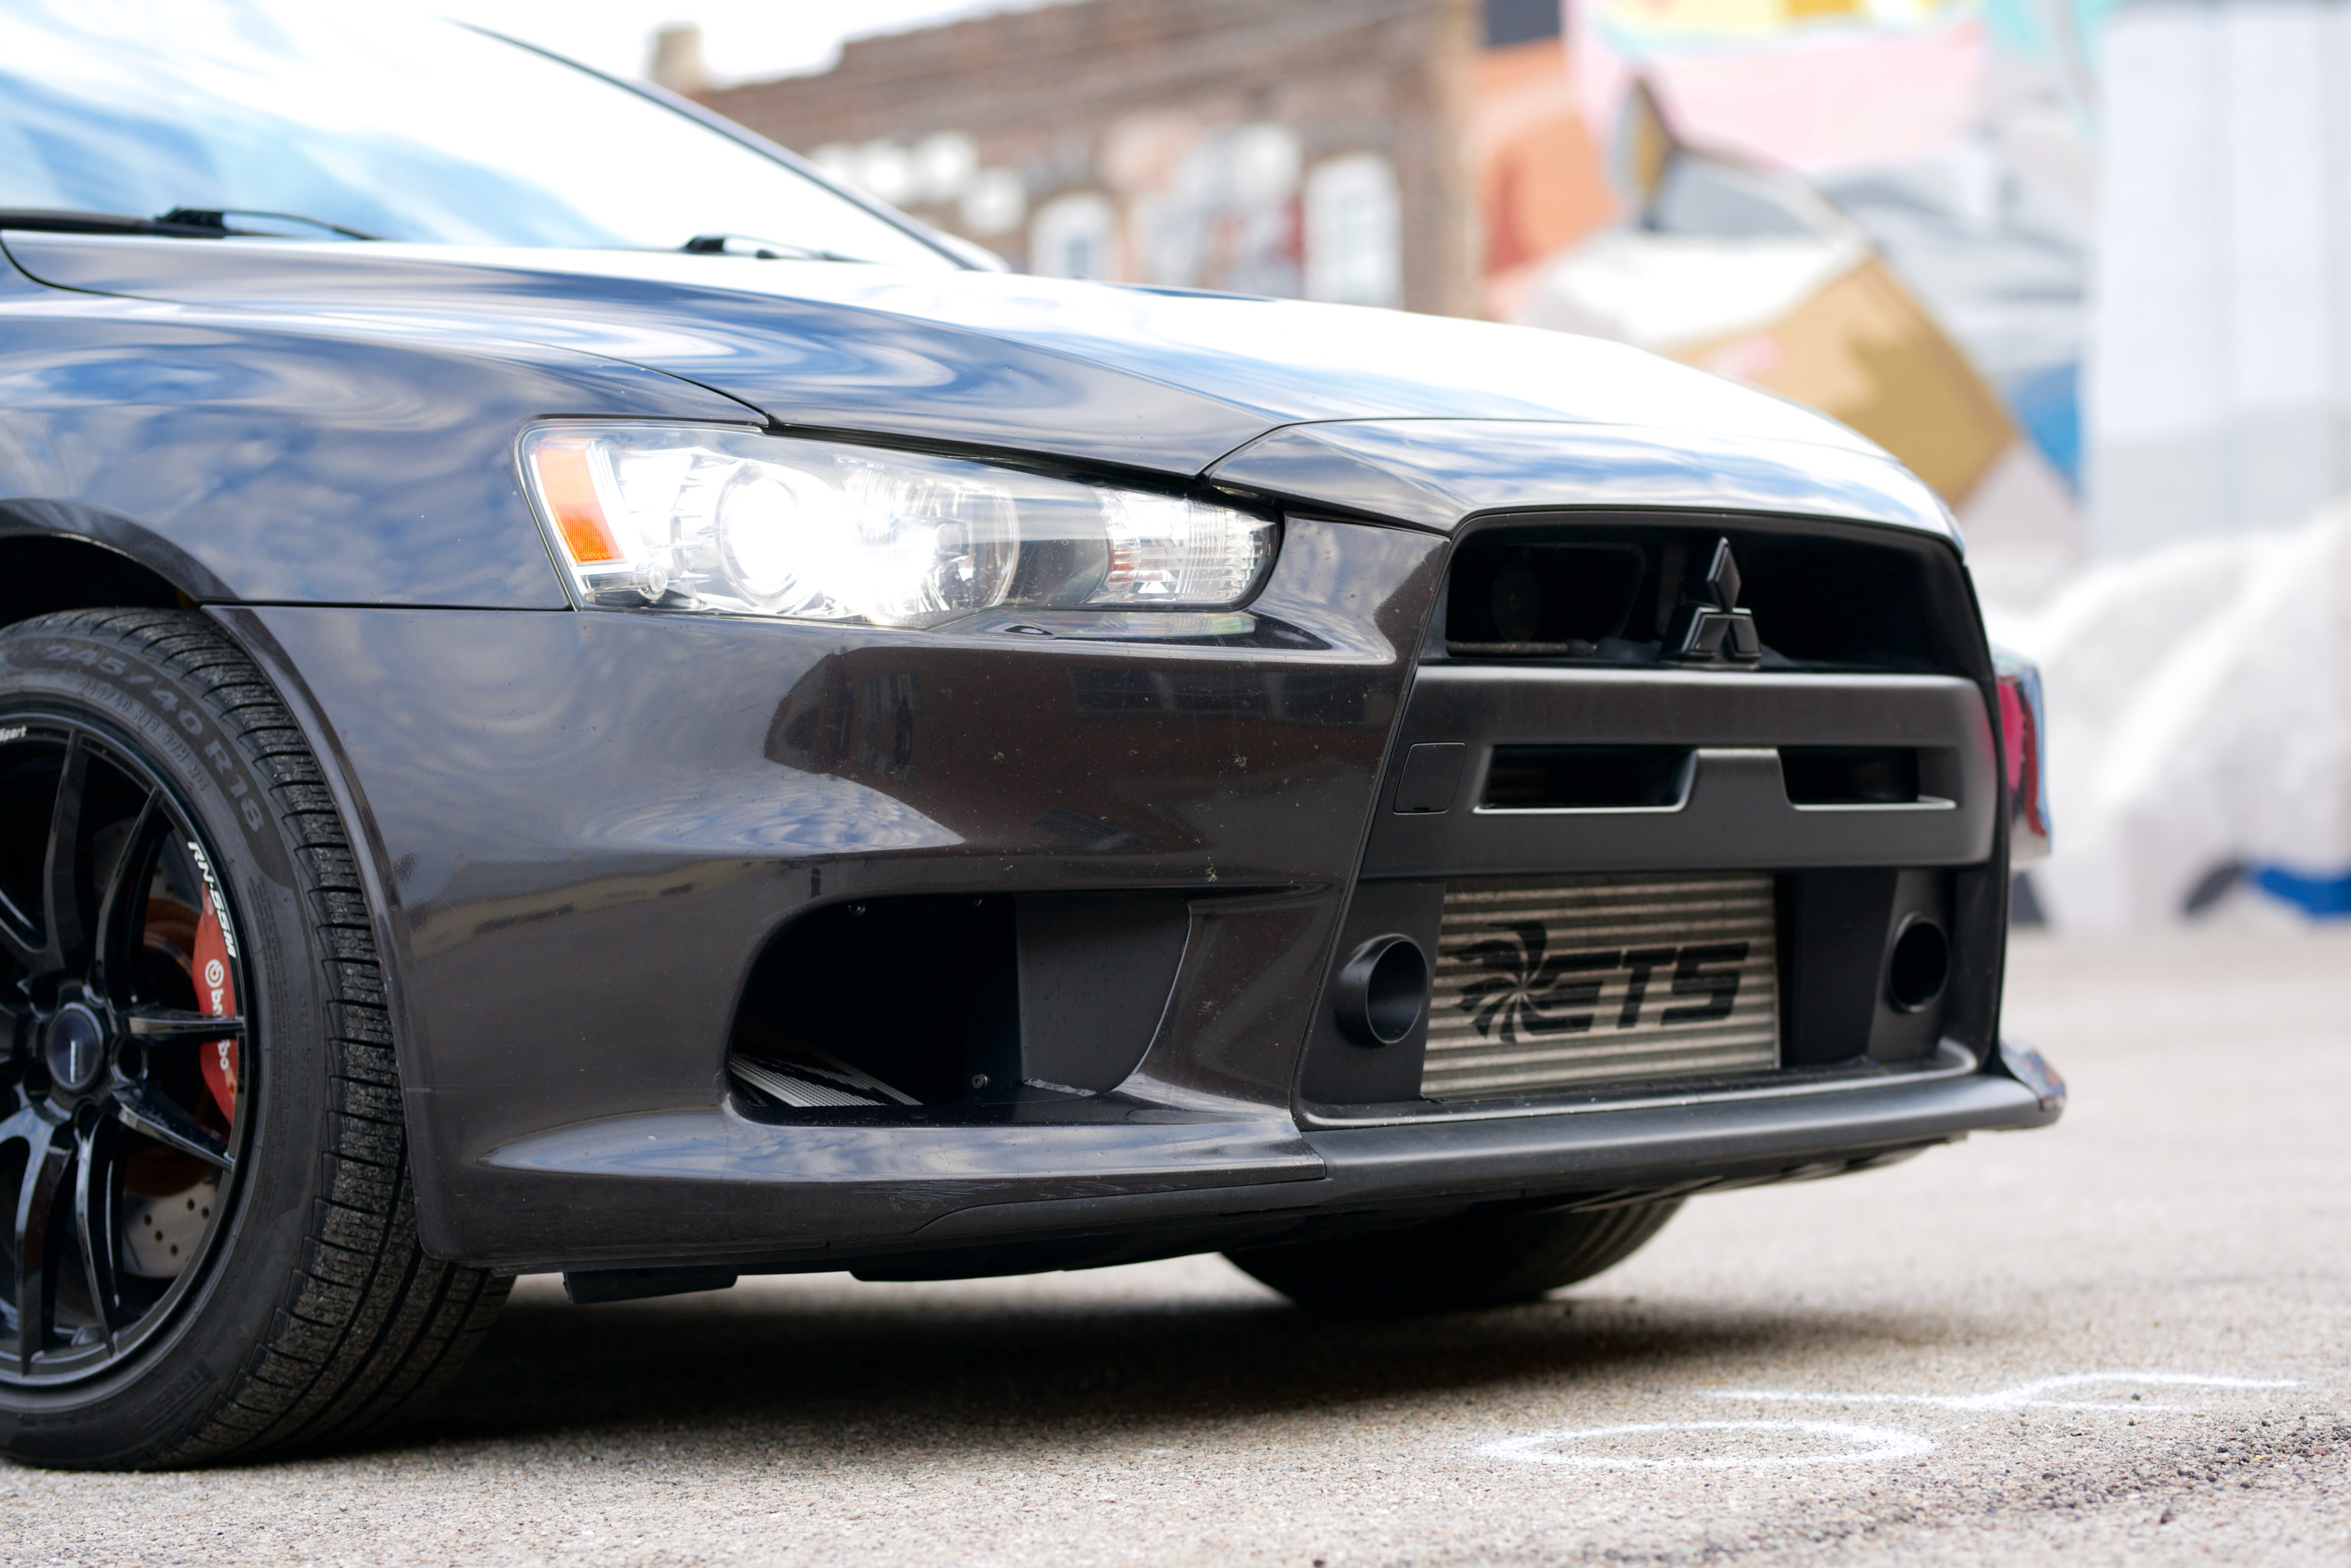
The oil cooler system is actually two of their oil cooler cores, mounted in a V shape, that replaces the OEM cooler. The coolers themselves seem extra sturdy and simple in their design, which leaves me very little to complain about. The install itself had a few shortcomings that were easily, but perhaps a bit annoyingly, rectified. As with the radiator, Mishimoto has a well put together video for installation, so I’ll link that here.
The cooler assembly mounts in using two bolts, allowing for rotation along the axis of the two mounting locations. I fabricated a very simple aluminum bracket to hold the assembly in a third spot to solve that problem. The next issue was that the clearance was tight around the new oil cooler lines and they could easily rub along the frame in multiple locations. I tried to come up with an elegant solution, but ended up going with a heater hose sliced down the middle, which I then wrapped around the oil cooler lines and finally zip tied into place. Problem solved, but not nearly as nice as how the OEM runs their lines. Lastly, in their YouTube install video, it shows the OEM fog lights fitting in their factory position. Try as I might, there was no way for me to keep them, which honestly bummed me out. I’ve researched online and many others have had the same issue.
+.5 for Mishimoto… could have been better, but for my use case, the additional cooling is worth the minor headaches.
One area that’s never discussed in car modifications is the potential for creating problems while trying to solve another. As there are now two oil cooler cores instead of the one, new potential leak paths now exist. This has nothing to do with Mishimoto’s fit, finish or quality, but something to be considered. Yes, the increased oil capacity and cooling capabilities are very much welcomed, but one has to be aware of new potential problematic areas. So far, so good though. No leaks and the install went mostly smooth all-in-all.

3 comments
I have issues with Mishimoto when they blatantly rip off another company’s design even leaving tracks like ordering a part to rip off on their own PO. It’s not even reverse engineering but a blatant copy of another company’s stuff like they did with Improved Racing. That just rubs me the wrong way.
I’ve run that oil cooler on my X for about 6 years without any issues. I did the exact same with the lines, and its worked out very well. Very interested on the oil sensor as I agree….running the sensors (especially with extension lines) is a massive PITA.
I am working with Turn in Concepts on the wiring soon with a dedicated datalogger. I’ll report back soon with how everything works out but we have used that same sensor in a different location on the Pro Awe Time Attack Evo VIII with good luck.