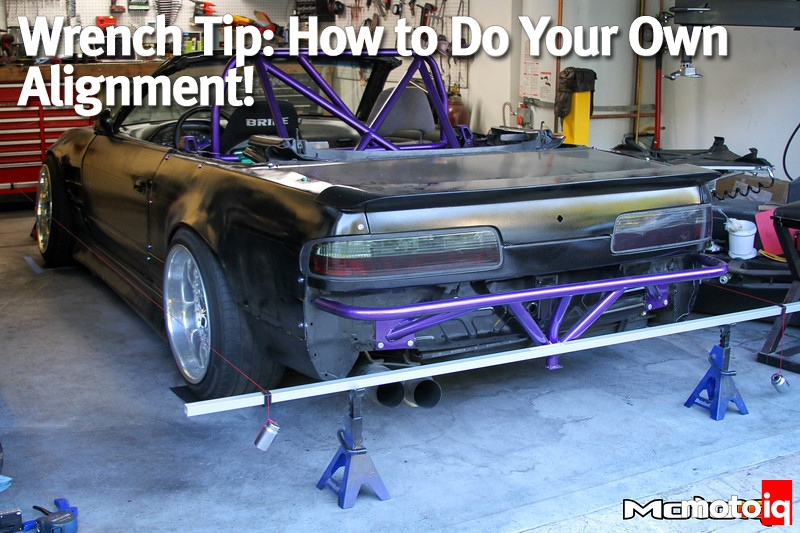
When most people hear the word alignment, they think of two things– lasers and alignment racks. There is a preconceived notion that in order to achieve an accurate alignment, you need a $50,000 alignment rack. That is simply not true. With a little ingenuity and math, you can achieve extremely accurate alignments without any expensive tooling whatsoever. When racers hear the word alignment,they think of strings and levels.

Many many years ago, I used to get my car aligned on a Hunter rack at a local Firestone. However, I was never satisfied with the accuracy; my car never once tracked straight after coming off a rack. After getting fed up, I attempted my own string setup, and after making very careful adjustments, I was absolutely blown away by how perfectly straight my car would track. Now I’m not saying that alignment racks are inaccurate, rather, the point I’m trying to make is that it’s not about how big your tool is, it’s how you use it.

There are products out there designed specifically to help with at home alignments, however, you may find it hard to justify the price. For example, a set of Watkins SmartStrings costs $450… for strings and tubes. Or, their SmartCamber gauge is essentially a $250 angle finder. QuickTrick turn plates cost $230 for two sheets of metal and a bearing. I’m going to show how you can do the same thing with stuff you probably have laying around your garage.
Here is a list of everything you’ll need:
String
Bars to hold the alignment strings (I used 1” square aluminum tube)
Ruler
Tape measure
Vinyl tile ($1 from Home Depot)
Soapy water
Bubble level
Angle gauge (optional, but highly recommended)
Jack stands
Wrenches for adjusting arms
Before we get started, you need to know what caster, camber and toe is. You also should probably know what kind of settings you want. I highly recommend you read Mike Kojima’s Ultimate Suspension Guide.
The first step, is to make sure your floor is level.


If your floor is not level, it isn’t the end of the world. One thing you can do, is put plywood shims under the wheel that is low. For example, in my old garage, one corner of the garage dipped a little bit, which meant that 3 wheels were level with each other, but the rear left dipped down. I was able to still do alignments in that garage by simply placing a 1/4” thick sheet of plywood under that wheel.


10 comments
Thanks for the guide but I have a problem.
I entered your shortened caster formula in Microsoft Excel, and got a totally different value.
=ATAN((SIN(RADIANS(B64))-SIN(RADIANS(C64)))/(2*SIN(RADIANS(B65)))
=0.05481679
Instead of 4.2
ATAN in excel returns the result in radians by default. Convert it to degrees by changing your formula to =DEGREES(ATAN((SIN(RADIANS(B64))-SIN(RADIANS(C64)))/(2*SIN(RADIANS(B65))))
This worked, thank you.
Great article and a very clear explanation of the string method for alignment but one query. You stress the importance of the bars being parallel to each other but presumably they don’t actually have to be square to the car – making a parallelogram out of the string and the bars is sufficient and they don’t have to make a rectangle. Would you agree?
This is correct, a perfect rectangle isn’t necessary. An isosceles trapezoid or parallelogram is okay. In either case, the string is spaced evenly from the hub cap on each side.
Thanks!
Thank you for the great article and explanation, you’ve inspired me to give it a try!
Is this an empirical formula? If not, could you provide the source? I’d like to know how it was derived.
You do know the average driver don’t want to change tires every 25 miles
Do you know the tires won’t wear out in anything close to 25 miles even with the most extreme racing settings?