,

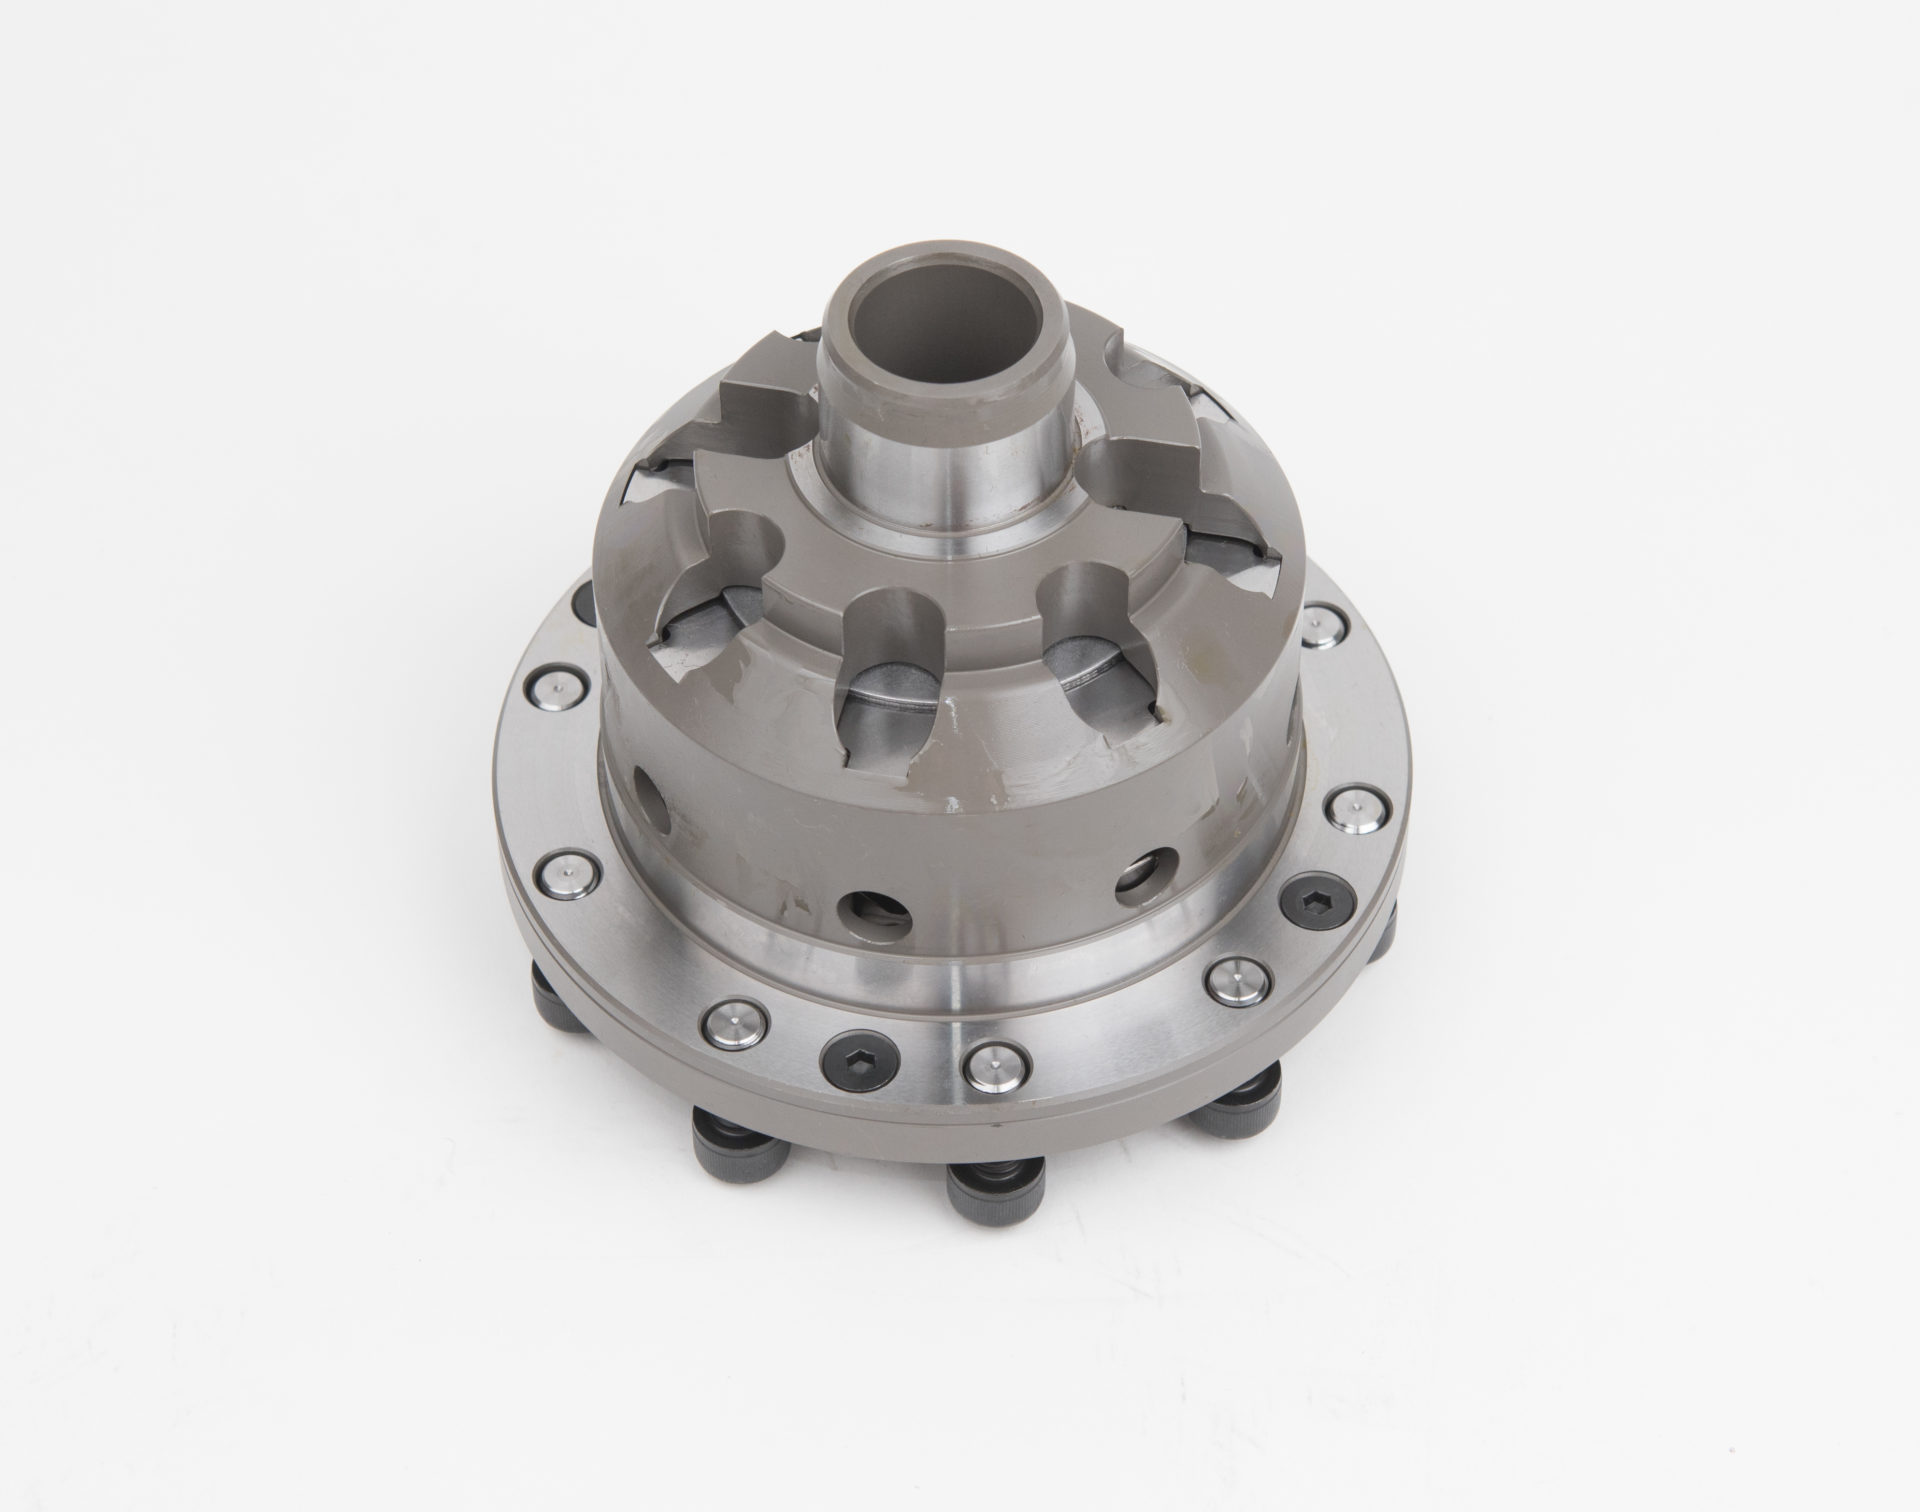
Now the new differential side bearing can be pressed on the OS Giken diff.

Next, Howard flips the diff over and presses on the other side bearing.

Howard gets ready to install the ring gear on the OS Giken diff by first applying loctite red to the ring gear bolts.

Next, Howard torques down the ring gear bolts on the OS Giken differential.

The assembled differential is dropped into the case. Now it is time to check the bearing preload. The preload is adjusted with select fit shims under the bearing races in the case.
First, the diff is placed in the case and the case halves are bolted together. The torque to rotate the diff is then measured with an old stub axle connected to a torque wrench. If the torque to turn the diff is too little, a thicker shim is used to increase the preload. If it is too much, a thinner shim is used to decrease the preload.
Fortunately for us, the OS Giken diff had the exact same dimensions as the stock diff and the preload was perfect as is. Unfortunately, that gives us no pictures to show how preload is set exactly!


1 comment
What Fluid did you guys use in the transmission?