

The power for the lights was 14 FEET longer on the long leg. Once I installed the harness it turned out to be a foot or two longer than needed, and I could trim it back, but ending up longer is better than too short.

I temporarily hooked the harness up to the van battery and plugged in the lights. I hadn’t reassembled the power switch connector yet because I needed to match the wires up to the DT connector that was already under the van on the EAS power switch. So I just jumped the exposed power pin to the relay control pin and I did not release any of the smoke. As we all know, once the smoke escapes from wiring, the wiring and or the components are usually bad. Be a good wiring person and don’t let the smoke out.
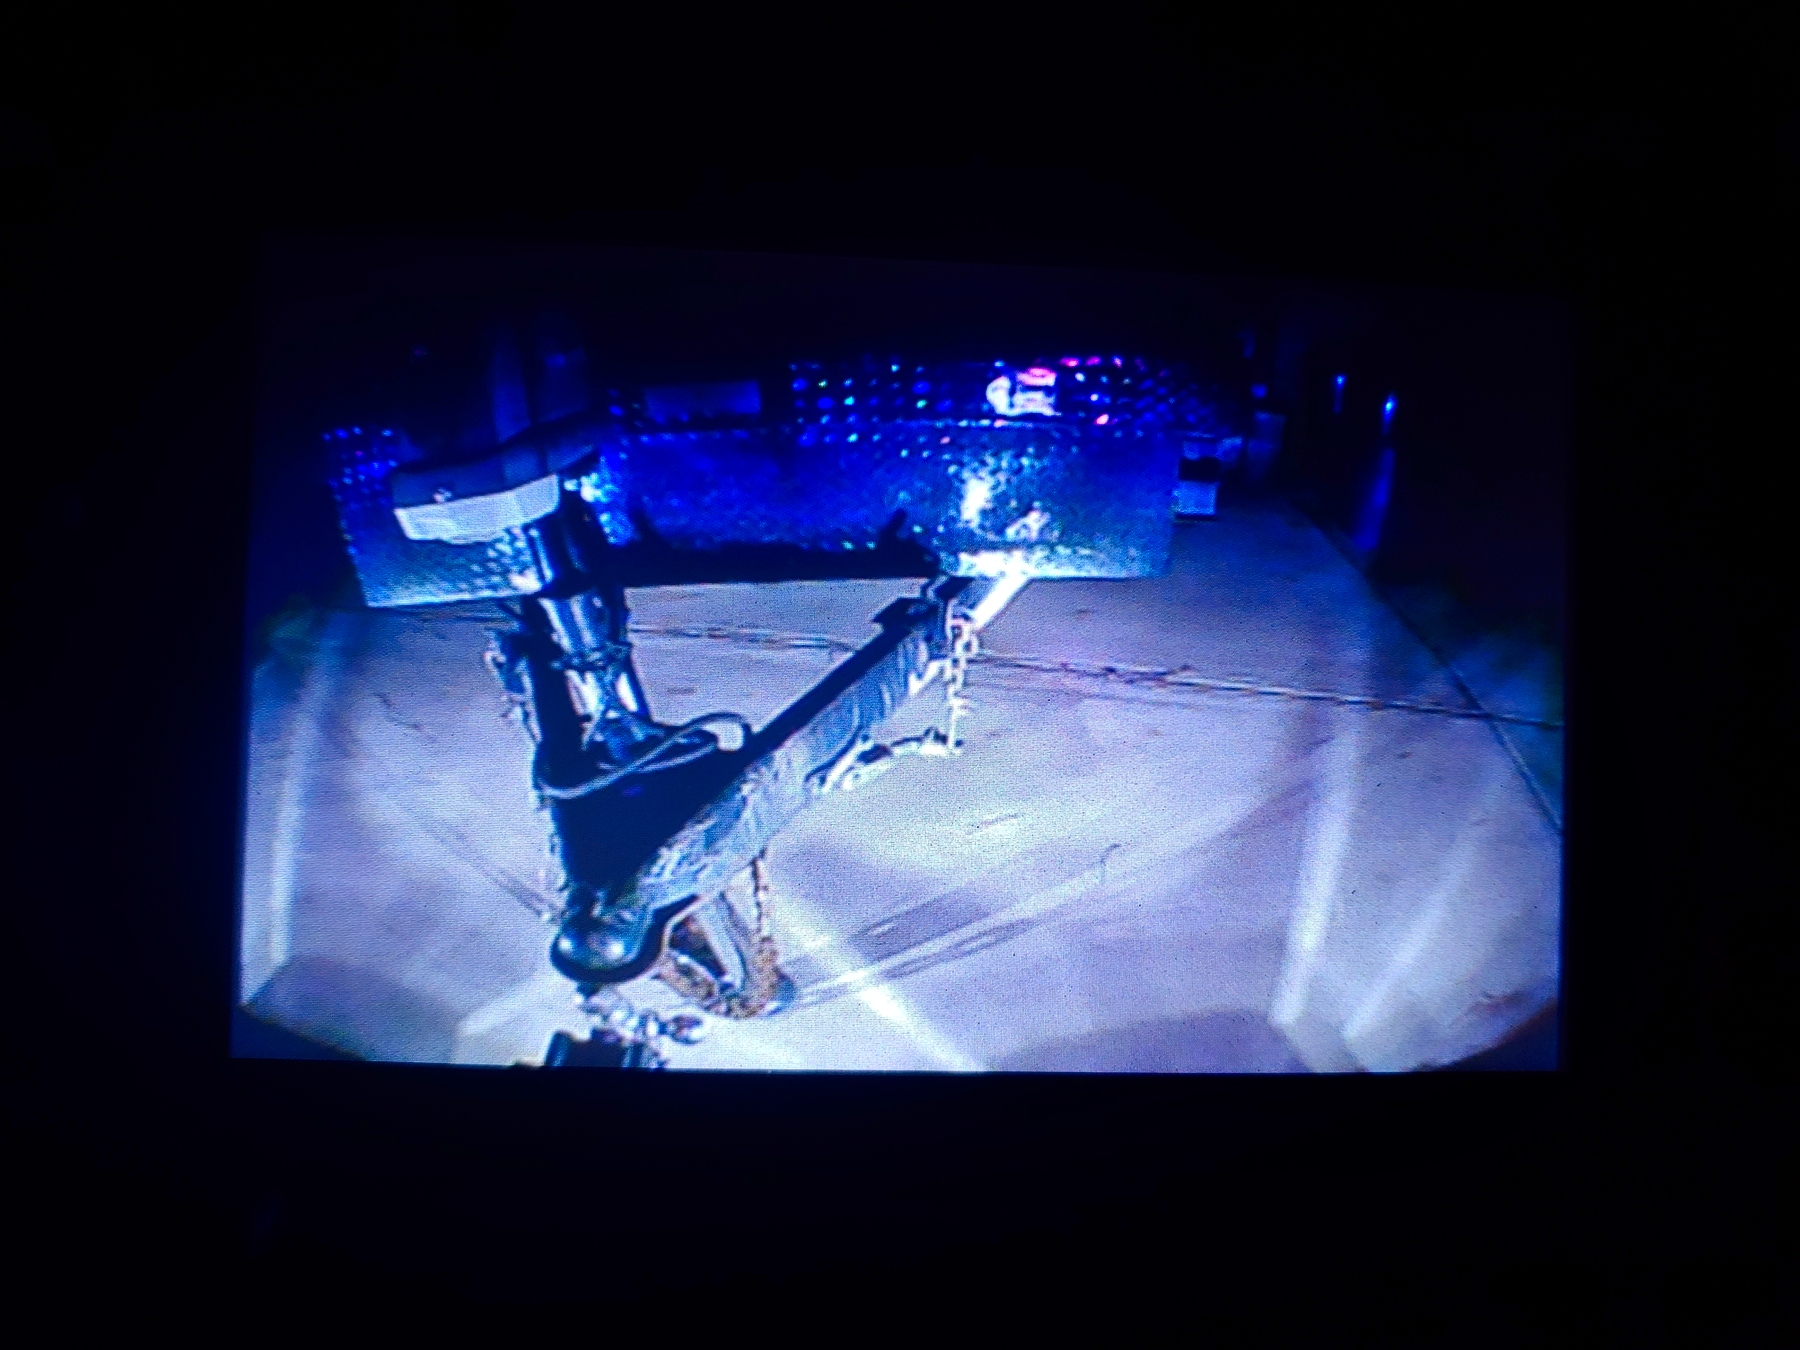
Time to fish this thing under the van. I will note that it would be a good idea to use some kind of protective tube/shrink on the wiring for the lights, especially since it’s exposed to road debris and etc. However I didn’t have any cheap stuff, and I wasn’t about to use $50 worth of Raychem DR-25 heat shrink under the van just to cover up four wires. So, bare wires it is. Maybe I’ll get 30 feet of cheap stuff later.

Or, in my case, since you don’t have enough spare red wire, use yellow for red, and match yellow to red, and black to black, and blue to blue.
And then later realize you have enough spare red wire.

You can get blanks to insert into unused cavities, but the other thing that works perfectly fine is an actual terminal. So I just shoved the 4th socket into the connector housing and then plugged everything together.
Close enough.
2 comments
you blanked out the back of the plate but then left the actual plate numbers visible on page 8
Yeah I realized I forgot to blur some of them a little bit late, and the way our photo system is set up I can’t delete photos, and it’s not hard for someone to just go to the whole photo gallery, so even if I added new blurred photos the old ones would still be there for now, so I just left them.
Thanks for noticing, though! =)