

You saw us use a similar unit in part two when we added the boost sensor. This EAS power switch allows you to control two devices directly from the Insight CTS2 display.
Now, the one drawback to owning a van is that a van is really long. And these lights are mostly designed to be on the front of a vehicle. That meant I needed to extend this harness. But, since I only have milspec wiring tools and components, the extension and the rest of the harness (mostly) it got the milspec treatment.

I used pins here because the other side of the connector would have the power coming directly from the battery. When this connector is disconnected, it means that the powered side of the harness is a socket connector, which is a little safer as it prevents tools and debris from getting in and shorting pins.

Since this toggle switch goes to the relay that comes with the light harness, and since the power switch unit is designed to toggle a relay, these two things go together. The included instructions even tell you so!
You can see that this end of the harness uses female blades to mate with the male blades that come from the factory on the EAS power switch harness. I would also just hack these off and replace them with the Deutsch connector.

Since I needed to extend the length of the power harness, I would also just hack off the connectors and then splice longer wires on. This is ghetto-ish, and I probably could’ve built an entirely new harness from scratch myself. But this is a little faster. I also could’ve just added an extra two connectors in between to make an extension harness, but Deutsch DTs aren’t super cheap, so, while slightly hackish, this would work.
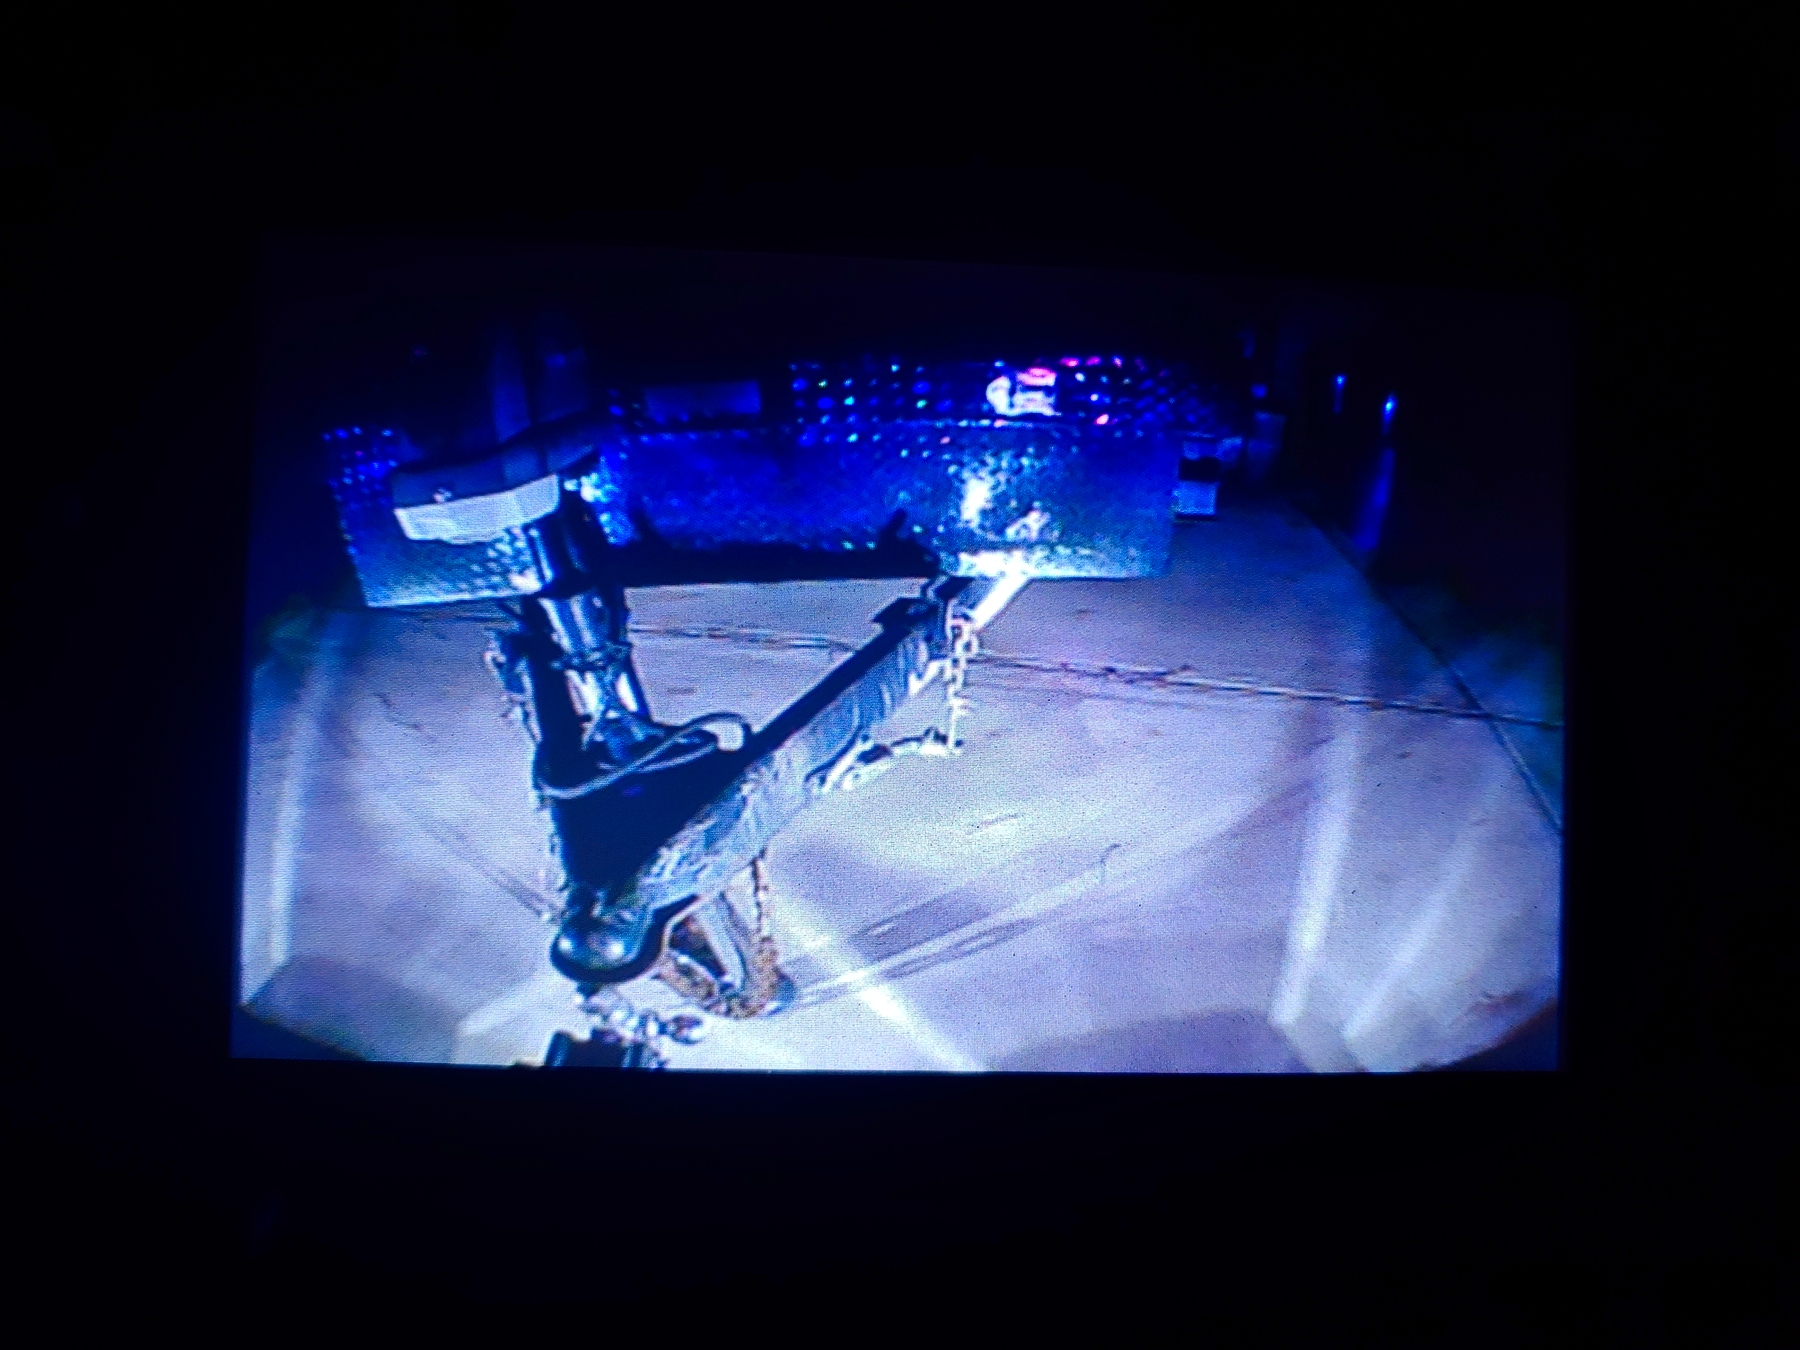
Be sure to note the polarity of the light pod connector before you take both of them apart! I forgot to do that and, when I went to reassemble these, had no idea which pin was power or ground. Fortunately, Edge Products makes all their LED lights the same, so the polarity on the light bar connector matched and I didn’t fry the lights.
2 comments
you blanked out the back of the plate but then left the actual plate numbers visible on page 8
Yeah I realized I forgot to blur some of them a little bit late, and the way our photo system is set up I can’t delete photos, and it’s not hard for someone to just go to the whole photo gallery, so even if I added new blurred photos the old ones would still be there for now, so I just left them.
Thanks for noticing, though! =)