,

The kit includes a 4-GB Micro SD card that holds the nGauge’s operating system, tune files for your vehicle, and data logs (which we’ll get to in a bit). That golf-tee-looking tool is used to insert the card.

There are 3 ports on the back of the nGauge. The RJ-45 (“Ethernet”) port on the top right is for the OBD-II connection. The RJ-11 (“Telephone”) port on the bottom is to connect a Zeitronix ZT-2 Wideband O2 Sensor (very useful on older cars that only have factory narrowband sensors). The rectangular port on the left is for wiring in two 5-V analog inputs, such as from a boost sensor or the Auto Meter Elite Series gauges.
Installation
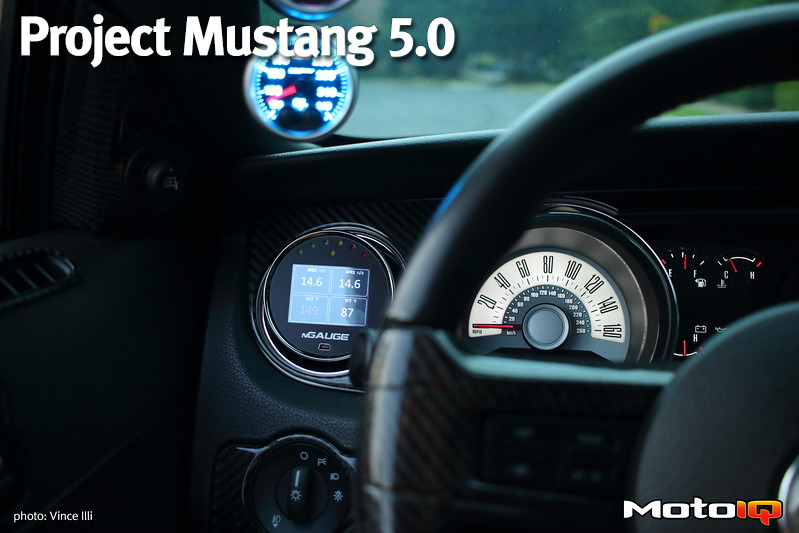
To begin our test, we first mounted the nGauge in Project Mustang. The ‘Gauge is exactly the size as the circular HVAC vent next to the steering wheel. While it is possible to simply remove the vent, “stuff” the nGauge into the opening, and rely on friction to hold it in place, we wanted a more secure, permanent, and elegant method. For this, we turned to Jonathan’s Performance, who makes a trick 3D-printed mount that secures the nGauge to the dash without permanent modifications.

The nGauge mount from Jonathan’s Performance bolts to the adapter that is included with the ‘Gauge and holds it securely to the dash panel. It also angles the ‘Gauge so it faces the driver.

To begin the installation, remove the dash panel that surrounds the gauges. This panel is simply held on by clips and can be pulled straight out. Next, gently remove the vent, which is also held on by clips.

Using the hardware supplied with the mount, install the nGauge’s “cup” to the vent panel. You can see how the Jonathan’s Performance’s mount angles the gauge towards the driver.