,

Now, reinstall the panel, snake the RJ-45 end of the OBD-II cable up into the dash, and connect the nGauge. The ‘Gauge simply clips onto the mount that was just installed.
Initial Startup and Configuration
Starting up the nGauge is a simple matter of plugging it into the OBD-II port and starting the vehicle. The following screen greets you:

Firmware Version and Serial Number are shown on the boot-up screen.

This is the Main Menu. Touch “Gauges…”

…then “Connect.”
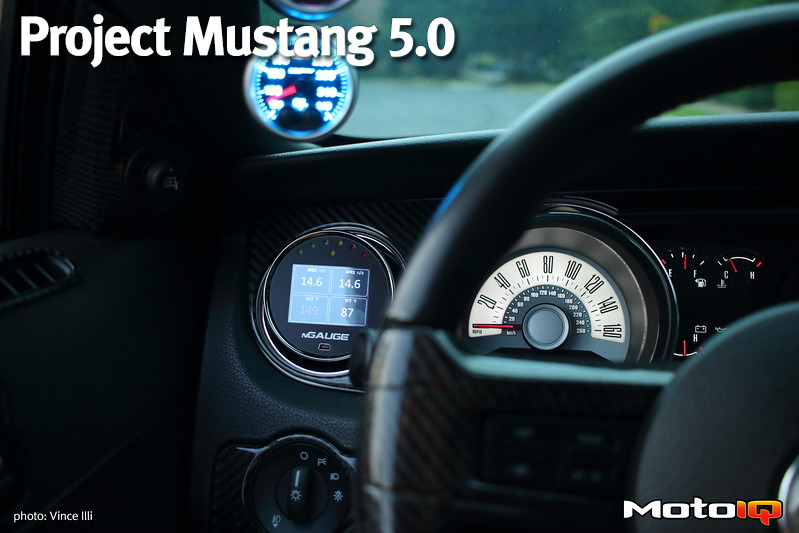
nGauge will identify the vehicle, scan the Controller Area Network (CAN) Bus, and identify all of the Performance Identifiers (PIDs) that it can scan. Because HP Tuners has fully unlocked the Copperhead PCM, every single engine parameter is available on Project Mustang. You’re next greeted by the default “Quad Gauge”:

The Quad Gauge numerically displays four engine parameters and is the default configuration. Here, I have it set to display wideband Air/Fuel Ratio (AFR) for both cylinder banks, Engine Coolant Temperature (ECT), and Transmission Fluid Temperature (TFT).