,

Before firing up the ECU we wanted to do the free-air calibration process for the Haltech wideband oxygen sensor. When you initially get a new wideband sensor, the wideband controller needs to figure out what that sensor thinks about the regular atmosphere. There’s a super simple process involving a trim pot and a blinky light to follow. It takes only a few moments. You want to do this before you start getting combustion byproducts all over your nice clean sensor.
Once we were finished, we were ready to power the ECU!

Haltech’s ECU manager software, after a bit of reconfiguration of the default view.
Actually tuning an engine is beyond the scope of this part of the article series. Get yourself a talented and experienced tuner, better if they are familiar with your engine type and engine management software. Veteran guys like Ed Senf will say they can tune anything — “it’s just numbers in boxes”. But you’re going to pay for the tuner’s time, so you probably don’t want to pay one to get familiar with your particular configuration. That guy who will street tune your car for $40? Skip him. The veteran who can handle any software on any dyno with any engine and charges $100/hr? That’s the one you probably want. If you have no experience with engine management software at all, you might want the tuner from the day you try to crank the car. Companies like Haltech can provide a lot of support over the phone, but there’s only so much you should rely on them for. I have a half decent understanding of how engine management works, so I figured I would give the first things a go by myself.
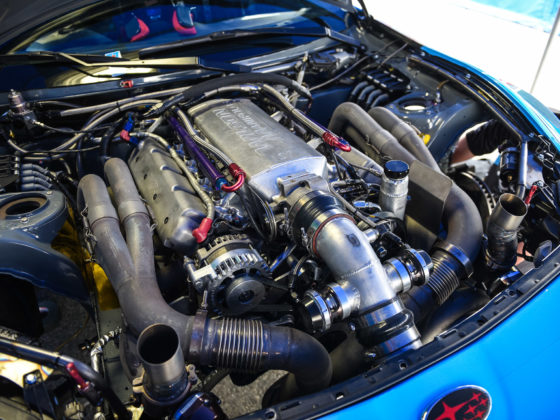
Just getting the car to run and idle is not terribly hard, especially if you’re dealing with a well-known engine and ECU combination. Haltech has a lot of experience with the 2JZ, they have a plug-and-play harness that uses all the OEM sensors and doohickeys as-is, and they even provide base maps. Plus, we had already been using a Haltech ECU on the car previously with this same harness. How bad could it be?
The first step in our ECU programming process was just to make sure that we could get the ECU powered up. We were using the existing plug-and-play Haltech 2JZ harness, and we had kept the few fuses and relays it used. There was a single pink wire that needed to be powered which would activate all the fuses and relays and, ultimately, power up the ECU. We had already configured the Racepak to power that wire when the switch labeled “Electronics” was on, so we flipped the switch and crossed our fingers for no smoke.
There wasn’t any, so we downloaded the ECU manager software, hooked up the USB, and got connected to the ECU. Just like with the Smartwire, the first thing we did was make sure to update the ECU firmware since it had been sitting around for quite some time.
We had previously had a Platinum Sport ECU powering our 2JZ. The ECU Manager software features an import function where you can load an old map and “convert” it to work with ECU Manager. DON’T DO IT. While it looks like it works just fine, Haltech reports that it is not reliable. How do we know they report that? We’ll get to that.
Since we were using aftermarket AEM sensors for some of the critical values (oil pressure, fuel pressure, etc.), we needed to configure the Haltech ECU to understand how they worked.

Haltech’s software makes it easy to calibrate sensor inputs.
AEM provides calibration tables for all of their sensors. Their pressure sensors have a linear response curve. We chose some values across the range and entered them into the calibration table. We then repeated the process for the fuel pressure sensor. We were using the Toyota coolant temperature sensor, so we didn’t make any changes there. And we were using Haltech’s intake air temperature (IAT) sensor, which was a GM-style unit. Haltech provides a calibration file that can be loaded into the ECU software for that, as well as sensor calibration files for many commonly available sensors.
We also had to make sure that we re-configured all of the Haltech ECU I/O for the changes that we had made. Since it didn’t originally use an oil pressure sensor, we had to set that input up. Fuel pressure, wheel speed sensors, and etc.

ECU Manager provides a handy I/O report so you can verify that all of your inputs and outputs are configured correctly.
With the sensor configurations and I/O properly set up and the old map imported, we figured we’d be able to crank the engine over and it would fire right up.
It did not.
We tried to diddle some settings, disconnected the fuel pumps and looked at the various cam and crank trigger diagnostics, and none of it made sense.