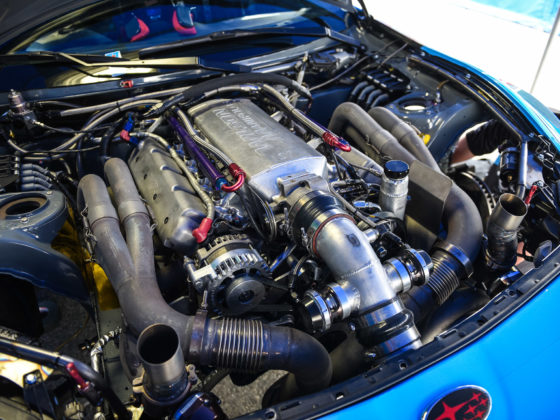
,

It’s really good to use for initially getting started and for troubleshooting. Remember that an ECU needs to know where the engine is in its rotation, and then uses that along with other sensor inputs to determine how to apply fuel and spark. If the ECU isn’t properly reading crank and cam position sensors, it won’t know where the engine is, and either won’t fuel/spark correctly, or won’t do either at all.
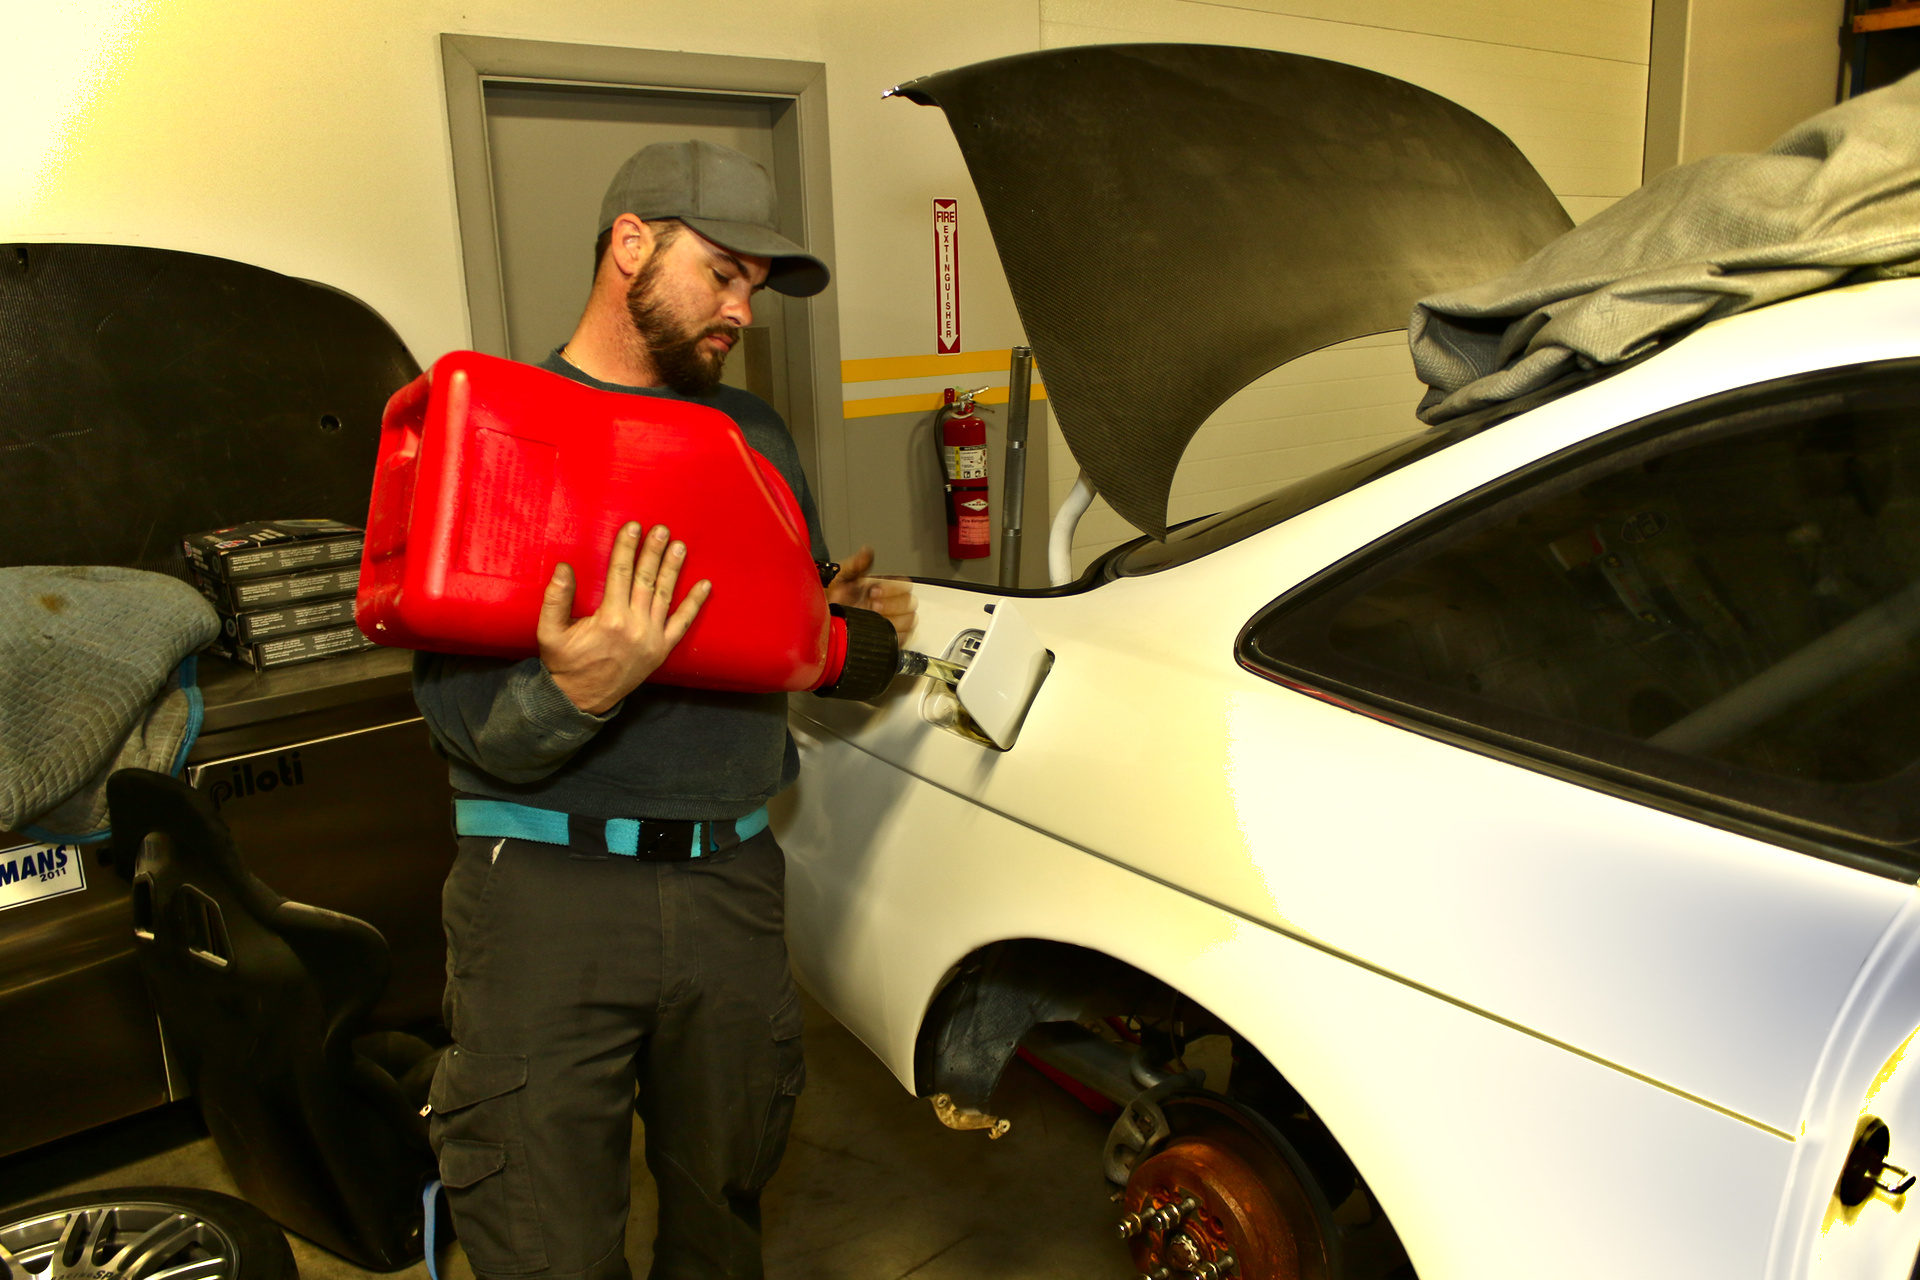
We called up Haltech, and they told us to load the base map for the 2JZ, suspecting that our file import didn’t work correctly. We did that, and then had to reconfigure all of our I/O again as it was different from the 2JZ base configuration. Fortunately Haltech provides a handy way to export sensor calibration tables, too. We exported and then re-imported those, double checked everything, and cranked it. The car practically started right then! Even though we had disconnected the fuel pumps, there was still a little bit of fuel pressure in the system, and it was enough for the engine to run for a few cycles before it ran out of fuel.
Clearly the base map gave us everything we needed. We reconnected the fuel pumps, cranked over the car again, and it ran! We did it! And then it stopped. What?

We realized that the Haltech ECU fuel pump relay control was backwards.
It was “priming” the pumps by turning them off, and then running them while it was not priming. Remember that we configured the Haltech pump output to go to the Racepak. The Smartwire was configured for ground-triggered inputs. The Haltech, out of the box, is expecting to energize a relay coil, which requires a high output.
As soon as the ECU was powered, the ECU would turn off the pumps (thinking it was turning them on with a high output to prime them). Then it would turn them on (thinking it was turning them off after priming). After the engine started running, it would turn them off again (thinking it was turning them on again for running)! The engine would run until it exhausted the fuel in the rail and then die. It took us a few cycles to realize this was what was happening, and then a quick ECU setting change got us where we needed to go.
We were idling! NOW we were in business.

Haltech makes integration with their wideband controller extremely easy.
Plug the WBC into the Haltech CAN bus, and then check one box in the ECU Manager “devices” page. This makes the WBC sensor available to be used as an input. It took less than 90 seconds to get to the point where we were reading the lambda value coming out of the Haltech WBC-1 on the ECU Manager diagnostics page.
We decided that we would let the car idle until it got fully warmed up, watching the various pressure and temperature sensor readings to make sure nothing crazy was going on. We also paid close attention to all the fluid fittings to check for any leaks. The car had been sitting for a really, really long time so we had run a bunch of coolant flush into it and would change the coolant several times over the next few run cycles.
Since we also had a functional fuel pressure sensor at this point, we could adjust the Fuelab regulator to set the desired base fuel pressure.
With the car running and idling, we could also use the Racepak software simultaneously to get a live view of the fuel pump voltages and currents, and the currents going to power the other devices, too.

We were going to use the Haltech Elite 2500 ECU to control the radiator cooling fans.
One important thing to remember is that almost all ECUs do not want to source current to drive outputs. They want to sink current (ground).
When we first fired everything up, we were expecting the Haltech to be able to control the small relay box for the cooling fan by driving the ECU output high (+12V) and energizing the relay coil. That didn’t work. We then realized (Ed Senf told us) about source vs sink. We made a quick wiring change to the relay box and reconfigured the Haltech IO to go active low. That got things working.