You’ll want to establish a center line reference first. Then measure the distance between your pylons. Then figure out half of that. Then measure from your centerline out by that half figure.
In other words, if your pylons are 20″ apart, you would want to make a mark 10″ from center on each side. This will roughly indicate where your pylon’s center line should sit. Note that your pylon’s tabs may not be exactly parallel to the centerline of your vehicle.
You’ll end up with a bunch of marks like this.

Just make dots through the holes with a marker or pencil or something. I chose to drill a pilot hole, and then a hole slightly bigger than the bolt’s thread width.

Carbon fiber dust is nasty stuff. Use protection.

Carbon fiber hoods and trunks especially have lots of support structure inside them. If one of your drilled holes ends up coming through one of these support ribs, you’ll need to make a large enough hole in the support rib in order to get clearance to get a socket onto the nut that goes on the backside of the bolt.

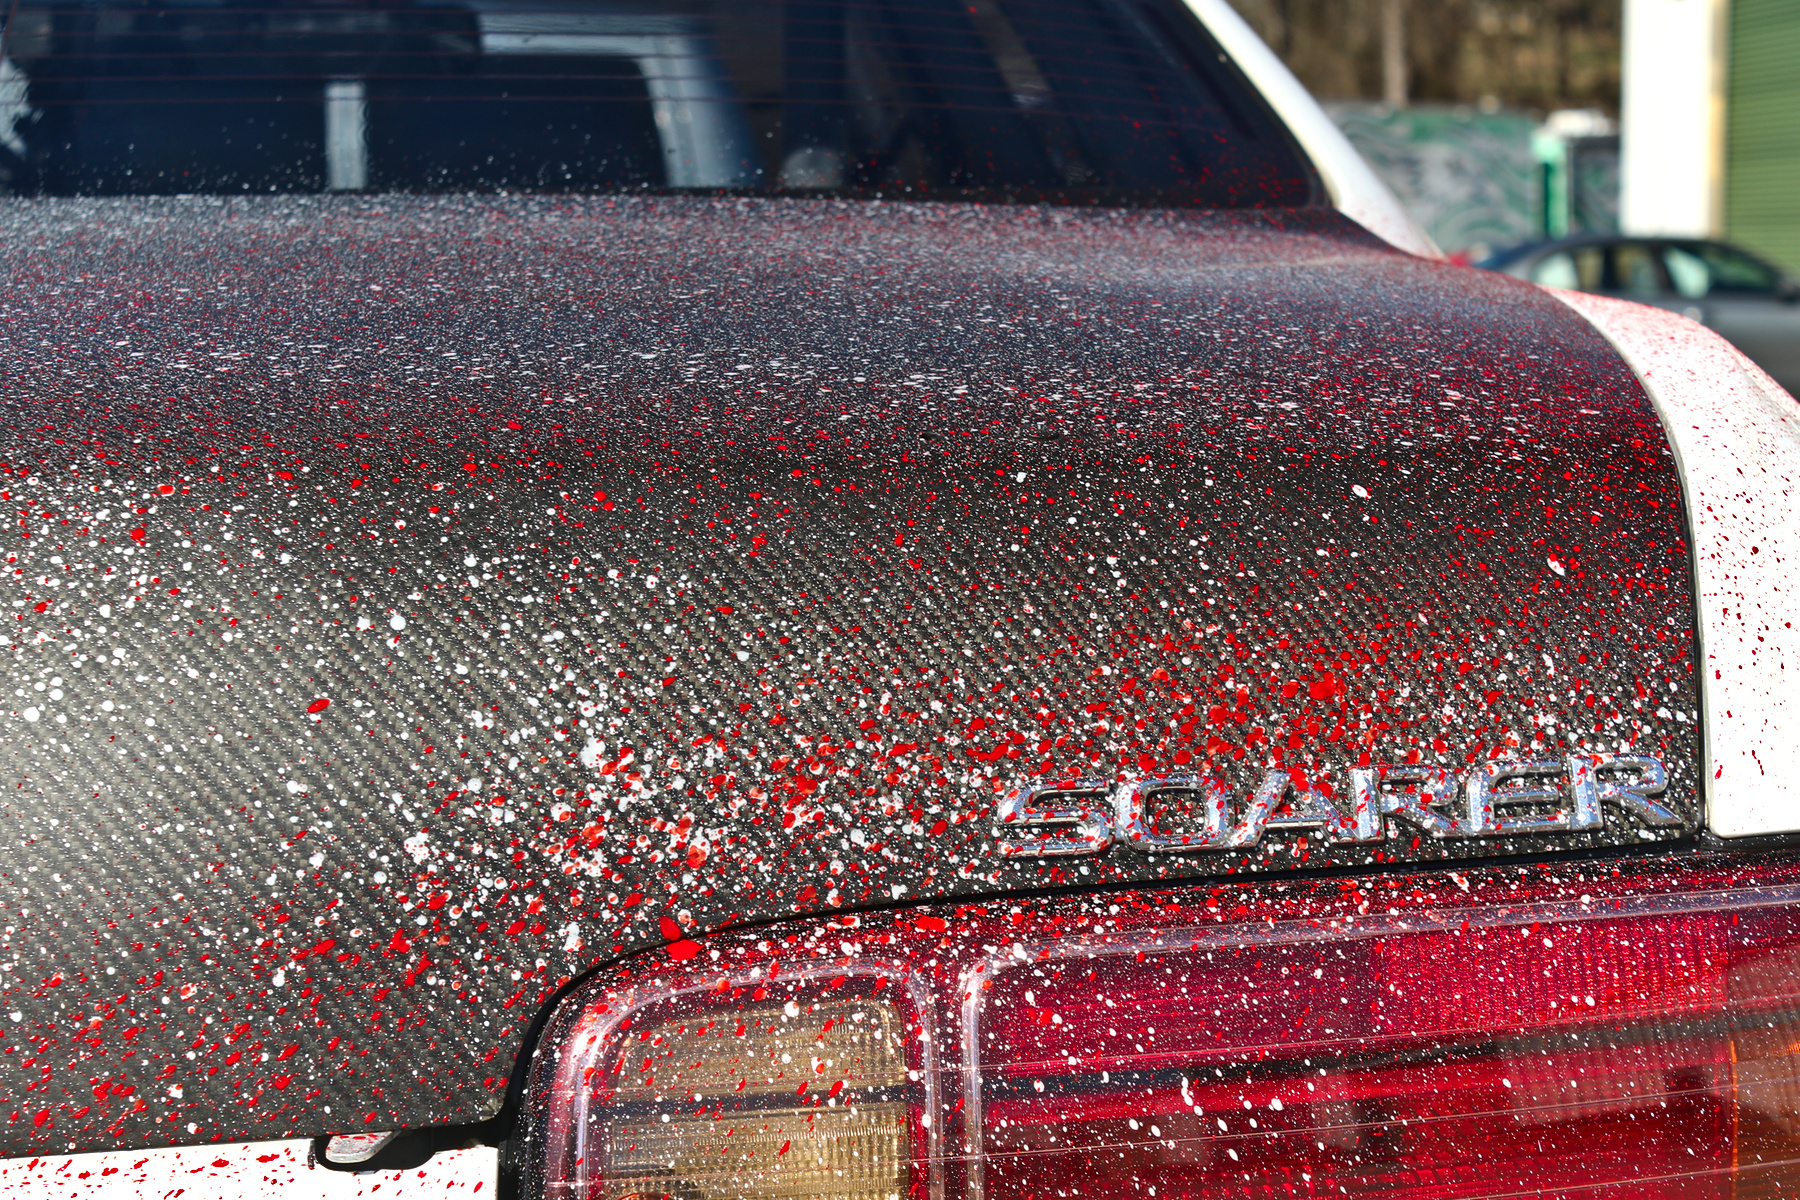
Yes, that’s actually a bunch of crappy fiberglass on my carbon fiber trunk lid. If you recall this car’s history, it was actually abandoned at a stereo shop where it had been getting a system which included subs in the trunk lid. I did the best I could to chip it out and clean it up.
Anyway… once you clearance the holes on the underside, you can bolt the wing to the deck lid. You’ll want it tight, but it doesn’t have to be crazy tight. Remember that the wing is pushing down into the deck lid (downforce), not pulling up (lift), so they’re mostly there to keep things in place. That being said, too tight and you will crack your fiberglass/carbon fiber. You can be less careful on a metal lid.


5 comments
Dang, I was hoping that the paint would be use for flow visualization. Flow viz paint, and wool tufts are both cheap and effective methods to develop chassis aerodynamics.
You can’t really know what the flow is like at the back end of a vehicle without real-world testing. For example, the optimum solution for the SC300 may not be a wing, at all…but rather, a trunk lid spoiler. You can gain both downforce anb reduce drag if you design a proper spoiler. The curved surface of the SC300 rear trunk lid probably increases lift, rather than making downforce. So, there’s a huge missed opportunity by installing a rear wing only.
Personally, I would like to see more testing, and real-world verifcation before I were to commision the fabrication of a solution like a custom rear wing.
Please note, that some of the most expensive super cars currenly being produced no longer include rear wings. This is because a wing is not the optimal method to produce downforce. A diffuser/spoiler is currently en vogue because it produces downforce with very small drag penalties. A proper race car optimizes the negative lift/drag coefficient.
One should always explore as many solutions as possible before committing to one particluar solution.
I don’t want to be a complete Debbie Downer, but I would highly recommend that you use some flow viz, and install a lip spoiler on the trunk lid. (The flow viz can be used before/after to verify the solution.) A rear lid spoiler will make the rear wing and rear diffuser more efficient. Whenever you can get a two for one, that’s when you know that you are heading down the right path.
A properly designed and placed wing is the lowest drag to downforce device.
Aye, a wing is definitely the most efficient item by itself. But you can get quite significant interaction by changing the pressure distribution on a large area of the car, which is how you get crazy high lift/drag ratios like were seen in Group C racing, even with the primitive state of CFD at the time (pretty much 100% wind tunnel testing to develop those cars).
An SC300 would probably see quite a benefit by putting a small lip spoiler on the end of the trunk lid. This will encourage clean separation of flow at the rear end of the car (look at modern cars now, they all have sharp features at the very back for this reason), and at a moderate ~15-30 deg angle and ~1.5-2″ of height, it will tend to reduce total drag and add a small bit of rear downforce. We’re not talking huge downforce here, but it reduces drag at the same time, so it comes at no aero penalty.
Was some type of photogrammatry used (stitched 2d photos from normal camera), or was a true 3d capture camera used?
@cmj re-read page two:
“But there’s an end to this means, I assure you. And it’s not another innuendo. I don’t think. If you look back to the photo of Rob, he’s taking a photo. In fact, he’s taking dozens of photos. You see, when you take dozens of photos from different angles of the speckled car, you can then use some really fancy computering to stitch all of the photos together to build a really accurate 3D model of the vehicle.”
https://motoiq.com/project-sc300-road-racer-part-27-joining-a-wang-gang/2/
Rob is using a regular digital camera and then stitching 2D photos together using software to build the 3D model.