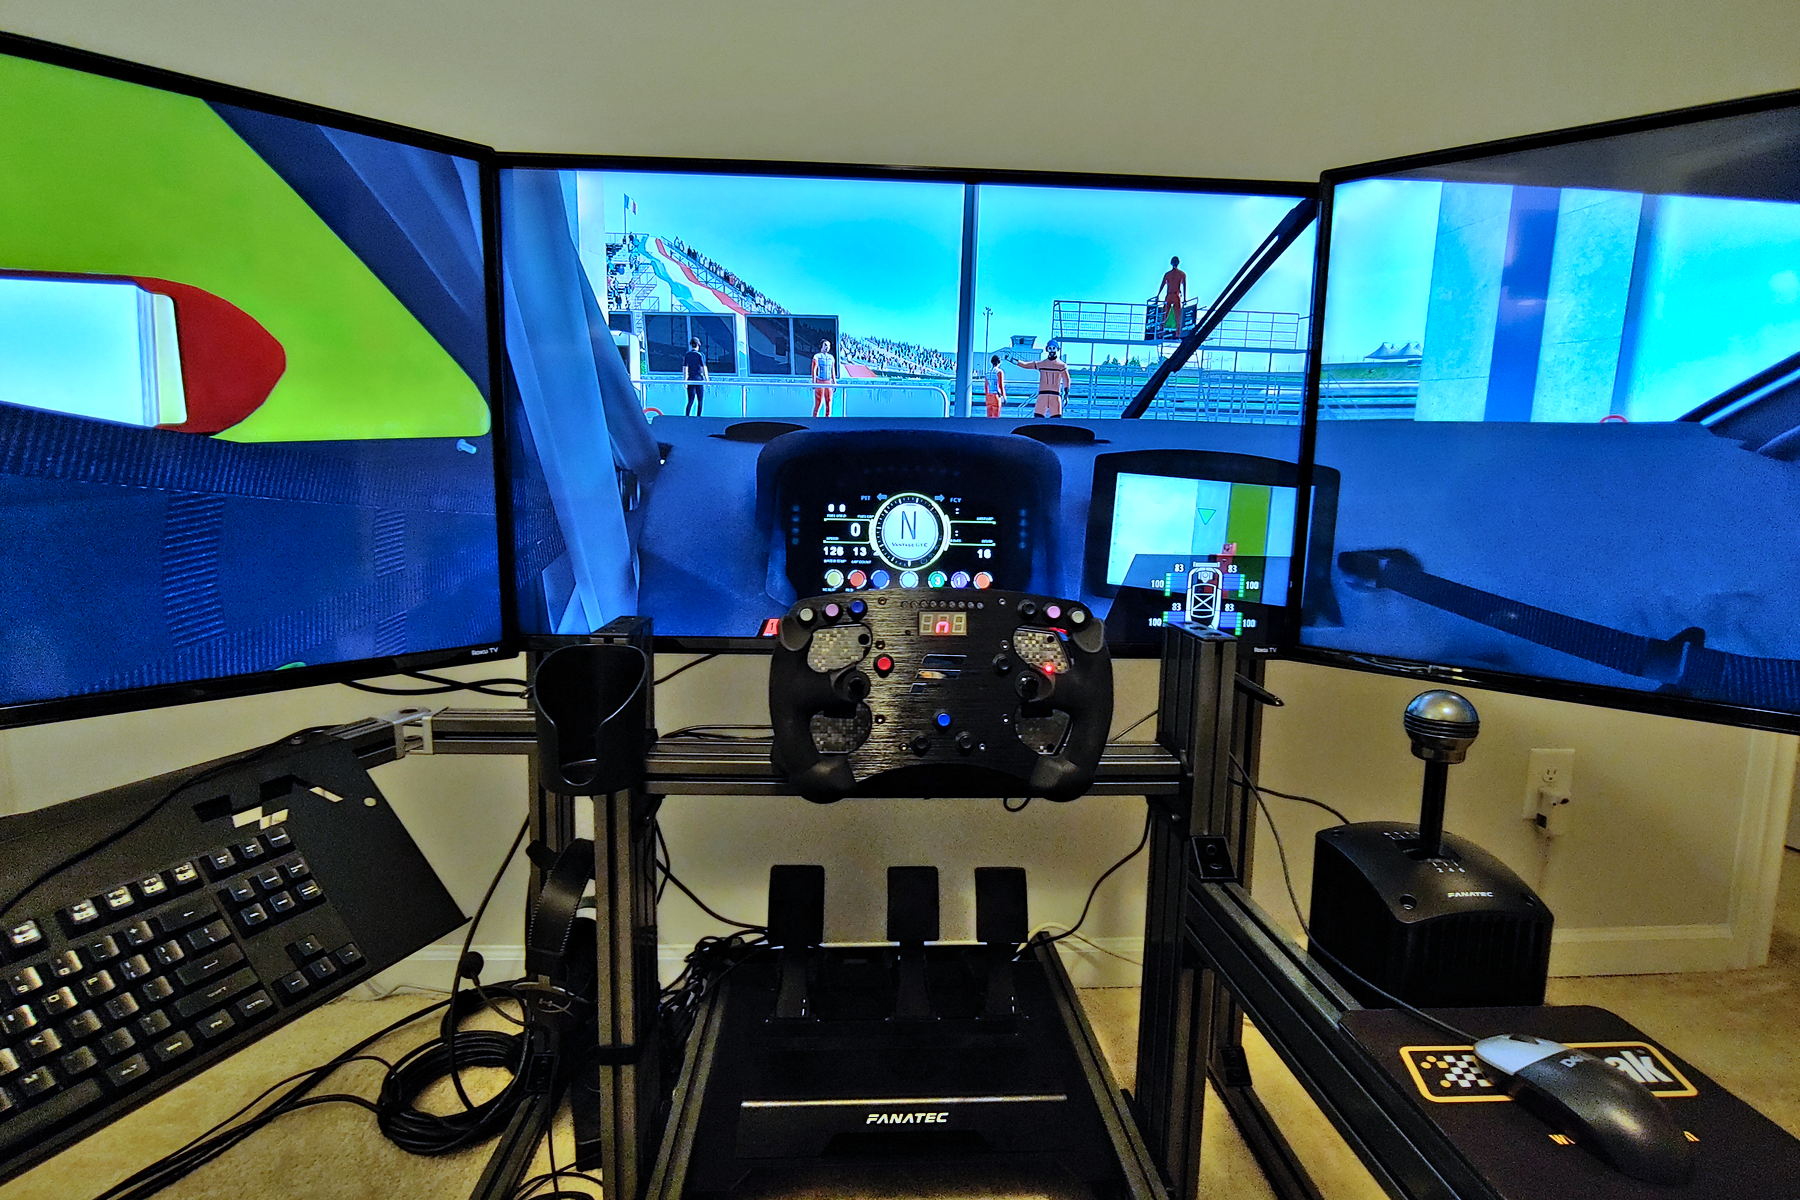
Here I am positioning the vertical stand on the long foot. Advanced SimRacing (ASR) provides pictorial instructions on their website that show you how to assemble everything. It really is as easy as following the pictures.

The other two monitors will be mounted on their own crossbars that are attached to the central bar. If the central bar isn’t level, nothing else will be, either.

This VESA mount has a right-angle at the bottom that attaches to the T-slot, and ASR offers a couple of different VESA patterns to suit your needs. In my case, I am using cheap LCD TVs that I bought many years ago. Actual computer monitors are lighter and use smaller hex cap screws to attach to the VESA mount, so I had to drill mine to fit. If you’re using actual monitors, you won’t need to do this.

This Sparco seat came out of Project SC300 when we upgraded all the safety equipment thanks to Sabelt. I had two that were just sitting around, so I decided to put one to good use! Advanced SimRacing also sells bucket seats, but I had these, so there was no reason to buy one. While the ASR seats are not FIA approved, these Sparco seats are long expired, anyway. I think the likelihood of a fatal crash in my office is pretty low.
With the monitor stand finished, the main cockpit assembly could start.


