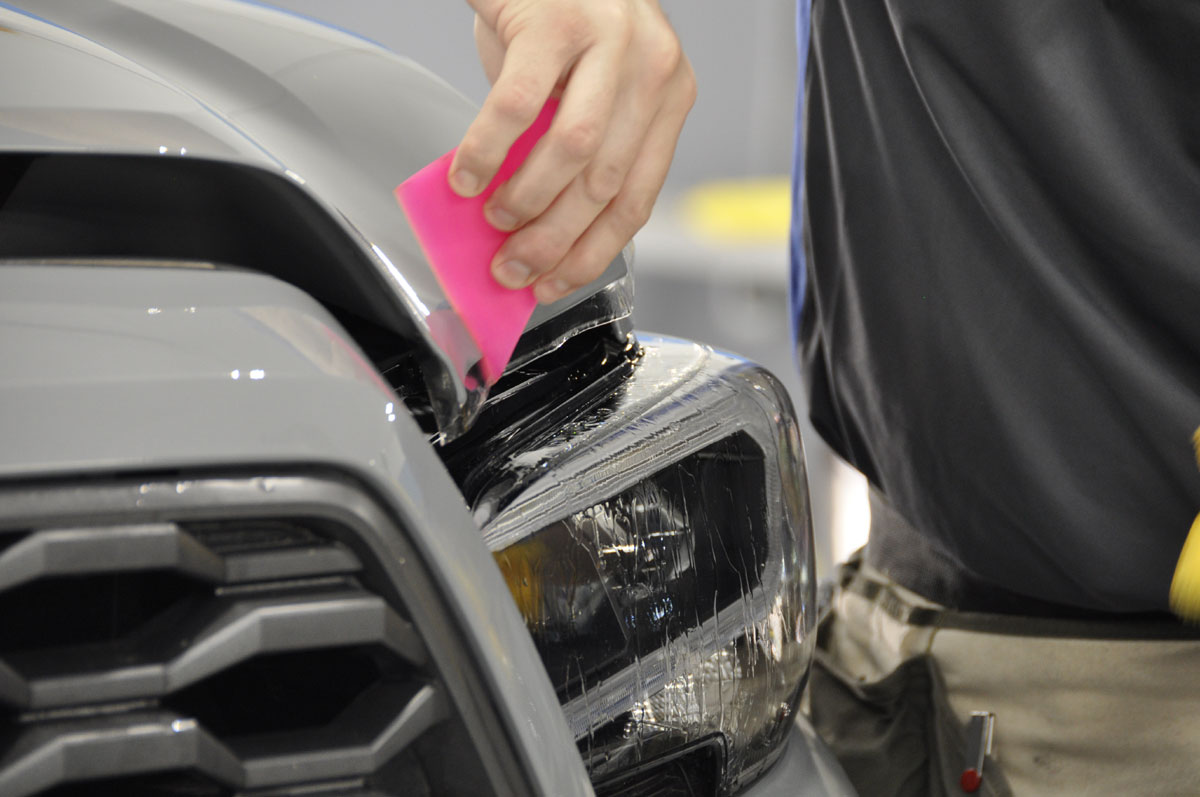
In our first installment for our new Tacoma project, we’ll be protecting the paint and headlights with SunTek clear PPF (Paint Protection Film) and STEK colored films. Even though our new project is 2020 we bought it used with just under 18k miles. Despite having that little time on the road; there were a few blemishes here and there on the factory paint. Even brand new cars sit on lots as they await their new owners and we’re crackpots for mirror finish paint. On higher-end cars, temporary plastic protection is applied to preserve the paint before it gets to the dealership. In this article, we’ll be covering paint protection film installation and what we did to prep the paint before wrapping the front end in film.

Before we begin with protecting the paint first we have to deal with that minor damage. Our truck spent some time parked under a tree where bird droppings burned into the clear coat. It wasn’t bad enough to be noticeable on the first inspection of the vehicle but under certain light, it was there. Being a detailer working my way through college I couldn’t help myself and attacked the problem areas. Thank goodness it was limited to a few spots on the hood and roof.

Going from the least aggressive approach as possible to the most aggressive we started out with the heater gun trick. Sometimes simply heating the area is enough to re-arrange the molecules in the clearcoat through expansion and contraction. This heating and cooling can get the defect to the surface and disappear but unfortunately, it didn’t work. Step two was a full clay bar treatment to decontaminate the paint surface before trying compound buffing. In some ways, buffing can be more aggressive than wet sanding because of the heat that’s generated. We used a medium abrasion foam pad and a buffing compound from Meguiers. After repeated moderate pressure first passes and weight of the buffer subsequent passes the stains still wouldn’t lift. If we had a more aggressive cutting pad that might have worked but those pads generate more heat and have a greater chance of burning through the paint.

With other options exhausted, we busted out the 5000 grit wet sanding paper. Without a paint thickness gauge and lots of experience, you can tread on some dangerous ground here. The paper was worked with a diluted ph neutral car soap with about 10 passes then inspected and proceeded with. This one is really best left to the pros as it’s so easy to go too far. This was followed up by more compounding, then polishing, and finally sealing.


2 comments
Psshhh, a year of training. I did this with no training! Did I mention, after I finished, I peeled it off and paid someone to install it correctly? Love this product, but would never attempt it on something I wanted to look good myself.
Completely understood. A buddy of mine tried it himself when he saw the price. Bought $500 worth of material to cover his entire Tacoma for a color change and protection against Arizona pin stripes. I think the comment was ‘haha, yeah…there was a lot of trial and error.’ It was a full day in their shop for this install just to do the front 1/3rd with mostly two guys and up to five that knew what they were doing.
I tried tinting my garage windows once and out of eight windows I think 2 of them looked decent.