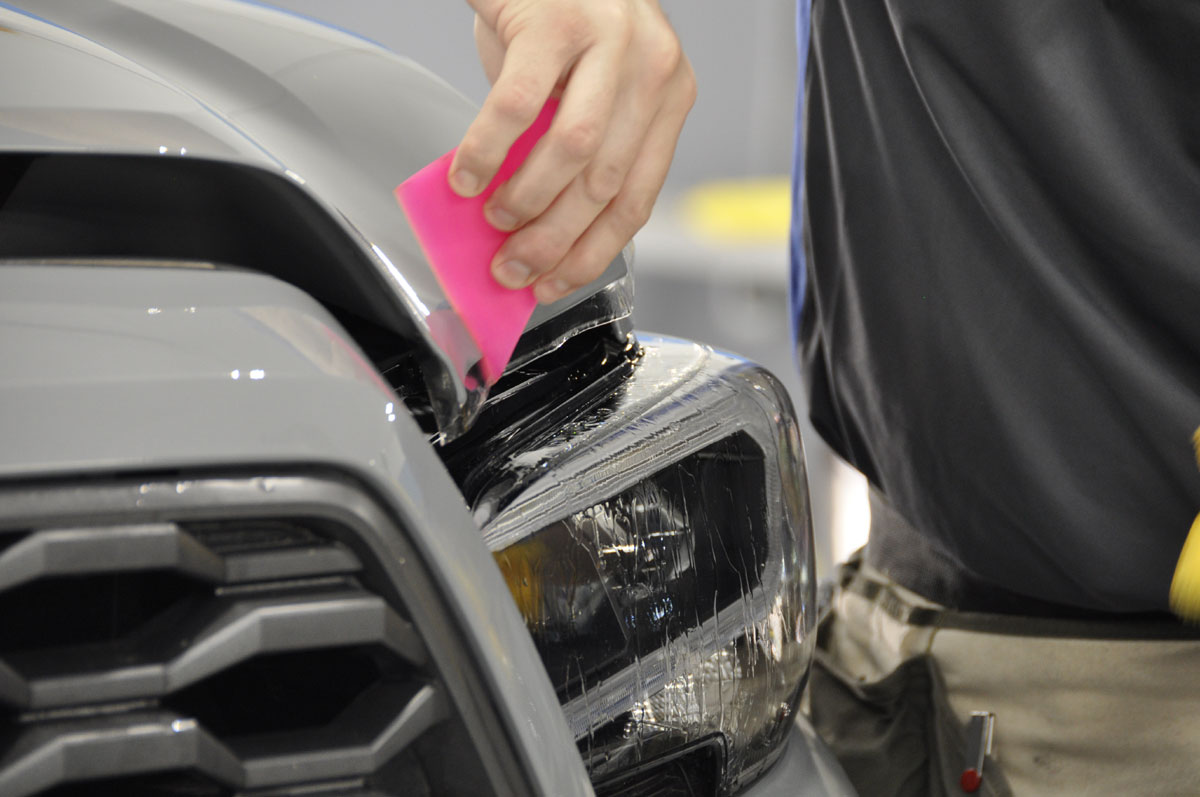
To get total coverage the product is cut to fold around the full corner vs. the cheaper templates that leave the edges open to damage.On the front edge, the protection film goes all the way to the corner. Later we’ll show the back edge of the hood.The heater gun was then used to get the product to contour and fold around the hood as desired. The heater gun also makes the product more flexible and sticky for better adhesionMost of the time on the front 1/3 install focuses on the hood and front fenders. The standard film here called SunTek Ultra was used and is 8 mills thick.Looking at the Tacoma front there’s really not a lot of paint but that didn’t make the install much easier with all the little angles to contend with.The guys at the shop go through a year of training before they can work by themselves on a car.
Psshhh, a year of training. I did this with no training! Did I mention, after I finished, I peeled it off and paid someone to install it correctly? Love this product, but would never attempt it on something I wanted to look good myself.
Completely understood. A buddy of mine tried it himself when he saw the price. Bought $500 worth of material to cover his entire Tacoma for a color change and protection against Arizona pin stripes. I think the comment was ‘haha, yeah…there was a lot of trial and error.’ It was a full day in their shop for this install just to do the front 1/3rd with mostly two guys and up to five that knew what they were doing.
I tried tinting my garage windows once and out of eight windows I think 2 of them looked decent.


2 comments
Psshhh, a year of training. I did this with no training! Did I mention, after I finished, I peeled it off and paid someone to install it correctly? Love this product, but would never attempt it on something I wanted to look good myself.
Completely understood. A buddy of mine tried it himself when he saw the price. Bought $500 worth of material to cover his entire Tacoma for a color change and protection against Arizona pin stripes. I think the comment was ‘haha, yeah…there was a lot of trial and error.’ It was a full day in their shop for this install just to do the front 1/3rd with mostly two guys and up to five that knew what they were doing.
I tried tinting my garage windows once and out of eight windows I think 2 of them looked decent.