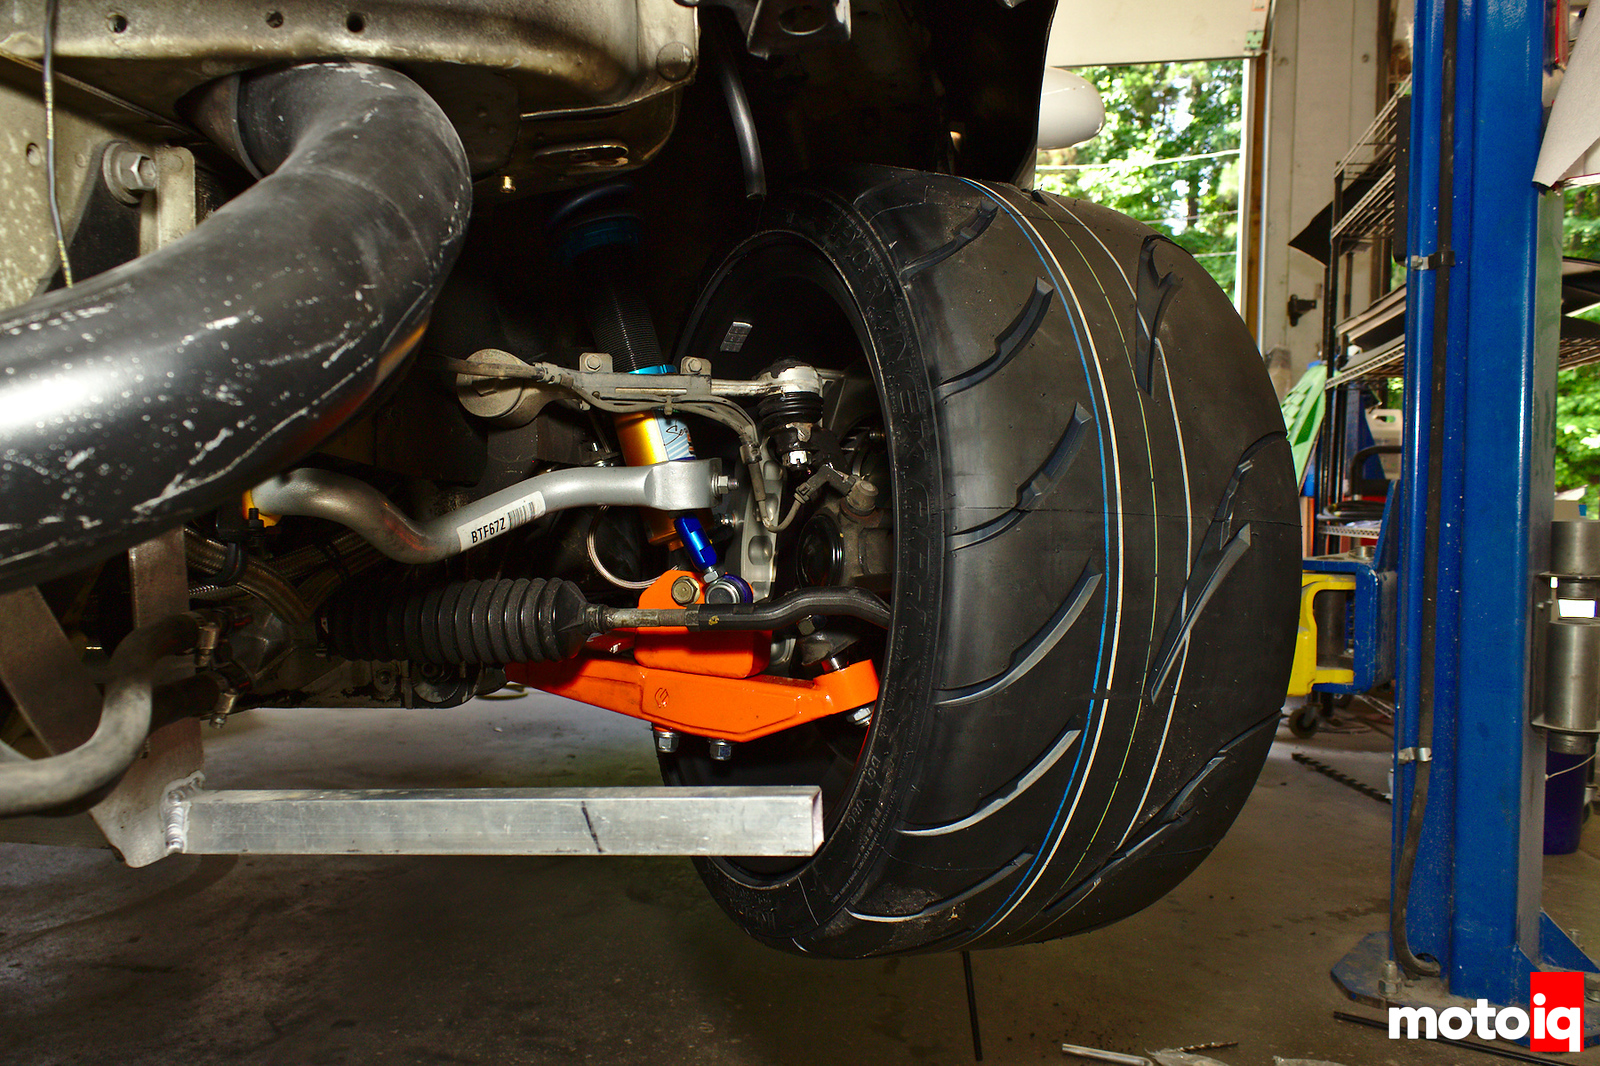
Project SC300 Road Racer: Part 24 – Wider-er is better-er!
one guy holding bumper against car while another drills a hole
The front bumper has the same witness marks for where it attaches to the core support.

On the SC300, the lower back of the front bumper actually floats in mid-air. The front bumper attaches (hangs, really) to the bottom leading edge of the front fender. It’s a little bit annoying to bolt together but the bumper is flexible. You can shove some bolts into the front bumper, and then use nuts on the inside of the front fender. It’s much easier to do with the wheels off.


front 3/4 view of installed front bumper
There, that wasn’t so bad.

I am concerned, though, about the flexibility of the bumper. It will be interesting to see what happens at the high speeds that are encountered on Road Atlanta or Virginia International Raceway’s long straights. We were losing the integrated splitter off the old bumper, so perhaps we will have to tie the new splitter into the new bumper, or build some extra framework or support into the front bumper.

Time to do the rear bumper.


drilling holes into rear bumper
First, find the witness areas on the rear bumper where it meets the frame (in the places where the stud strips came off the old bumper).


hole slots cut into rear bumper mounting surface
It will end up looking something like this.


stud strip inserted into rear bumper
There are two types of stud strips and two each, totaling four. Each one goes in a specific place on a specific side of the car. You can’t really mess it up.

Leave a Reply

Your email address will not be published. Required fields are marked *

*
*