

My car already had a Deutsch DTM series 2-pin connector on the radio button side, so I simply attached the mating connector to the Racing Radios harness.

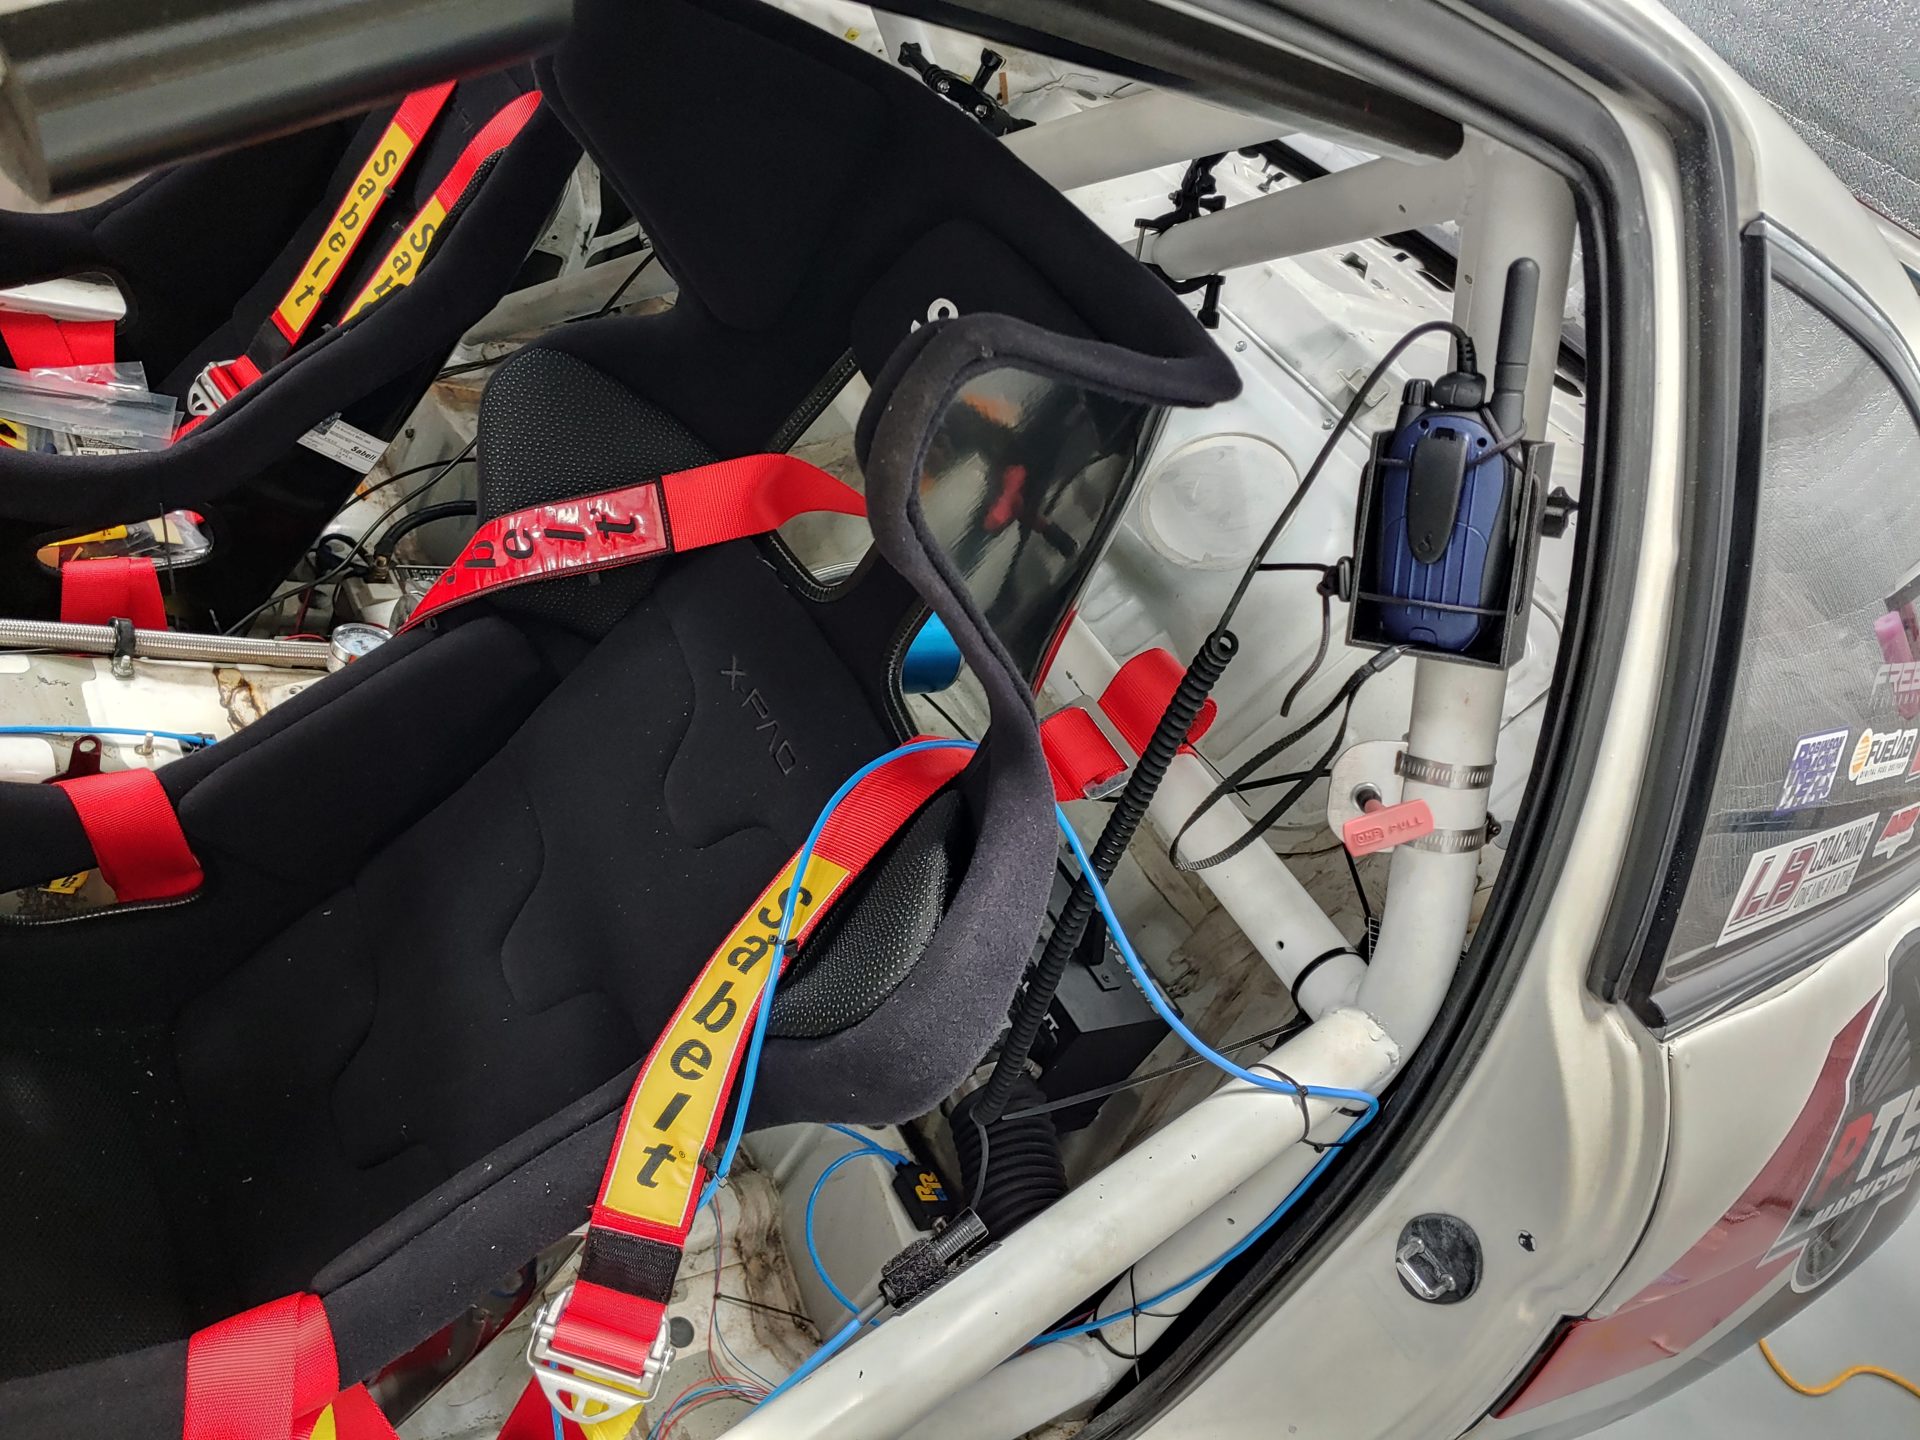
I’m serious. This stuff is hard to separate. You stick a little bit on a thing, and then stick a little bit on a surface, and push them together. You may never get them apart if you use too much. I didn’t want the body of the car kit to go anywhere, so I used a tiny piece of this inside the cabin and a tiny piece on the car kit body.

It’s nice to attach that bit to the car loosely so it’s not flopping around. It makes things easy when you’re getting all wired up.