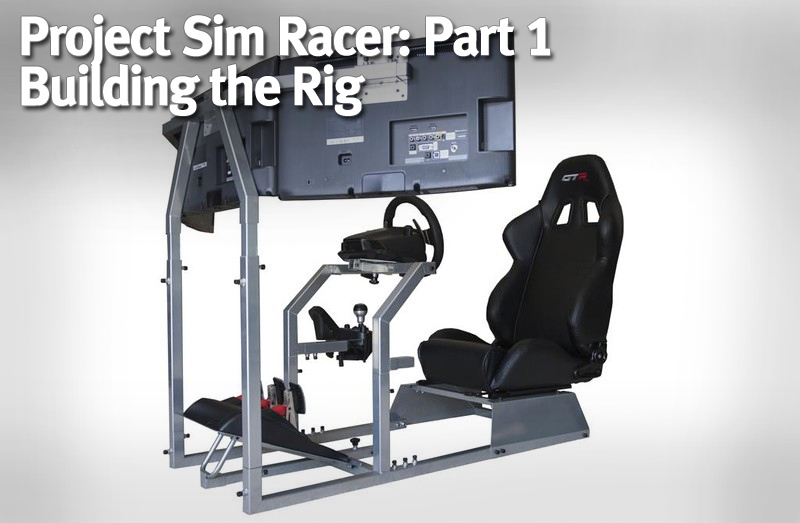
,
GTR Simulator provides a nice glossy instruction/assembly manual. It, much like flat pack furniture, has no words in the instructions. But my spatial relations are on point, so I took a look at the pictures and did my best.
 Here’s the core of the cockpit frame.
Everything more or less attaches to this core. You can see on the right where the shifter mount will go.
 Here’s the steering mount.
The steering mount provides a little bit of fore/aft adjustability. You simply loosen the knob, slide, and tighten. You can also see the mounting holes for the steering wheel. All of the pieces are nicely powder coated and finished. I didn’t find any jagged edges to cut myself on.
You can also see on the floor the adjustment knob for the pedal mounting plate, which is not yet installed.
 This took me a moment to figure out.
It’s hard to tell from this picture, but this is one of the pieces of the seat frame that ultimately bolts to the core steering wheel frame. Look at this picture carefully. Can you tell what’s supposed to happen here?
Yeah, you’re supposed to loosen that socket cap screw and then pull out the tube that’s inside the tube.
 I did a thing!
This was probably the least intuitive part of the instructions, or I’m just a nitwit.
 Here’s the seat frame, assembled.
This is the frame onto which the seat slider and, ultimately, the seat will be bolted.


