,

Getting the anchors in place is a relatively straightforward process. First, you disassemble the tether assembly (paying attention to how it came apart), grab the large metal disc with threads in it and the included silver wrench, and not so gently shove it between the helmet liner and the shell until you can see the threaded hole lined up with your drilled hole.
 |
| Yes, that’s a different helmet. In our excitement to install the HANS anchors, we forgot to take pictures of the easy part, so we took them on Martin’s install. |
Reassemble the tether assembly with the supplied allen wrench using the wrench as a counterhold (note the thread locking agent means you should only do this once) with the pointy part of the tether pointed backwards, and you’re done.
 |
| Make sure the little nub is pointing straight backwards… |
|
|
| …and snap the tether in place. |

Once you’ve got the HANS anchors installed on your helmet, the last thing to do is make sure the angle of the device itself is correct for your application. The device comes pre-adjusted to your specifications when ordering, but in case you need to adjust it, it’s a simple process of unbolting each leg with the tools provided, adjusting, and reassembling.

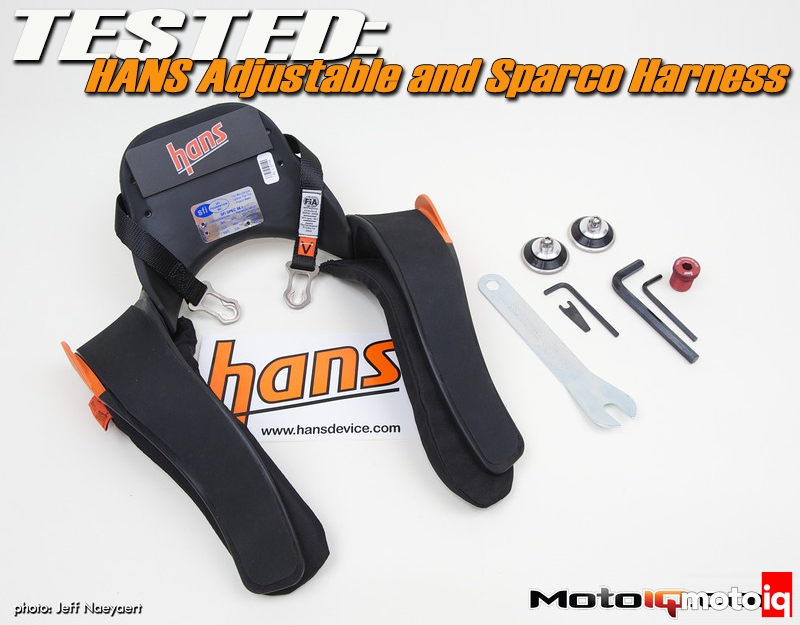
Since it was time to replace our harness, we used this as an excellent opportunity to get a HANS-specific harness from Sparco. While not necessary (the HANS device will work with either 2″ or 3″ harnesses), the HANS-specific units are definitely more comfortable to use with a HANS device, and are also easier to place properly on the device since they don’t curl up the legs.