,
 Stud, Hexalobular.
I have no idea what this part is actually used for. It works on a Toyota Matrix, I think. But where, I couldn’t say. All I know is that after much spelunking on the internet I discovered that someone had used one of these to outfit a flat response knock sensor onto a 2JZ. The internet knows everything.
Simply remove the factory 2JZ knock sensor, insert the hexalobular stud into the threaded hole in the block, and then put the flat response knock sensor over the stud. Thread a nut down on the stud to secure the knock sensor in between the nut and the block, and, presto, new sensor installed!
Anyone looking to figure out how to mount a Bosch flat response knock sensor onto a 1JZ or 2JZ Toyota engine can buy a Toyota stud 90126-08046 and simply replace the factory knock sensor, assuming they have aftermarket engine management. Or, anyone looking to upgrade a 1JZ or 2JZ knock sensor to flat response, assuming they also have an aftermarket ECU, can use this trick as well.
So that’s it for the power and signal circuits. It’s time to assemble some wires, right?
 Well, first we had to deal with this mess of stuff that came with the cooling fans.
At first glance it might look OK. The reality is that it’s not very motorsports-grade, and offers much room for improvement. We can also take up a lot less space, too.
OK…. now, wires!
 Measure twice, cut once. Over, and over, and over…
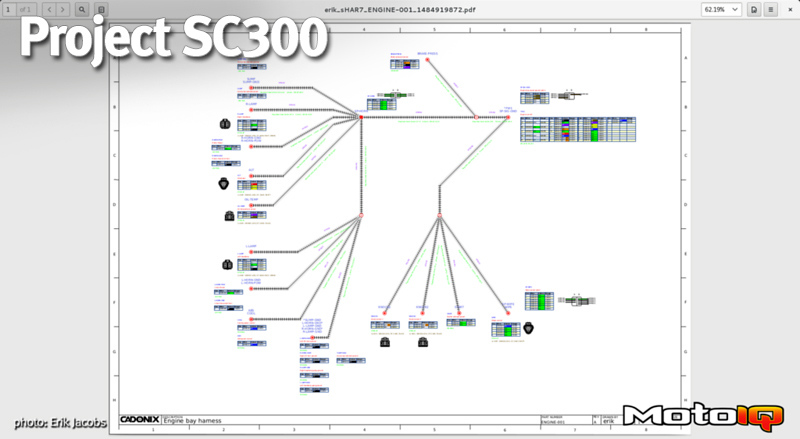
 Sometimes paper and pen do help. I had Arcadia running on the laptop with a printout of the harness cut-sheet report, and, as we cut the wires, we marked them as done with a hilighter.
 Having a metal table is a wonder, since you can just write directly on it and clean it up later.
Do you like our wire organization? When you are making longer harness bundles with lots of wires that are similar lengths, it helps to drop them into piles as you cut them. Then, start with the longest pile, twist, the next longest pile, twist, and so forth.


