
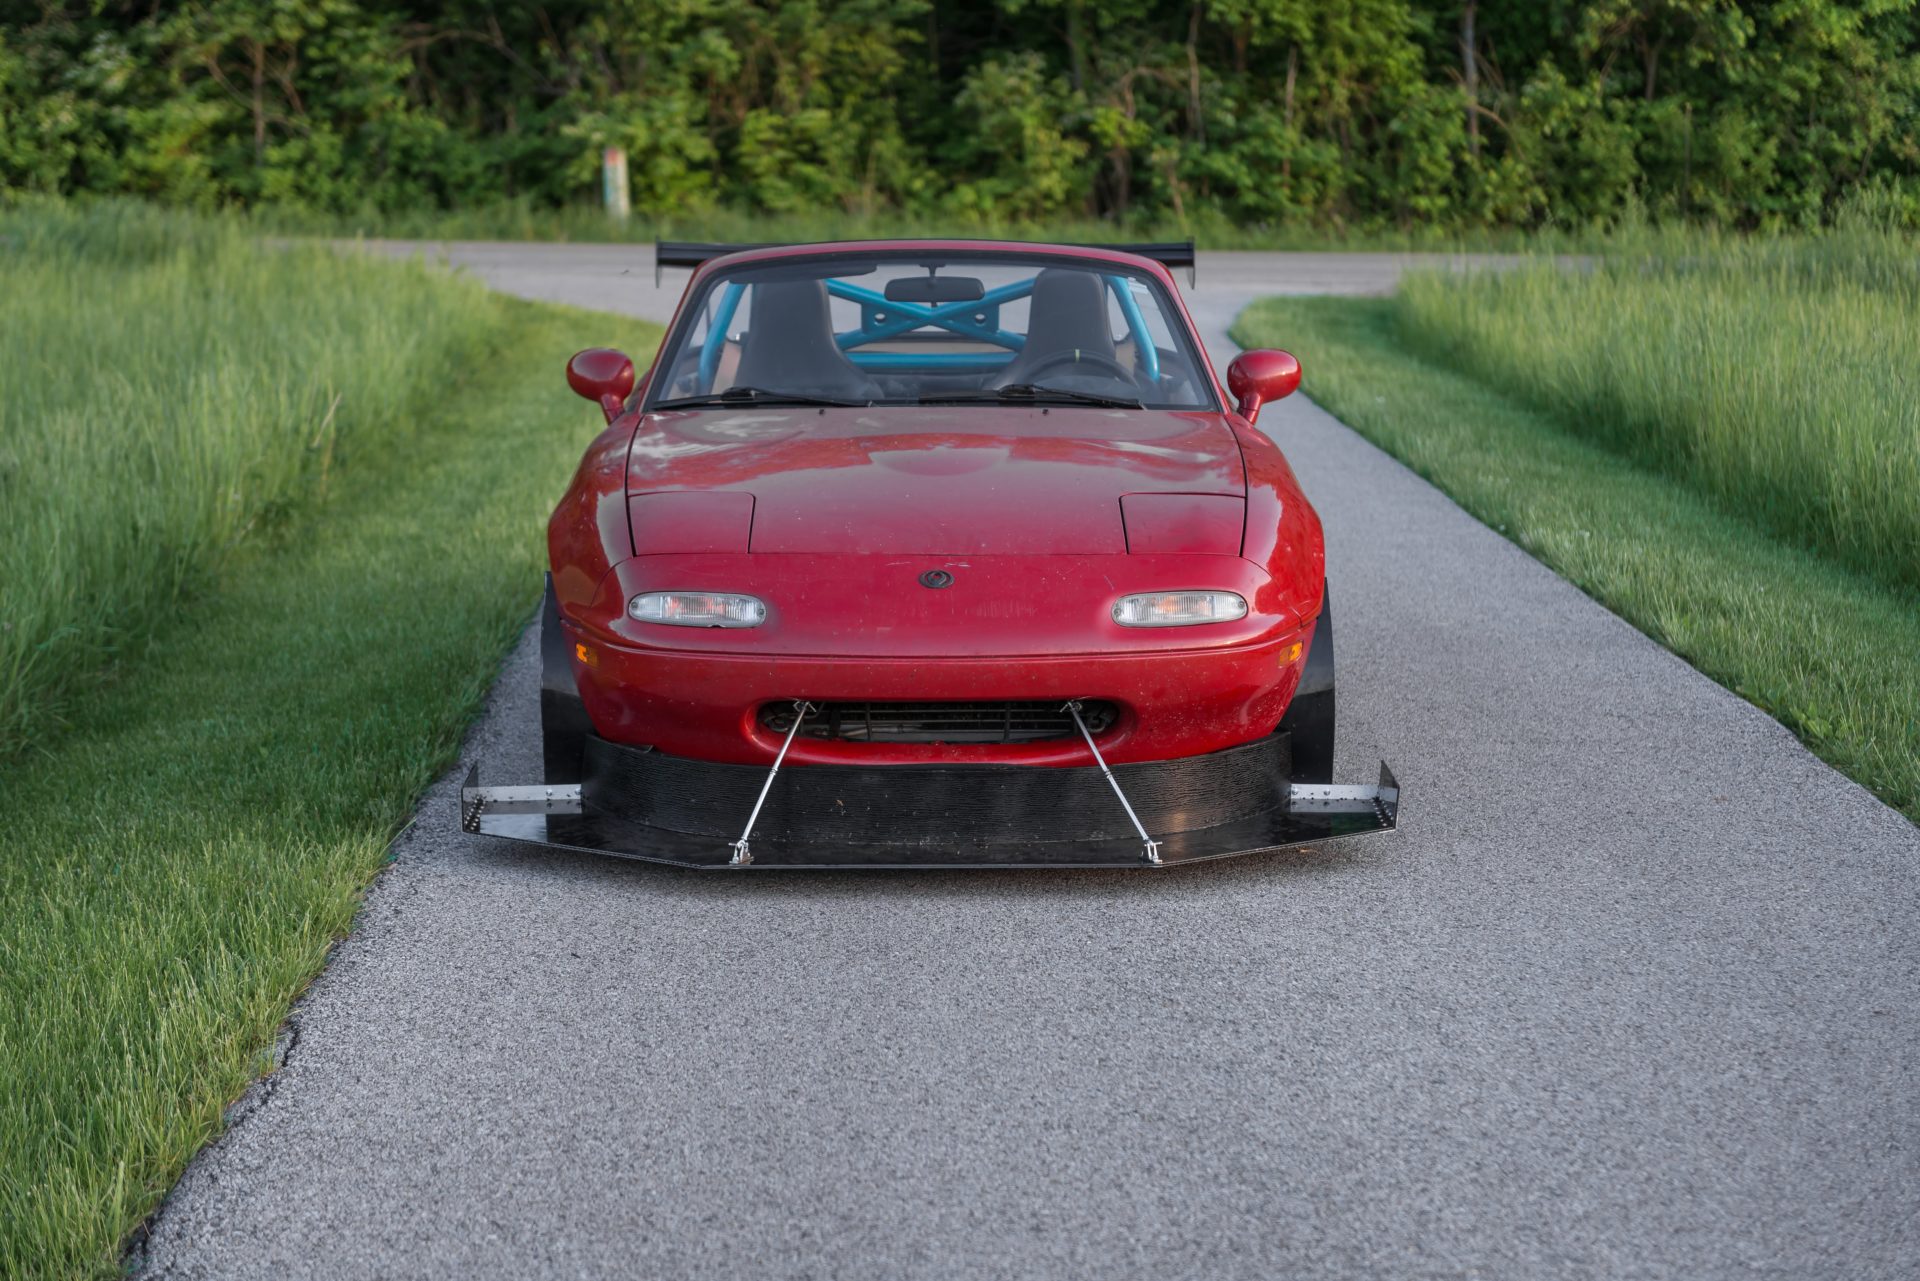
We used a simple PVC siding trim to create the air dam for the splitter (the same process is used on the Professional Awesome Evo as well). This is cheap, lightweight, flexible, sturdy, and available at most local home improvement stores. Mike Lewin, Professional Awesome’s resident engineer, decided that we needed to mount the siding with its wood finish facing outwards, because wood grain means it’s fancy. Mounting the air dam is very important as failure of the dam could reduce downforce significantly. Additionally, if it’s not sealed properly to the splitter on the bottom edge and to the car on the top edge, you’ll lose aero efficiency. We used simple angled aluminum cut into strips, which we riveted and bonded to the splitter. Once mounted, a bead of silicone was used between the bottom of the dam and the top of the splitter to keep air from bleeding through. The top edge received a piece of window insulation foam to butt up against the bumper in as close-to-airtight manner as possible, which also helps keep the bumper’s paint from being damaged.


The next step for us was performance based. We mounted Professional Awesome Racing’s universal front splitter diffusers to get that extra downforce action. Diffusers take advantage of Bernoulli’s principle by increasing the velocity of the air in front of the diffusers, which decrease the air pressure beneath the splitter, thus increasing downforce. In a perfect world, we’d mount them slightly off of parallel, with the back of the diffuser pointed outwards a few degrees, and right in front of the tires…. But that wasn’t possible with our air dam design, so we mounted the diffusers just inside of where the tires mount, which conveniently pointed towards the factory brake cooling ducts. These were mounted with rivets and bonded, just like the air dam. The better the seal, the better they perform.

2 comments
Massive congrats on upgrading your fiancee and your car! It’s nice watching the car progress from girlfriend’s Miata to wife’s Miata.
Congratulations to you and yours, good sir! Looking forward to seeing what you two decided on, I’m sure it will make for excellent reading material!