,
 Here’s our deep-dish steering wheel and some of the P7 buttons and colored caps. We started to mock up some mounting plates with CAD — cardboard-aided design — to plan where our switches would go.
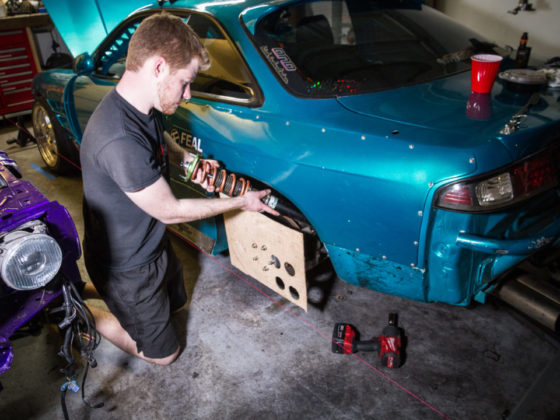
 We transferred our cardboard template onto some aluminum.
There were six switches in total that we wanted to accommodate.
- Launch control (wired through to the Haltech ECU)
- Radio control (wired in the future to activate the microphone)
- A horn button (wired through to the Racepak Smartwire)
- Page, Acknowledge, and Beacon (wired to the AEM CD-7)
Since NASA starts are usually standing starts, we wired up a button that would engage the Haltech Elite 2500 launch control.
In the future we hope to have a full radio communications system, so we have a button to accommodate that.
We have a horn button, because every good race car needs a horn. But, in general, this is a button wired to a Smartwire input. It could be used to control any power circuit that the Smartwire controls. As an example, on the race track with mixed classes and potentially slower vehicles, the button could be used to flash the headlights.
The AEM CD-7 has several functions that can be remotely controlled. The Page button will change through the different dashboard displays. The Acknowledge button works to cancel out of any alarm pages that pop up. The Beacon button is used to tell the dashboard where the start/finish line on the track is, which enables the lap timing features of the dashboard. This last feature also requires that we properly integrate the Autosport Labs GPS/Logger to send the GPS information to the CD-7.
 We would attach our switch mounting plates to the steering wheel by — you guessed it — drilling holes.
 We pre-drilled the mounting plate templates both for attachment to the steering wheel as well as for making the holes to accommodate the switches the proper size.