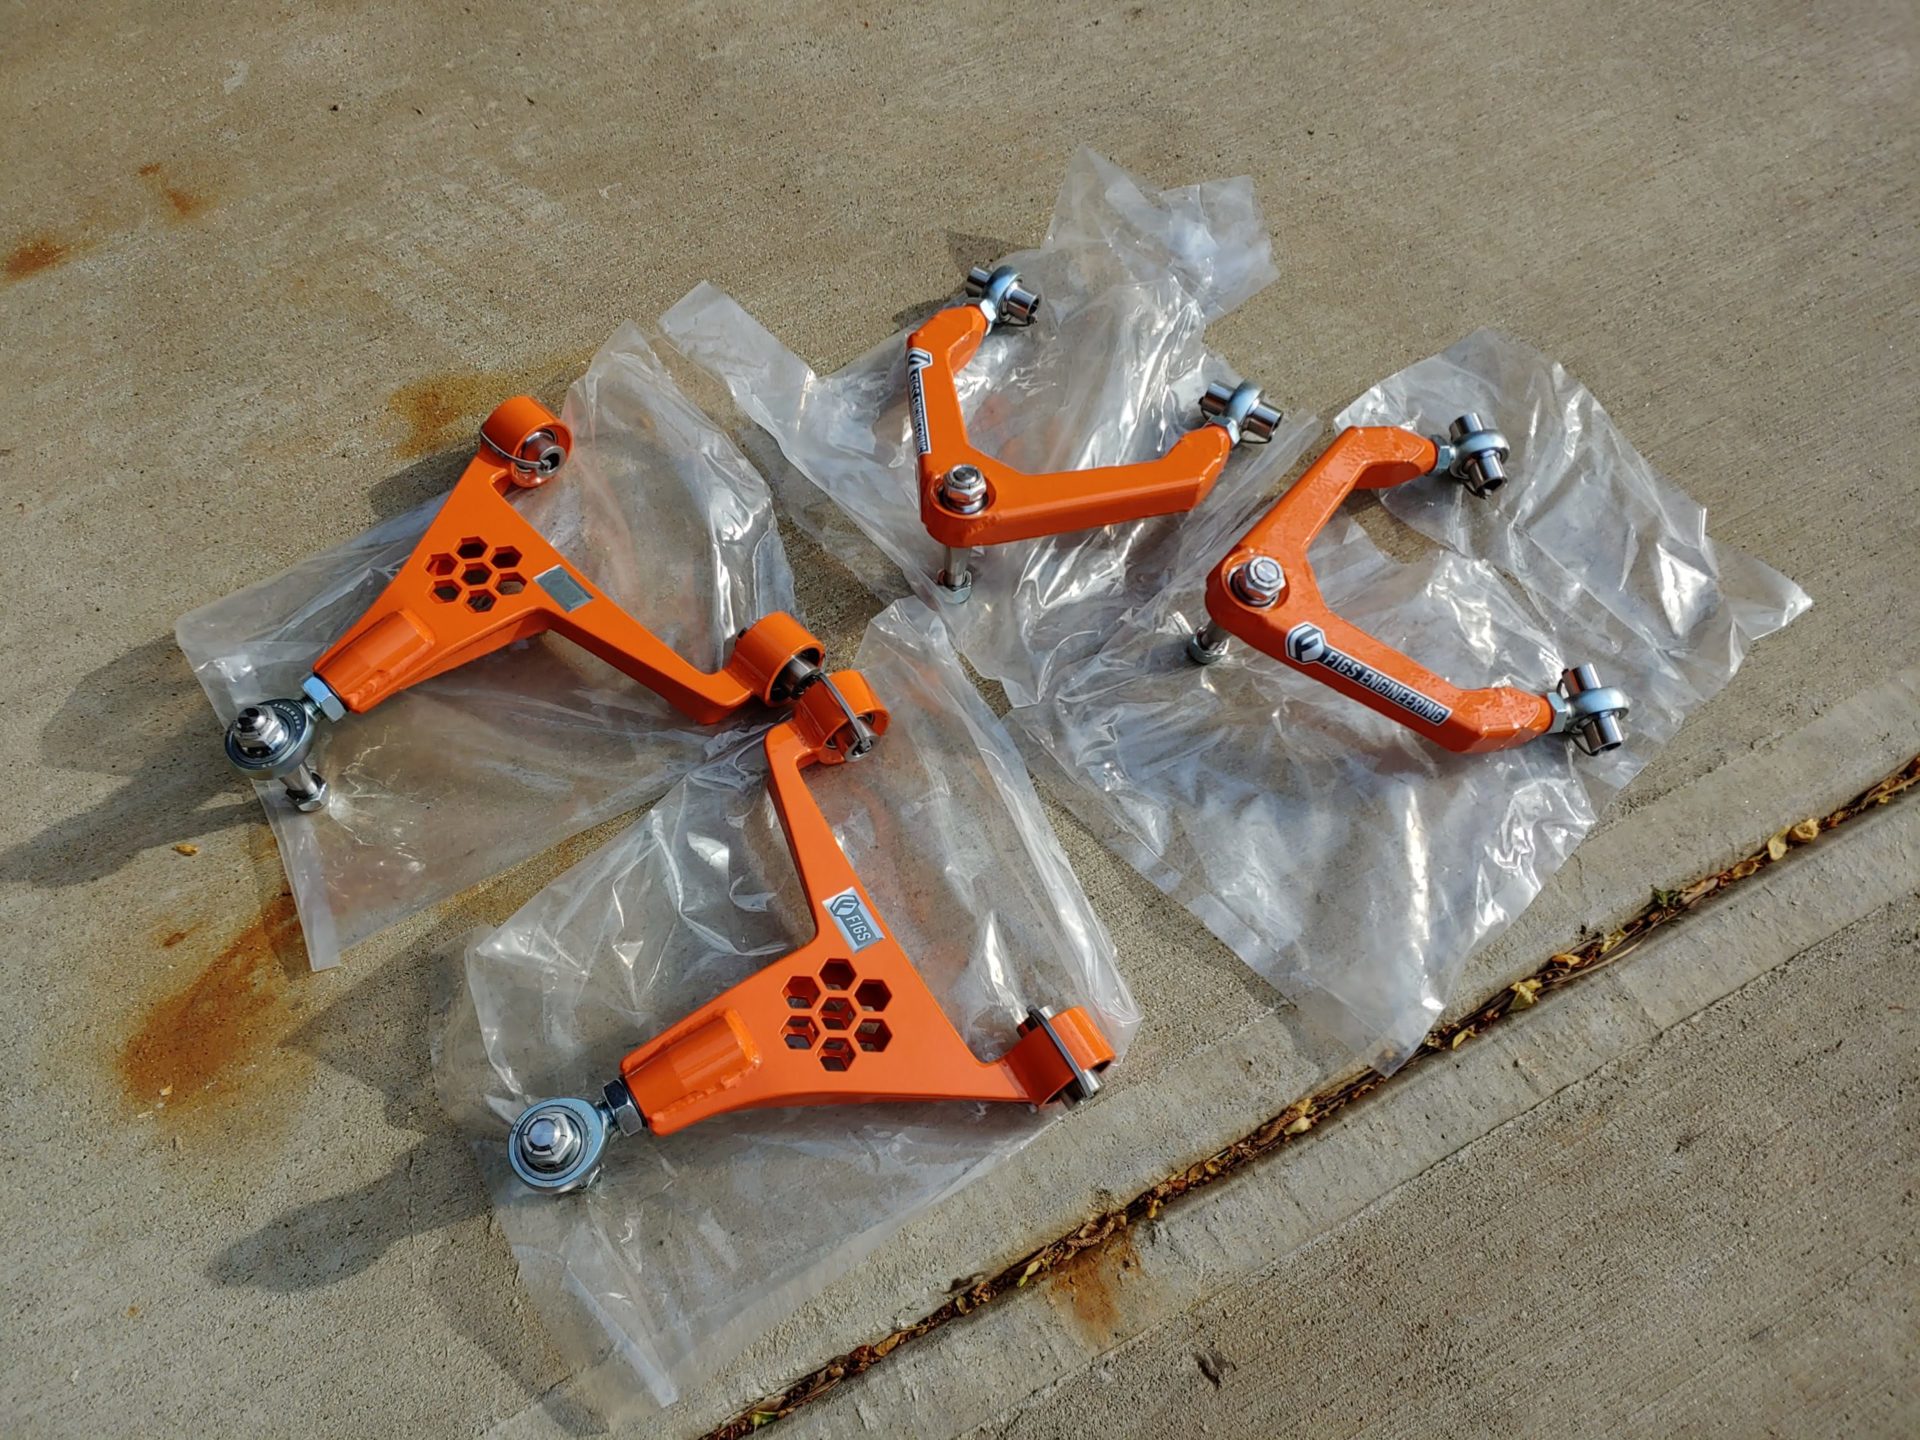
Don’t forget to take the nut off first. Or at least loosen the nut first so that you can move the ball joint enough but not have the knuckle fall over when it lets go. I had the wheel studs on a piece of wood on a jack so that the knuckle wouldn’t fall over.

I simply set them so that they were the same length as the factory UCA. It didn’t seem like a bad idea. It turned out to be good enough. Besides, having to pop that ball joint every time you want to adjust the UCA would be quite a pain in the butt. In the rear, the LCA is the primary adjustment tool for setting the camber. Although, because of the multi-link suspension design, you also have to correct toe whenever you change the camber or vice versa.


You might think that this would be quite easy to deal with. I assure you, it is not. In fact, it rapidly turned into a nightmare. And not just because it’s really hard to fit a decent sized tool in there to apply decent sized torque.

I am guessing based on historical research: Some little Japanese guy was likely sitting at his desk in Toyota’s design center in the late 80s, thinking about how, 30 years later, some goofy white dude would be lying on his back in his garage on the other side of the world trying to reinstall the very caged nut he was designing.
If I could find that guy, I would probably strangle him. You’ll see why later.
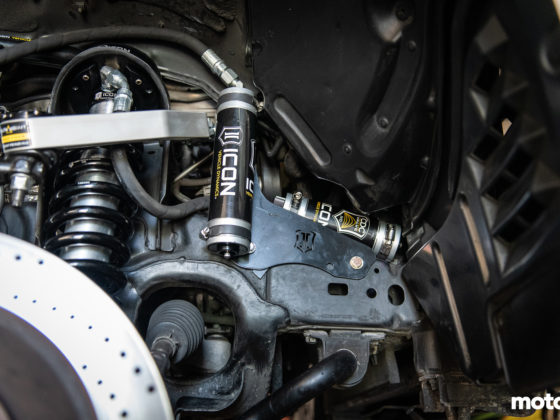
But, understand that this caged nut has a little tab (pointing down in the photo) that’s supposed to catch on the subframe and hold it in place so that it can be properly torqued. It is all lies. And it’s almost impossible to get to when you want to thread it back on the bolt, and you can’t actually turn it in place because of the tab. It’s really just all terrible and horrible.
Ever forwards.


1 comment
Those Penskes are nice, but pricey. A set of 4-way adjustable ones for my FR-S is like $11k! Definitely a pro-user setup.