Some 3D calculus with the jack(s) will get the knuckle back into place so that you can drop the stud through, and then you simply put the nut on.
If I was doing this right, I would have removed the axle and then used a torque wrench to properly torque this nut. But I’m lazy and stupid, so I used a box wrench and lots of Ugga Duggas to torque the FIGS-supplied nylon lock nut. Then I used that yellow marking paint that we used when we installed the Grannas Racing T56 kit. If the marking paint cracks, it means the nut has come un-torqued and should be re-tightened.
You are nutting and bolting your car after every race weekend and inspecting all paint marks, aren’t you?

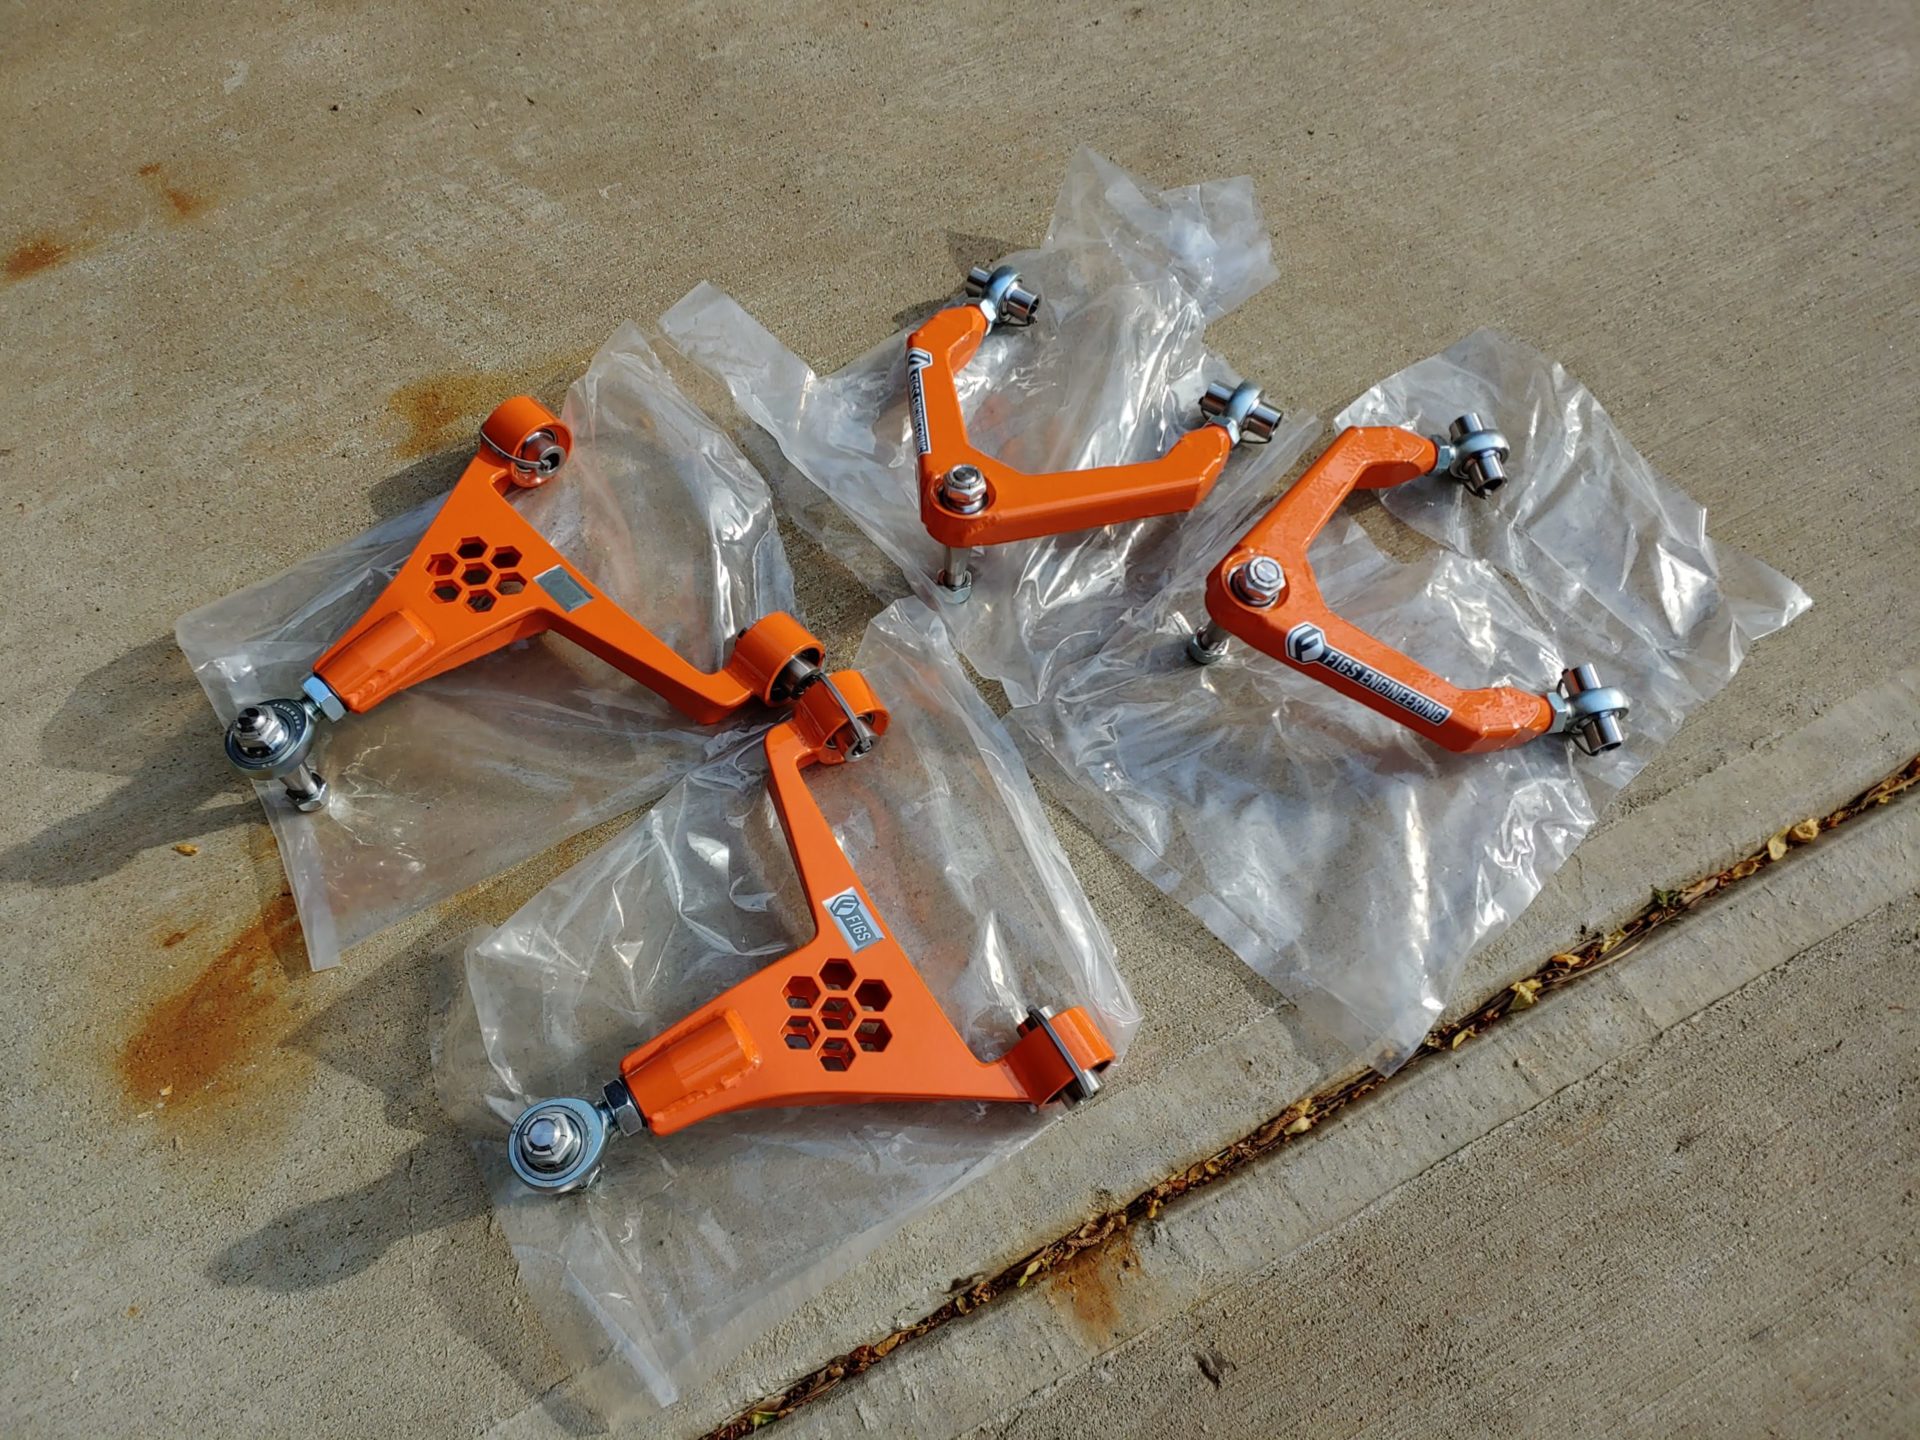
I gave Mike Figaro some feedback, and he nearly completely redesigned the LCA. It now features more scoop to accommodate the massive 295 tires that I am running on the Titan7 T-S5 wheels. It also has revised reinforcements and a new welding process to ensure additional strength and durability. Mike is never satisfied, and this is an example of how he’s willing to continually improve his products.


Also, notice that the last shop that touched your suspension conveniently forgot to reattach your swaybar end link. Why do I have such bad luck with “performance” shops?
Note: it was NOT Robinson Racing (the last article written, about Sabelt)
Just like with the rear, I recommend holding up the knuckle to prevent it from flopping over after the ball joint is popped.


1 comment
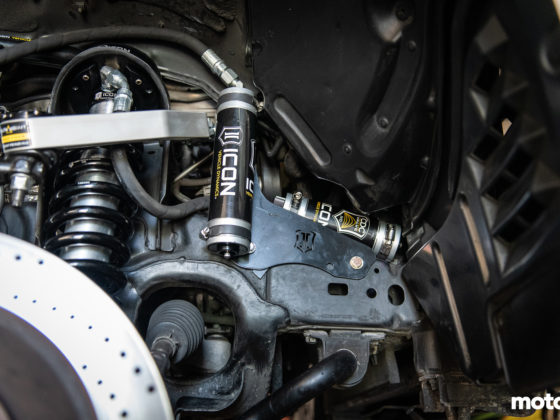
Those Penskes are nice, but pricey. A set of 4-way adjustable ones for my FR-S is like $11k! Definitely a pro-user setup.