
Additive manufacturing is a booming industry. Due to advancements in technology, designing and 3D printing your own parts at home is becoming cheaper and easier than ever. You don’t need to be an engineer or really even that great at math in order to learn how to make your own CAD designs. All that is needed is the ability to take basic measurements, make some drawings, and watch YouTube videos.
Computer-aided design (CAD) and 3D printing car parts is the way of the future for both car restorations and performance. Recreating discontinued parts is a game-changer in the restoration world, and the ability to create new shapes that are impossible to achieve with normal manufacturing opens the door to new possibilities and levels of performance that were never before achievable.
Designs can be printed on a home printer out of a variety of different plastics that improve in quality with each passing year. Additionally, the design can be sent out to be machined, cast, or 3D printed out of metal.

For a couple hundred dollars you can buy a 3D printer, then download and print an endless supply of free, life-improving designs for around the house or for hobbies ranging from children’s toys, figurines, cosplay costumes, firearms, racing drones, cooking, gaming, photography, and cars.

There is now extremely powerful, free computer-aided design (CAD) software and YouTube tutorials that make it possible for anyone to learn how use this software to create their own designs without committing to spending hundreds to thousands of dollars on professional software and in-person courses. This story is one of those examples.
PROBLEM
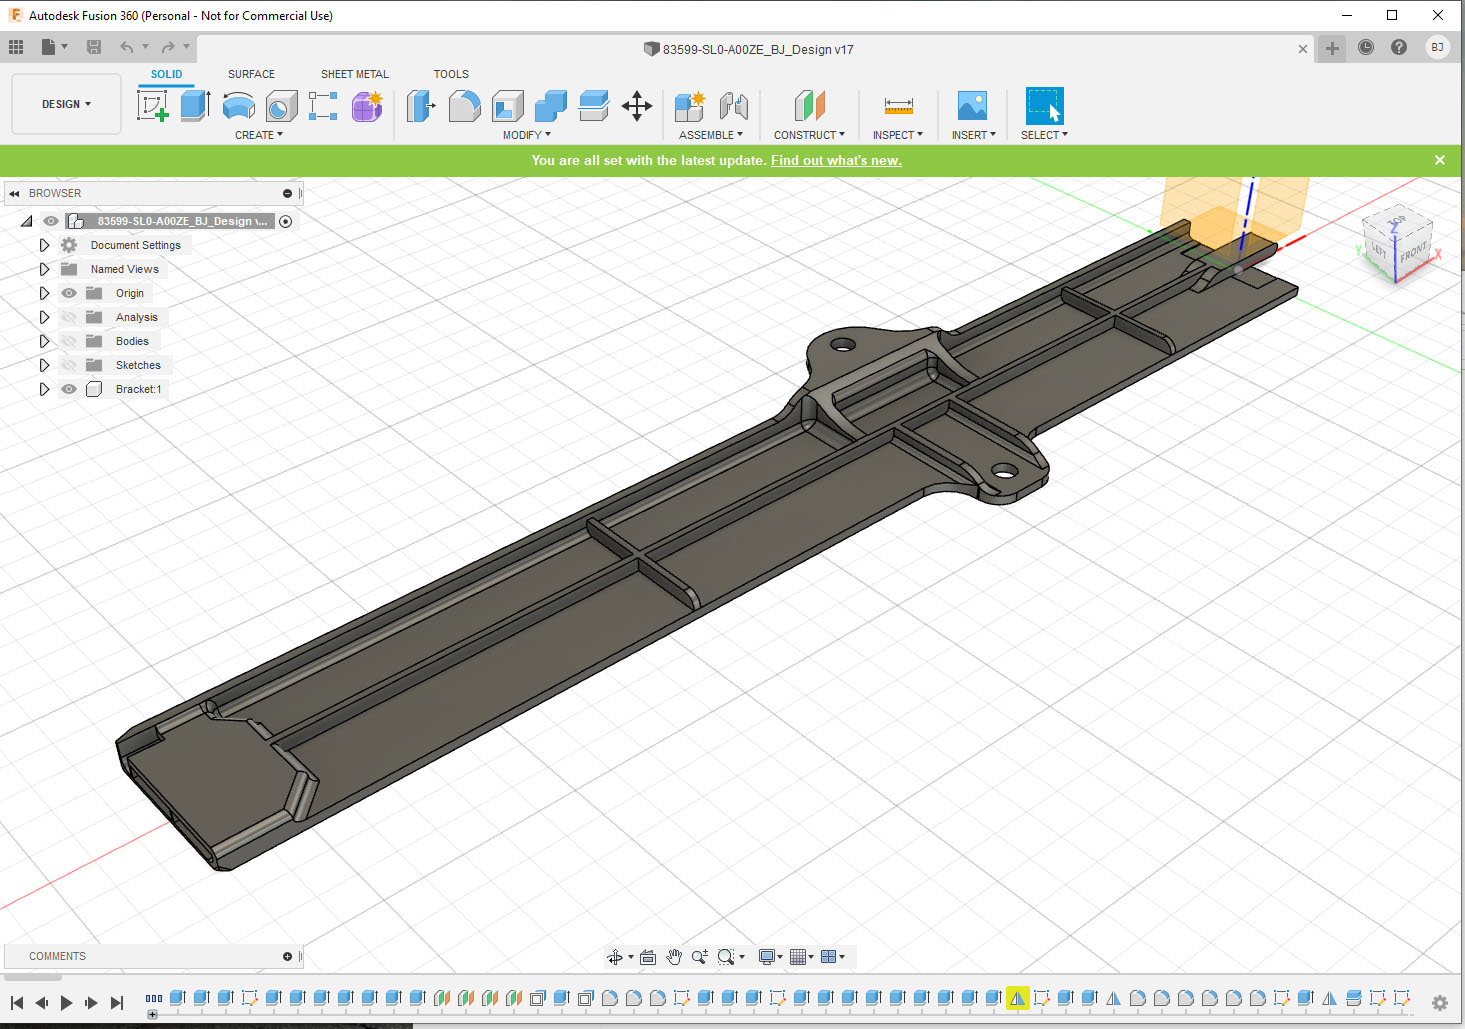
My CAD journey started with our Project NSX and the need for a plastic door frame piece that was no longer available in the US and out of stock in Japan.

The NSX’s door frame attaches to the door card and holds the entire assembly to the aluminum door. This plastic frame is made up of three pieces: front, center, and rear.

The plastic mounting tabs that hold the frame to the door and door card are notorious for breaking over time, even if the door card has never been removed.
At the time, only 5 of the 6 pieces were available from Japan. My solution was to 3D print the missing part after scanning the brand-new passenger center piece, then drawing and mirroring it to create the missing driver’s side. I would also look into reinforcing and increasing the radius of the tabs to make them stronger than OEM.
After waiting for months on friends with 3D printers and CAD design experience to help in this endeavor, I was motivated to buy a printer and teach myself CAD from YouTube videos. It took a little time to learn but it’s not as daunting as I originally feared. It was worthwhile because now I can knock out designs fairly quickly and have made quite a few parts for my car and in many other applications.
Table of Contents:
Page 1 – Intro & Problem
Page 2 – 3D Printer
Page 3 – 3D Printer & Upgrades
Page 4 – Learning CAD & Making Designs
Page 5 – Designing NSX Door Frame
Page 6 – Printing NSX Door Frame
Page 7 – Fitting, Testing, and Redesigning NSX Door Frame


7 comments
So what type of material did you use for the final print
I tested a bunch of different materials, different brands, and countless print settings of each. I ended up with one of the PETG filaments.
Great article very informative!
What would you have done if you didn’t have friends at Mountune to use their FaroArm’s Prizm Laser?
Probably waited for my friend with a light scanner, or paid for one of the many places that do laser or light scanning. Or do more research looking into affordable scanning solutions.
Nice article!
I’ve been 3D printing parts for my cars for a few years now and one thing I’ve found is that ribs and walls can be made relatively stronger and stiffer for a given mass just by making them thicker but with a low infill percentage.
Obviously there are limitations with package and if you need another part of the print to have higher infill, but it can be helpful.
I have been playing with an ender 3 v2 for various projects lately and what you can do with these is really impressive. I built an enclosure for it and various upgrade parts. Still playing with PLA+, but i have some PETG to use for automotive stuff.
If you have not, remember to tape the +5V pin of the USB cable from your pi to the printer, as the printer will draw voltage from there if you cut its power. And when it tries to power 24v fans with that little 5V pin, it may burn some stuff. The 5V pin is the rightmost pin when you look at the port, placing the filled part toward the ground.
Now after going through all the R & D, do you plan to sell these pieces? Would it worth your time factoring in time and material cost?