
3D PRINTER
The first step to making my part was to get a 3D printer. It seems like every few months new 3D printer models pop up that are better and less expensive than their predecessors. There are many different types of 3D printing technologies out there (SLS, DLP, MJF, PolyJet, DMLS, EBM, etc…) but the two main types of consumer grade 3D printers are SLA and FDM.

StereoLithogrAphy (SLA) is the first 3D printing technology that started in the 1980s and is one of the most popular types for professionals and modelers. SLA resin printers are popular due to their highly accurate, detailed, isotropic, watertight finished product. Different resins are available with a wide range of mechanical and thermal properties, but they don’t match the strength of filaments used in FDM printing.

Fused Deposition Modeling (FDM) and is the most commonly used form of 3D printing for consumers. Thermoplastic filaments wound onto a spool are melted and extruded through a heated nozzle and depositing a thin (usually 0.2mm) layer of plastic to a build platform, laying down layer after layer, until the part is complete.
Thermoplastic technology is advancing as fast as the printers themselves. Acrylonitrile Butadiene Styrene (ABS) was one of the most popular plastics to print in the early days of consumer grade printers, but Polylactic Acid (PLA) has become the norm due to its ease of printing and is generally considered food safe and safe to print without producing toxic fumes. PLA is quite stiff, but it’s not that strong, does not hold up to UV light, and starts to soften at 122*F. Polyethylene Terephthalate – Glycol (PETG) is gaining traction to potentially replace PLA as new versions are becoming closer to PLA in terms of stiffness and ease of printing, while handling UV better than ABS and having close to the same temperature resistance as ABS.
The ability to print thermoplastics such as polycarbonates, nylons, and carbon fiber infused filaments, make FDM the best bang for the buck for making strong parts from an inexpensive printer. Because of this, an FDM printer fit my needs the best.

My first 3D printer was a FlashForge Creator Pro I got back in 2016. This $1,200 printer was packed full of high-end components: direct-drive extruder (the filament feed motor is directly on the moving gantry), dual extruders, linear rails, a built-in enclosure to keep the heat in, and dual filament spools. The only real negative was its modest 225x145x150mm build volume.
I used this printer solely to make free designs from either Thingiverse or from the racing drone community. It’s almost a prerequisite to own a 3D printer if you’re into that hobby since every bracket, antenna mount, skids, camera mount, etc… are 3D printed and the files are shared throughout the community.
While this was a great printer from a reputable brand that printed well, it was too small for making the interior door frame for the NSX.

I decided to go with the Creality CR-10S Pro V2 with its large 300x300x400mm build volume. Creality is a Chinese 3D printer manufacturer that is one of the highest selling printers on the market. With 200K followers on Facebook and 150K active members in the two main user groups, Creality has roughly twice the following of the Czech built Prusa.
Table of Contents:
Page 1 – Intro & Problem
Page 2 – 3D Printer
Page 3 – 3D Printer & Upgrades
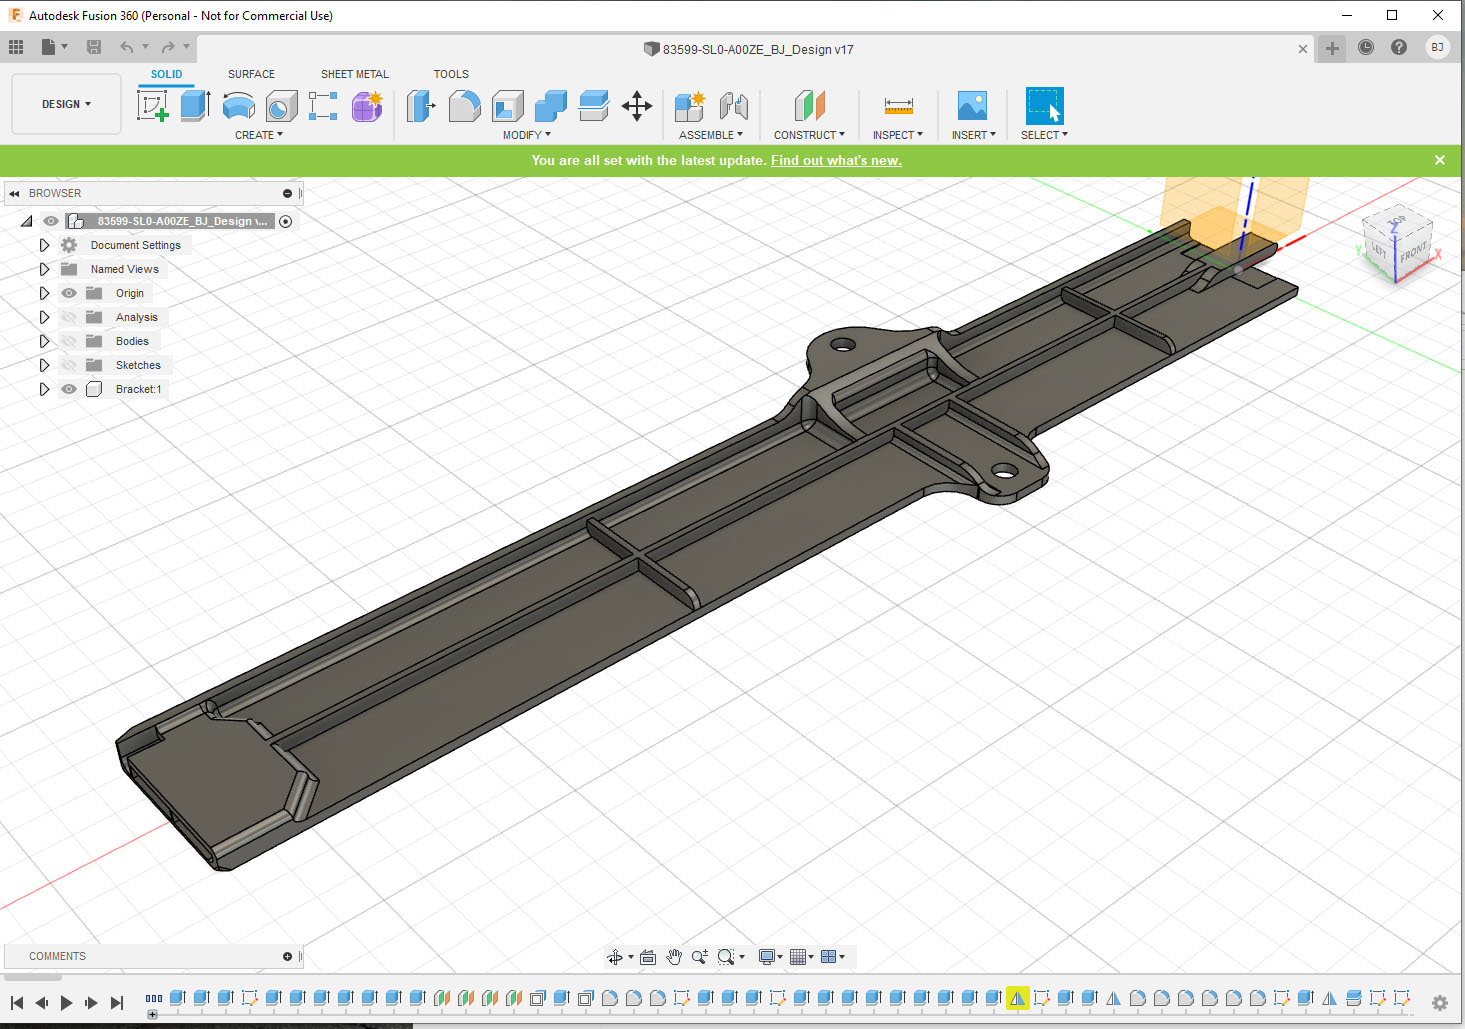
Page 4 – Learning CAD & Making Designs
Page 5 – Designing NSX Door Frame
Page 6 – Printing NSX Door Frame
Page 7 – Fitting, Testing, and Redesigning NSX Door Frame


7 comments
So what type of material did you use for the final print
I tested a bunch of different materials, different brands, and countless print settings of each. I ended up with one of the PETG filaments.
Great article very informative!
What would you have done if you didn’t have friends at Mountune to use their FaroArm’s Prizm Laser?
Probably waited for my friend with a light scanner, or paid for one of the many places that do laser or light scanning. Or do more research looking into affordable scanning solutions.
Nice article!
I’ve been 3D printing parts for my cars for a few years now and one thing I’ve found is that ribs and walls can be made relatively stronger and stiffer for a given mass just by making them thicker but with a low infill percentage.
Obviously there are limitations with package and if you need another part of the print to have higher infill, but it can be helpful.
I have been playing with an ender 3 v2 for various projects lately and what you can do with these is really impressive. I built an enclosure for it and various upgrade parts. Still playing with PLA+, but i have some PETG to use for automotive stuff.
If you have not, remember to tape the +5V pin of the USB cable from your pi to the printer, as the printer will draw voltage from there if you cut its power. And when it tries to power 24v fans with that little 5V pin, it may burn some stuff. The 5V pin is the rightmost pin when you look at the port, placing the filled part toward the ground.
Now after going through all the R & D, do you plan to sell these pieces? Would it worth your time factoring in time and material cost?