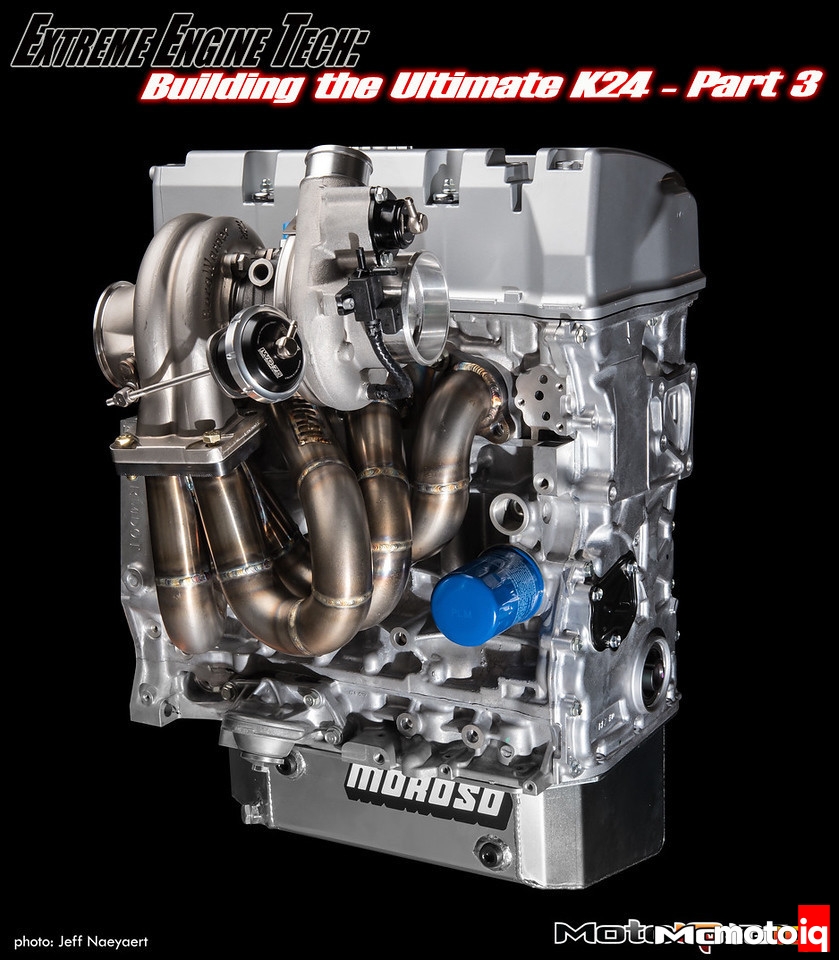
,
 With our injector choice down, we decided to upgrade our fuel rail with this Skunk2 composite part. The Skunk2 fuel rail is made of fiber reinforced thermoplastic. Plastic was used for its lower thermal conductivity. The rail has a large ID for better flow and OEM type fittings for pressure feed and return. The rail also has extra ports for fuel pressure sending units and a damper if you wanted to use one.
 To install our head we first set our ARP studs in place and laid down the head gasket.
 In one area, at one of the oil return holes the gasket didn’t line up perfectly.
 Since this is just a gravity fed drain that is not under pressure we don’t think that this is going to be a problem. The sealing area is a bit thin here so we will put a small amount of sealer in this area just in case.
 Howard lowers the head into place carefully.
 After lubricating the stud threads and ground hardened washers, the nuts of the ARP head studs are spun down.


12 comments
On part 3 page 5 timing chain is fitted wrong. Timing marks are not correctly aligned and timing is not set properly . Little dots on cam gears should be between gold chain rings. Dashes on intake and exhaust cam gear should point to each other!
We were just doing a dummy fit up to check the tensioner so of course, we didn’t assemble the engine that way. Good catch though!
I appreciate the time, effort and great photos in this article guys, but there are some serious holes in the story here that need to be addressed. RBB valve cover to R40 timing cover does not seal. PRB non balance shafted oil pump conversion requires blocking the old feed port on the block beneath the oilpan. Youve used the incorrect chain tensioner for the r40 block as the old steel bodied tensioners have a slightly different oil port location. Moroso pan doesnt have provisions for the lower torque mount. Although you used aftermarket pistons maybe some measurements on a stock piston compression height and how that clears with these heads. Maybe spotlighting some of these details maybe help to better guide your reader base in tackling some of the hurtles of the R40 4-port conversion. Either way, great content and thanks for your contribution to our industry.
Its been a long time since we wrote the article but I am pretty sure we covered how to do that stuff in the other parts of the series. I know we did the balance shaft and cover stuff. Pretty sure we did the tensioner in other parts. I remember getting the new tensioner.
If there is a revised article beyond this “part 3” that covers these issues, I wasnt able to find it. Is it under this engine build article or something different?
I think there was up to a part 5. You know what, I think I covered this stuff more in our NA build. I am getting things confused. It’s been years!
I was wondering why the z3 head gasket was used vs the k24z7 head gasket?
I think either will work.
No, the k24 bore size is larger, must use k24 hasket
It is 87mm
Great article, Im wondering what engine wiring harness would be used for this build to go back in a 2012 civic si coupe?
TIA
Steve
Hasport or Rywire make conversion harnesses.