,
Magnaflux’s process involves soaking the crank in a solution full of tiny iron particles and a fluorescent dye. The crank is then magnetized with a powerful electromagnet. The iron particles and the dye will be drawn to any cracks and can be observed with a black light.


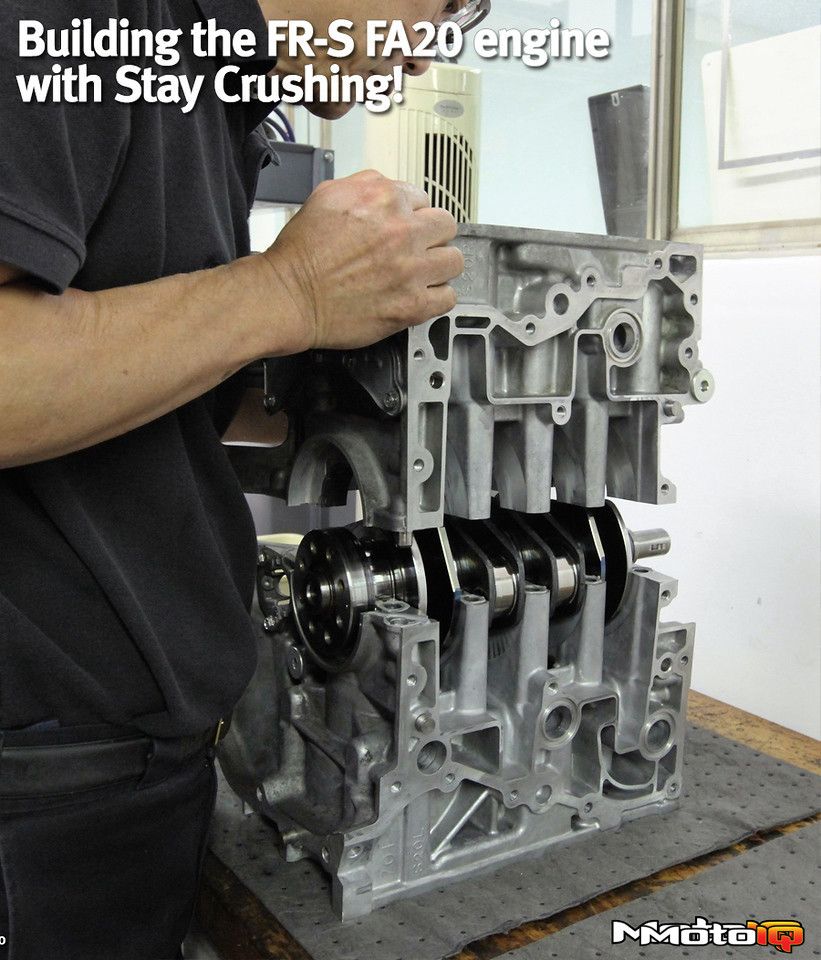
Align honing involves milling a small amount off of both case halves then honing the bearing bores to the proper size again.
We didn’t mention it, but Howard also measured our piston bores. In our case, they were well within spec, so we could use standard bore pistons. However, in some cases where there is a lot of bore wear, the cases will need to be bored out for oversized pistons.
In a Subaru engine like the FA20, is this a difficult proposition. The bores distort a lot when the engine is assembled and the heads are bolted down. So, if the engine is to be oversized bored, the machining must be done by a Subaru specialist that has the fixtures to simulate the cases being bolted together and the head being bolted on the case while it is being machined.
If this is skipped, the bores will not be round and the engine will leak down poorly. This will not make good power and will wear rapidly.


